Showing posts with label Frugal Living. Show all posts

Saturday, January 3, 2015

Processing and working together.......


As you can see, our Macy bug killed her first deer last Friday, December 26th. Here are a few pictures of all the bugs and their dad processing it.


We ended up with 12 pounds of ground meat and 8 pounds of breakfast sausage.


Happy Happy Bugs!!!!!


Monday, July 22, 2013

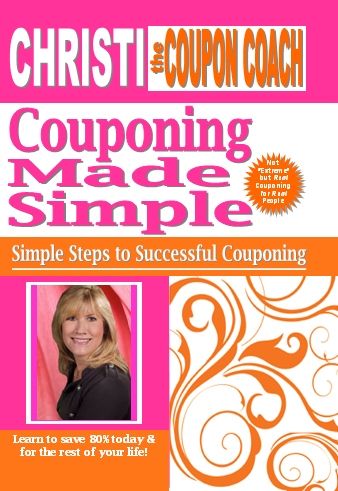
Couponing Made Simple.....Molly Crew Review


Are you one that wants to use coupons but really don't know how? I have the solution, Couponing Made Simple by Christi the Coupon Coach. The Molly Crew had the opportunity to review this product. Her books sells for $18.00 or $4.99 for the ebook.


Christi is a homeschooling mom of 4 and has been couponing for years. Her book teaches you how to use BOGO coupons (Buy One Get One Free), and how to "stack". This is what she calls successful couponing.

In her book, she shares a step-by-step process:

1. Buy Newspapers
2. Sort Newspapers
3. Find the Deals
4. Make Coupon Matches
5. Organize for Coupon Run
6. Shop and Save
7. Wrap Up at Home
8. Celebrate & Share


Here are the contents in her book:

1. Success Stories
2. A New Way to Shop
3. The Language of Couponing
4. Organization System
5. Step-by-Step Process
6. Tips & Tools
7. Couponing Ethics
8. Networking & Communicating
9. Bonus Section
10. Beyond Couponing


When the book arrived, I thought I would be overwhelmed by it but when I started reading it, I really enjoyed learning about the process which made it very simple to understand. She has so many ways of using coupons.

How it worked for me:

We live in a small town and the one newspaper that is available to buy has no coupons in it, not even on Sunday! So, I went online and found various websites where I could print coupons. After that, I went around town collecting all of the sales papers. When we put our minds and energy into this, we save anywhere from around $8 - $10 each shopping trip. That's not much compared to Christi but I am hoping to learn more and more each time and one day walk out saving 68%  or more like Christi.

My final thoughts:

If you want to learn how to coupon and don't have the time to figure it all out on your own, you may want to look into purchasing Chrisit's book. She has done all of the work for you! I am looking forward to learning more and more from her. I just scratched the surface!

I really like the best and last deal she says we will ever find. The deal of the universe----- SALVATION IN JESUS CHRIST!!!


Check out what other crew members had to say about Christi the Coupon Coach.


Thursday, June 13, 2013

green beans.....

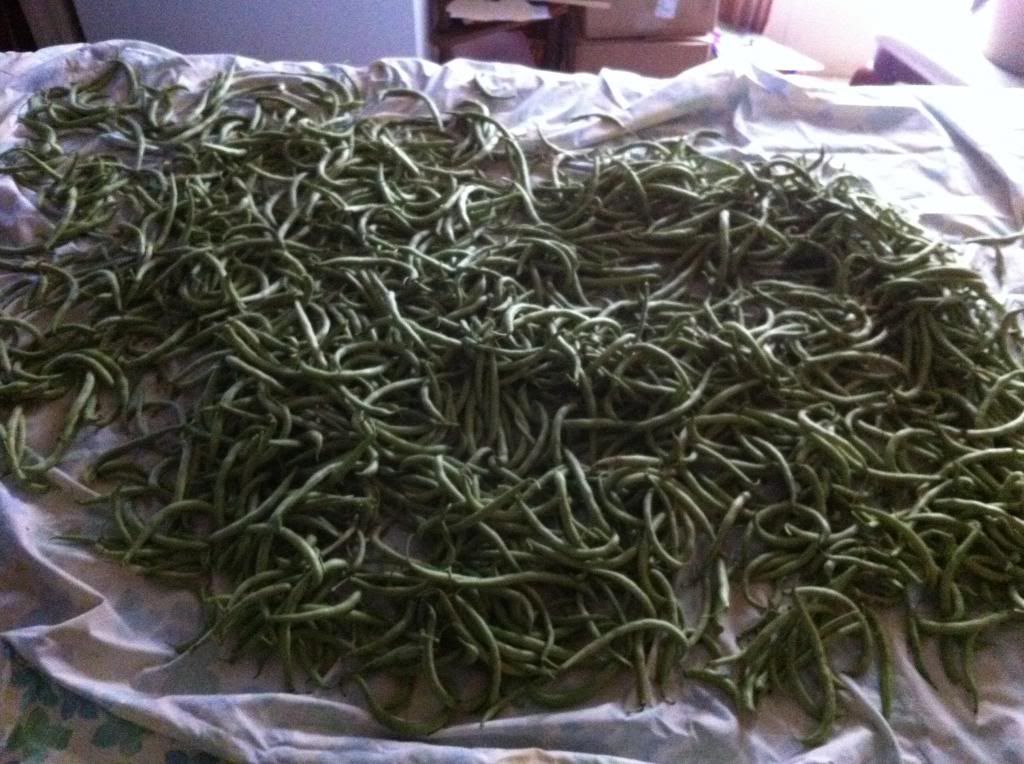
This is what we were doing yesterday. GREEN BEANS!!! This was our first picking of green beans out of the garden.


We ended up with 6 gallons of beans to put in our freezer. This is just the beginning! Bring on the squash and cucumbers!

God Bless!

Saturday, January 19, 2013

Homesteading....So Much Fun!

We have been homesteading for a couple of years now. We love it. Little by little, each year, we continue to add to our homesteading. I have had a book for a while entitled "The Backyard Homestead".

The Backyard Homestead: Produce all the food you need on just a quarter acre!


I have read the whole book, two times now, and everytime I read it, I learn something new. We have always had a garden. About three years ago, we added chickens. Here recently we added two dairy goats. They are dry as of right now, but hopefully in March, one of them will kid and we can start milking. We are so excited.

Our plans are to add beef cattle to our little homestead this spring. I would like to raise and grow 100% of our food. It takes time so we will start with baby steps!

The book above has a section in it entitled Raising Pigs. Well, I don't want to raise pigs but around here, there are alot of wild hogs. A couple of weeks ago, we were able to kill and process a wild hog.

So, I got my little book down and went to the section on raising pigs, because I remembered a page about butchering. It tells you step by step on how to butcher your own hog. I figured I would give it a try.

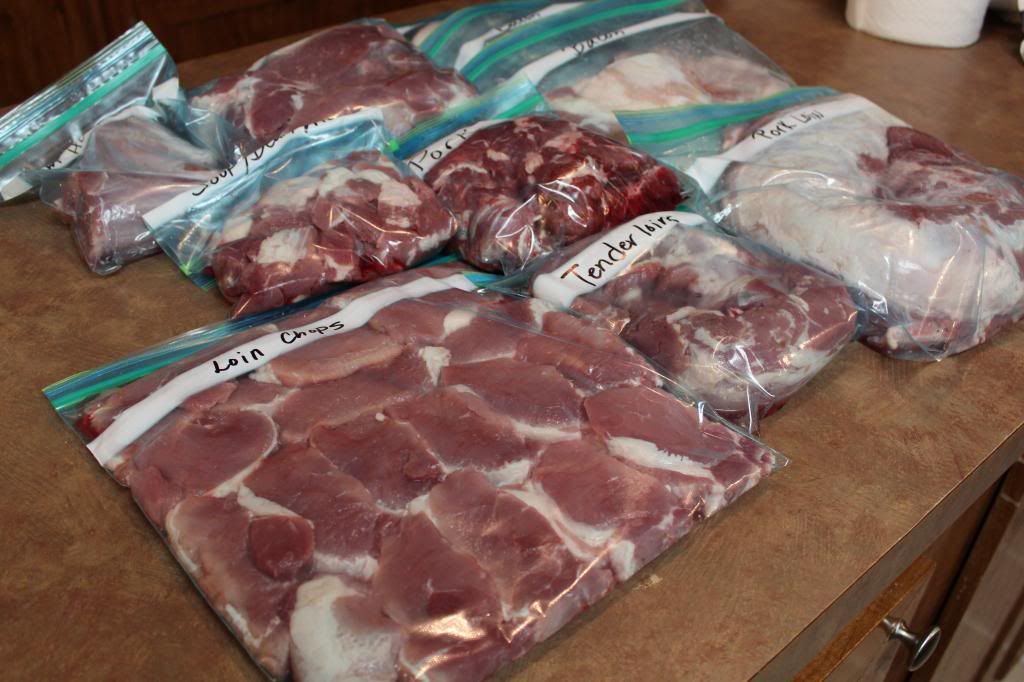
Well, here was the outcome!

I am not sure how many pounds we ended up with but it was alot!

I learned that primal cuts are the large cuts that are often transported to butcher shops for processing and sale. There are seven primal cuts in the halved hog carcass:

Excerpt from the book:

1. The leg, which is comparable to the round in beef and produces boneless leg, ham, and ham steaks.

2. The loin, which can produce blade chops, loin chops, butterfly chops, country-style ribs, back ribs, Canadian-style bacon, loin roasts and tenderloins.

3. The side pork, which yields the bacon.

4. The spareribs, which yield both the ribs and salt pork.

5. The Boston shoulder, from which can come pork cubes, Boston roasts and shoulder rolls.

6.The picnic shoulder, which yields roasts and steaks, ground pork and sausage.

7. The jowl, which can be cured for seasoning meat or sliced like bacon.

It says that no single carcass can produce all the above cuts. We decided what we wanted to try and went for it. It was fairly easy. We were able to cut and process, one whole pork loin, boneless loin chops, two racks of ribs, 4 slabs of bacon(uncured), two Boston roasts, two small boneless leg roasts (good for BBQ), two tenderloins, about 10 lbs. of homemade sausage (not link) and roughly 18-20 lbs. of ground pork. I also had four ham hocks.

We were really happy with the outcome. I am looking forward to processing another one in the near future. I just received a sausage stuffer I ordered and will try to process some link sausage next time.

Until then.....God Bless!

Monday, January 14, 2013

CLOTHSLINE APRON

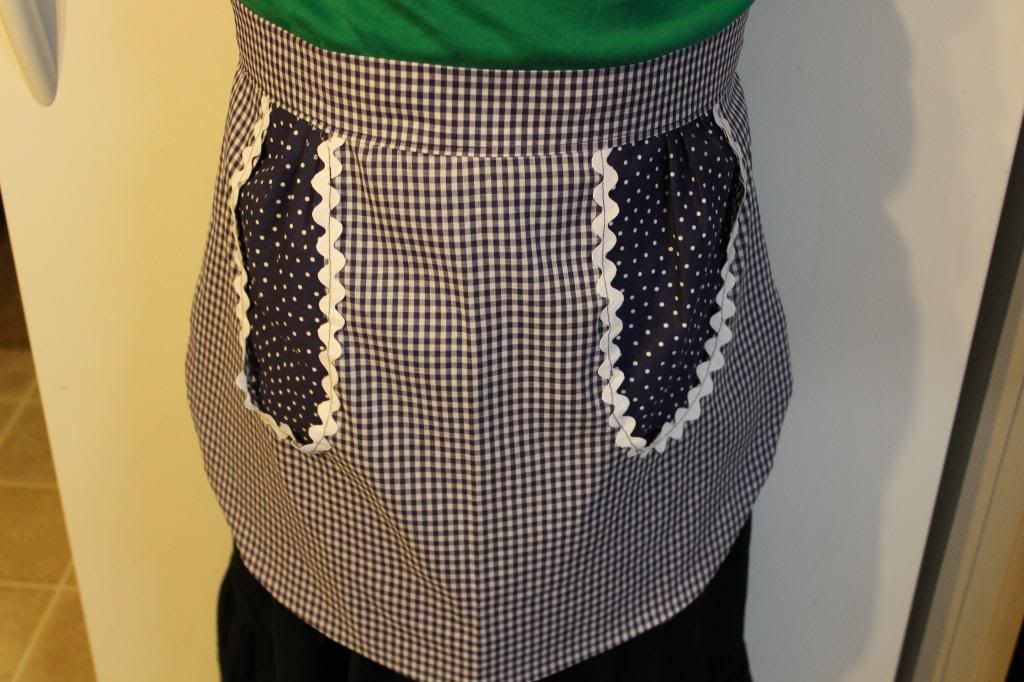
For a little while now, my two oldest bugs have been learning to sew. Every time we run across material on sale or patterns on sale, we try to get a little. We have accumulated quite a bit of material. Here recently, my second to oldest bug wanted to sew an apron.

We purchased a Simplicity Sew Simple pattern from Walmart months ago and decided it was time to get it out of our pattern box and learn to sew this simple apron.

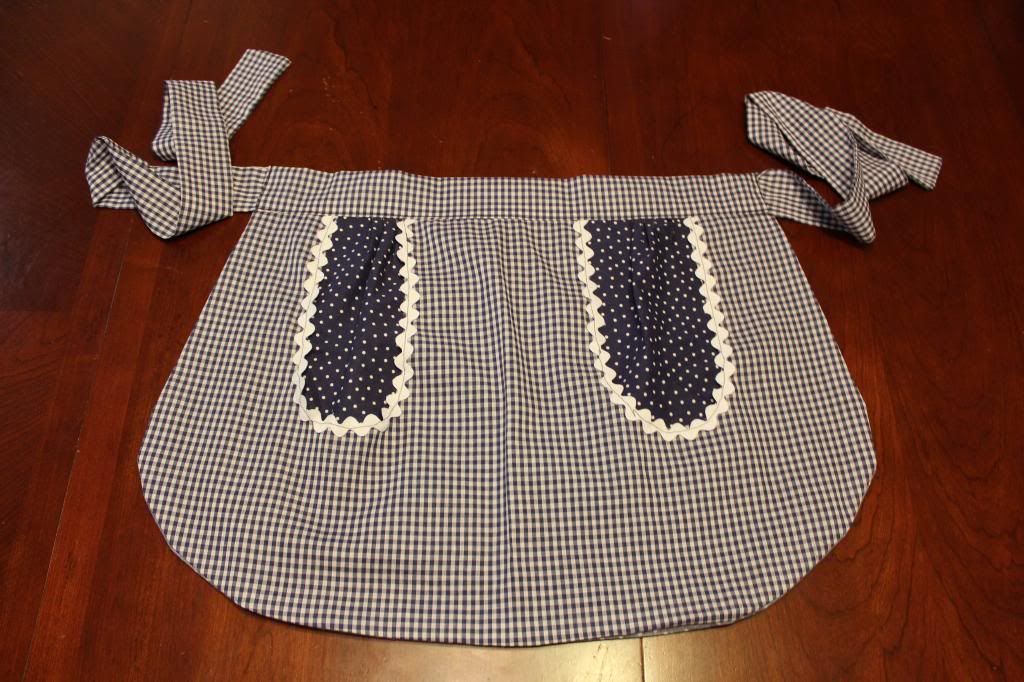
Here is how it turned out:


I really like the way this looks. It was such a fun project to do with my second to oldest bug. We really had a good time.

Here she is wearing it:


 I said in the beginning of this post that this is a clothesline apron. That's not really the name of the little apron. This is the name girls and I gave it. We are planning to use these little aprons to hold our clothespins while we are hanging our clothes out on the line. The two little pockets on the front hold the clothespins like a charm!

This is a very easy and fun project to do with your "bugs"!

Wednesday, January 9, 2013

EASY ARTISAN BREAD

I have been wanting to try to make Artisan bread for quite some time now. We make all kinds of bread around here on the homestead but not Artisan.

I found a super easy recipe from here and thought I would give it a try. Well guess what? It turned out great!

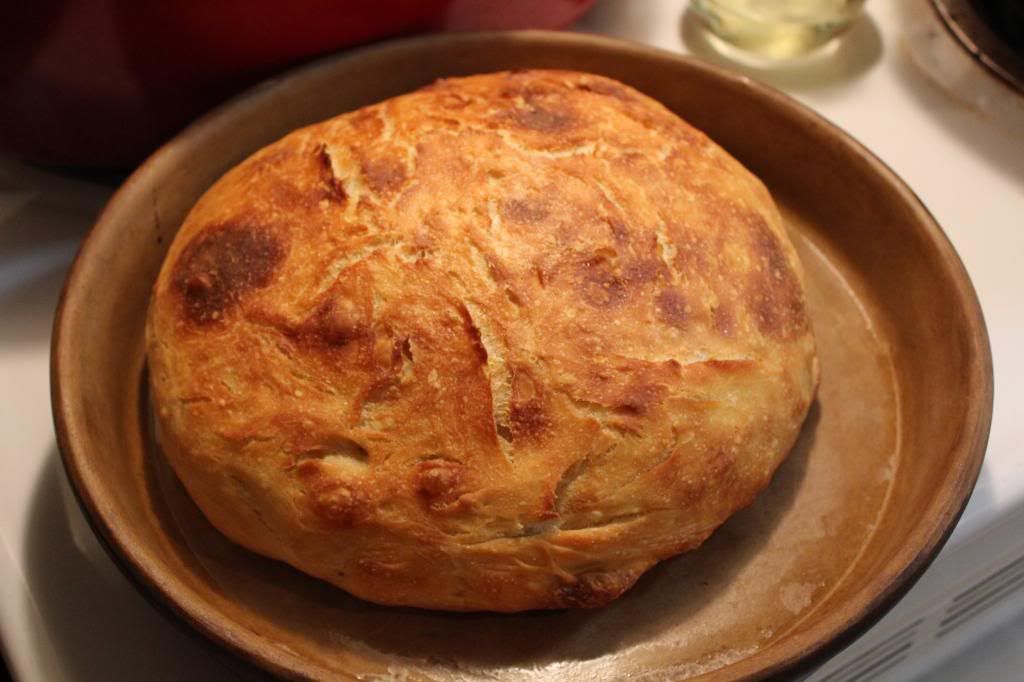
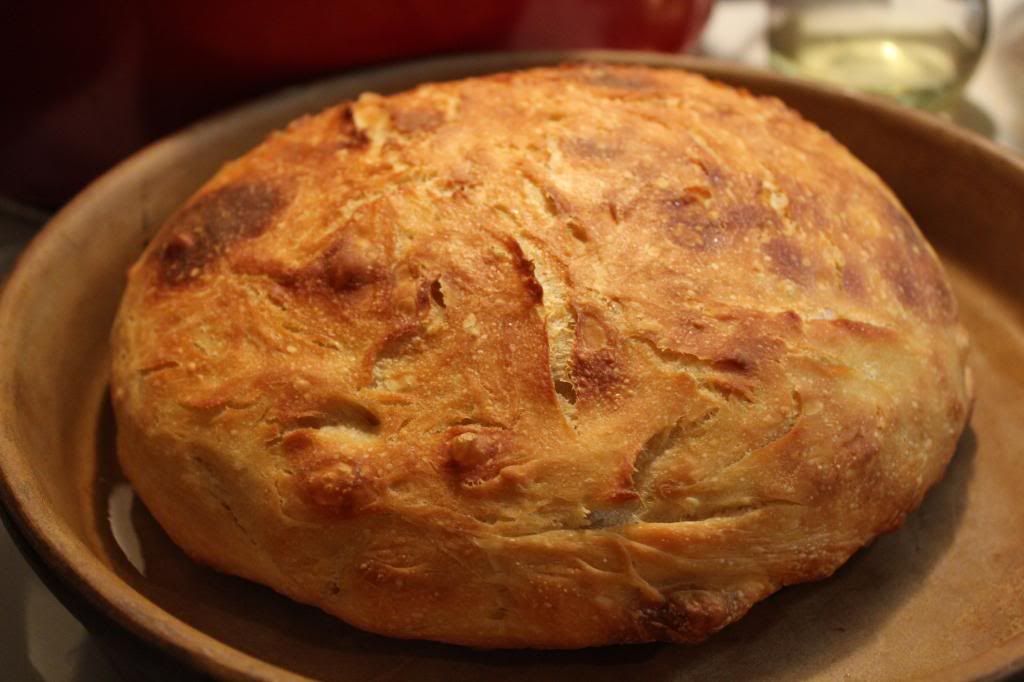
Here are a couple of  pictures I took of it before I give the ok to devour it! That is just what happened. I don't think it lasted more than 5 minutes.


Here is the very easy and yummy recipe.

EASY ARTISAN BREAD

3 cups flour (calls for all-purpose, we use freshly ground hard white wheat)
1/2 teaspoon yeast
1 1/2 teaspoon salt
1 1/2 cups lukewarm water
Add-ins: Cranberry/white chocolate/pecan
Cranberry cinnamon
Rosemary
Cinnamon Raisin

1. Put first 3 ingredients in bowl and stir until incorporated.
2. If you are going to use add-ins, put them in now.
3. Add the lukewarm water.
4. Cover the bowl with saran wrap. Set aside and let rest for 8-20 hours.
5. After dough has rested, flour a surface or a bowl. Wet hands and pat into a ball-try to get as round as you can. Let it rise for an hour.
6. Meanwhile, preheat you oven to 450 degrees F.
7. Place your pot into the oven at 450 degrees for 30 minutes.
8. After the bread has risen for an hour, take your pot out of the oven and place bread in the hot pot.
9. Bake for 30 minutes. Take lid off and bake another 10-15 minutes.
10. Let cool before slicing.

This is an awesome artisan bread recipe. Try it, you will not be disappointed.

God Bless!


Thursday, December 27, 2012

Honey and Lemon Pops

Well, as of yesterday, I have a couple of bugs with sore throats so I decided to make some honey and lemon suckers since one of the bugs is only three years old. I stumbled across a few recipes for this a while back and thought it was time to make some.


Here is how I did it.

1 cup honey (I used local)
2 teaspoons of freshly squeezed lemon juice
Candy Thermometer
 Lollipop Sticks
Non-stick surface

Heat your honey and lemon juice to hard crack stage, stirring constantly. Spoon small amounts onto a non-stick surface, I used my silpat, and add sticks (in my case, I was out of lollipop sticks so I used craft sticks). Let cool.

There are some recipes that call for peppermint oil also. I might try those next!


It is that simple. Homemade, all natural, sore throat soother! Boy how I love to give my family all natural, homemade goodness!

Just another home remedy that is easy to whip up!

Frugal Family 2013                         Living Green Link-up


Linked up to : Ben and Me, Like a Mustard Seed


Saturday, August 25, 2012

cheap cherry pitter....

My family loves fresh cherries. In the past, I use to just cut the cherry in half and dig the pit out. It would be easy if you have a pitter but I don't , so........ I was on a blog the other day and found a very easy and cheap way to get the pit out of a cherry. Can you guess what I an using?


A STRAW! Yep, that's what I said, a STRAW. Can you believe it!

Here is how to do it:

Remove the stem of a cherry.


Take your straw and put it where you removed the stem.


Twist your straw and push it through to the bottom and BAM! Pit is out! It's that easy!


I tried just regular, store bought straws and they worked but are a little flimsy. I purchased some heavy duty plastic cups with straws and they work great. The more sturdy the straw, the easier it is too push the pit through the cherry.

Just a little something I learned from someone else that I thought I would share.

God Bless!

Frugal Family 2013

Linked up to: http://www.benandme.com/2013/01/frugal-family-pot-roast-three-meals.html

Sunday, August 19, 2012

Natural Cleaning on the Homestead

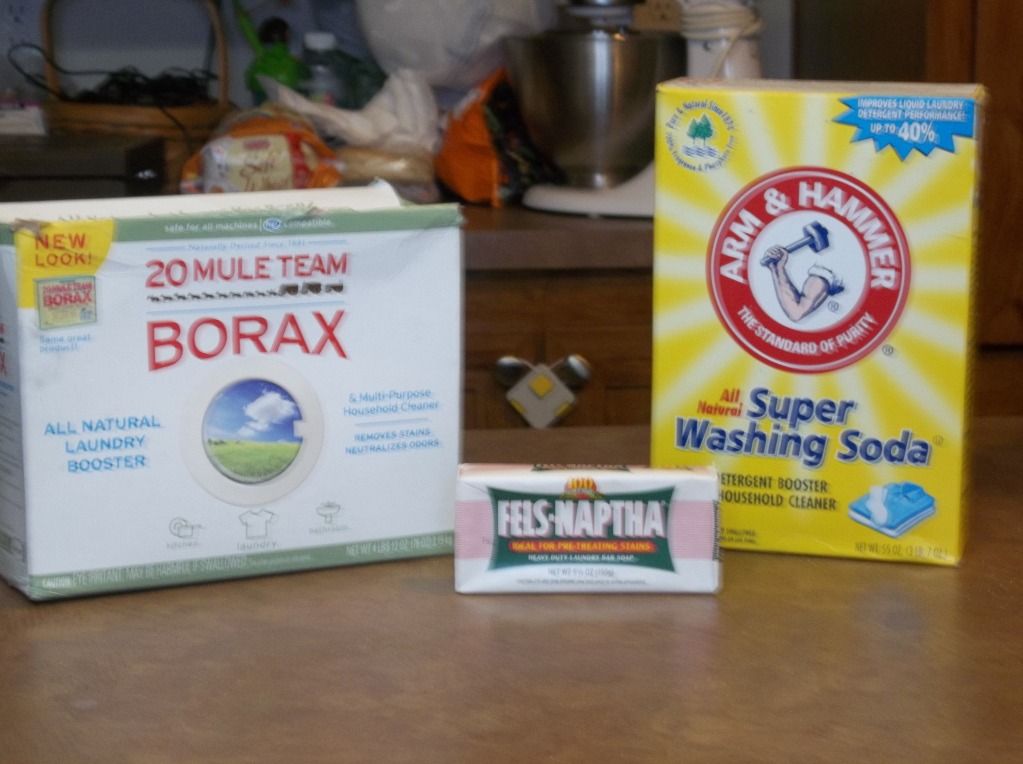
We have been making homemade laundry detergent for a while now. I try to use as many natural products as I can. Here are some of our favorite natural products we use around here. Some of these I have been making for a while, others I have yet to try. Just thought I would share some of these recipes for any of you that would like to make your own natural cleaning products but don't know where to start. These are not all of my recipes. I  got my ideas from others! Thanks!

Homemade Laundry Detergent


4 cups hot  water
1 Bar Fels-Naptha Soap
1 cup Arm & Hammer Washing Soda
1/2 cup Borax
5 gallon bucket

Grate your bar of soap and add it to a saucepan with 4 cups of water. Heat and stir until the soap is dissolved. While heating your soap, add your 1 cup washing soda and 1/2 cup borax to your 5 gallon bucket. When your soap has dissolved completely, pour it into your bucket with the powders. Mix really good and then fill the remainder of your bucket with hot tap water to the top. Let sit overnight. It will be a gel the next morning. Stir it up really good before using. I use 1 cup per load in my HE washing machine. It cleans really well. I use a fabric softener with it to make my clothes soft.


Pre-Wash Spray

1/2 cup household ammonia
1/4 cup baking soda
1/2 cup vinegar
1/2 gallon water
Essential oils (optional)

After mixing this solution, put part of it into a small spray bottle to keep handy by the washing machine when doing laundry. Spray liberally onto clothes where needed.


All-Purpose Cleaner

 Fill a spray bottle with 1/3rd vinegar. Top off with water. Add 10 drops of lemon or tea tree oil, 10 drops of GSE (Grapefruit Seed Extract) and 1 teaspoon liquid castile soap.

All-Purpose Cream Cleaner

Mix 1/2 cup baking soda, 1/2 cup castile soap, 10 drops of essential oil together in a container. Great for sinks, bath tubs, etc.

Heavy Duty Degreaser

Mix in a spray bottle, 2-3 Tablespoons vinegar, 1 teaspoon borax and fill almost to the top with hot water and shake. Add 1/2 teaspoon liquid castile soap and 5-10 drops of essential oils with a few drops of GSE. Great for stove tops and ovens.

Toilet Cleaner Spray

Mix 2 cups hot water, 4 tablespoons liquid castile soap, 5 drops each of lemon, tea tree, eucalyptus and GSE. Put in a spray bottle. Also a great cleaner for countertops in the bathrooms.

Toilet Bowl Cleaner

Spray toilet with vinegar and sprinkle it with baking soda. Scrub.

Antibacterial Cleaner

In a spray bottle, mix 1 cup water, 5 drops tea tree oil, 5 drops lemon oil, 5 drops orange oil, 5 drops eucalyptus oil and 10 drops of GSE. Spray onto surfaces and wipe with a damp cloth.

Scouring Powder

Mix 1 cup salt, 1 cup borax and 1 cup baking soda together. Sprinkle onto surface and clean. Just mix equal parts of everything. Can make a big batch and store in an airtight container.

Hope this is helpful !

God Bless!

Wednesday, December 28, 2011

More Herbal Remedies

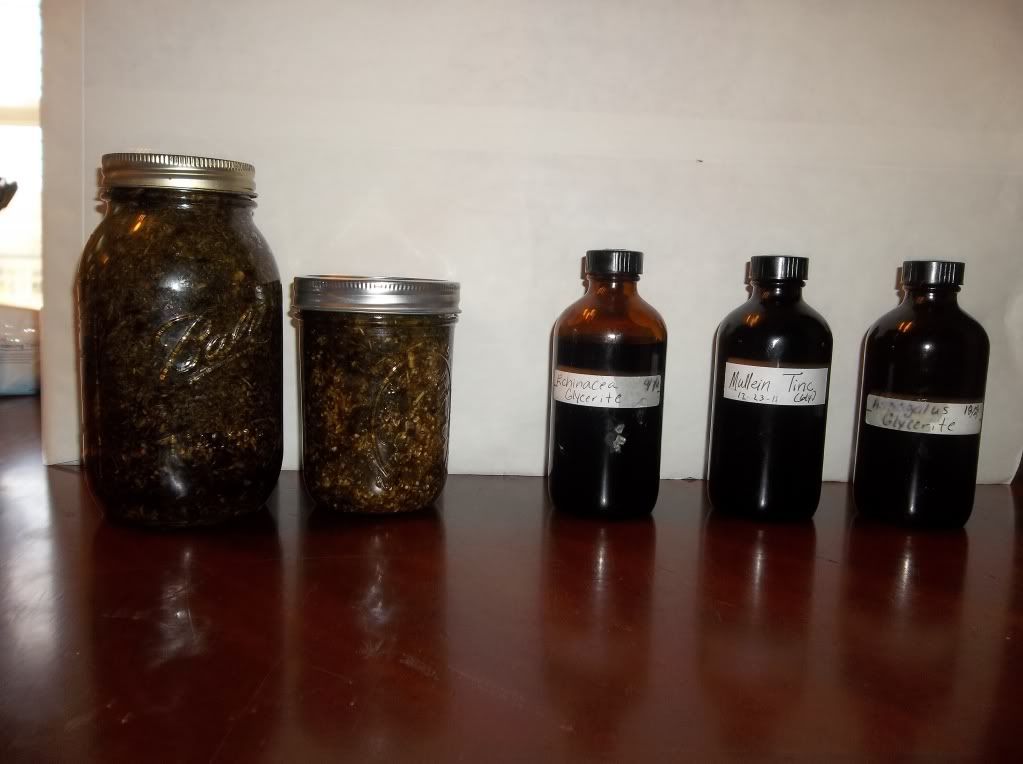
A few days before Christmas, I decided to make some herbal glycerites. Like I didn't have enough to do already! I read this book and began learning alot about herbs and herbal tinctures and glycerites. I highly recommend this book if you are wanting to make your own "herbal medicines". When I first started learning and making tincts and glycerites, I wanted something for the bugs to take to build their immune systems. I started with an Astragalus glycerite. Its key actions are antioxidant, immune support and tonic.


I recently made another Astragalus glycerite but added peppermint this time to help with the bitterness of the root.

I made a Mullein/peppermint glycerite to help one of my bugs with a cold. It is considered the herb of choice for respiratory problems. It loosens mucus and expels it out of the body.

I also made an activator which help to activate the healing energies in the body and another formula to help boost the immune system to prevent illness or to help the body fight infection. They call this formula "herbal vaccines". I found these recipes in the book mentioned above. These are only a few of what I want to make. It takes time to make tinctures and glycerites so I try to make a couple a month. There are so many that can be made. Play around with it and see what you can come up with.

This is something I am very passionate about but it is not for everyone and is not intended to replace any medical advice from a healthcare professional.


Activator:
1 part yarrow flowers, 1 part elder flowers, 1 part peppermint

"Herbal Vaccine"
4 parts echinacea root, 2 parts thyme, 1 part licorice, 1 part elderberries

Wednesday, November 30, 2011

Take The Challenge!

Check out the new button I just put on my blog .  23 Day Frugal Living Challenge! Go sign up and take the challenge of living frugally for 23 days. I'm excited. It starts Friday, January 6, 2012. Here are a few ways we will challenge ourselves:

                             ~Redefine "enough"
                             ~Learn how to use a 30 -  day list
                             ~Stop the impulse buys
                             ~Grow a garden
                             ~Cook ahead
                             ~And much more.......


Go check it out.

Dana