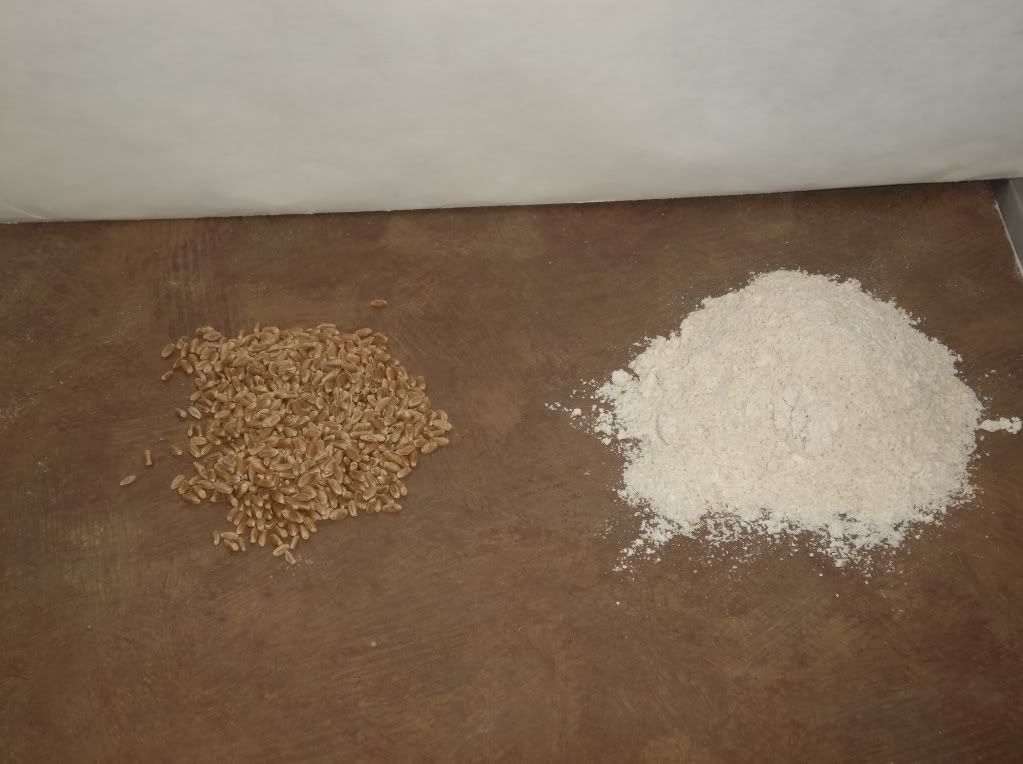
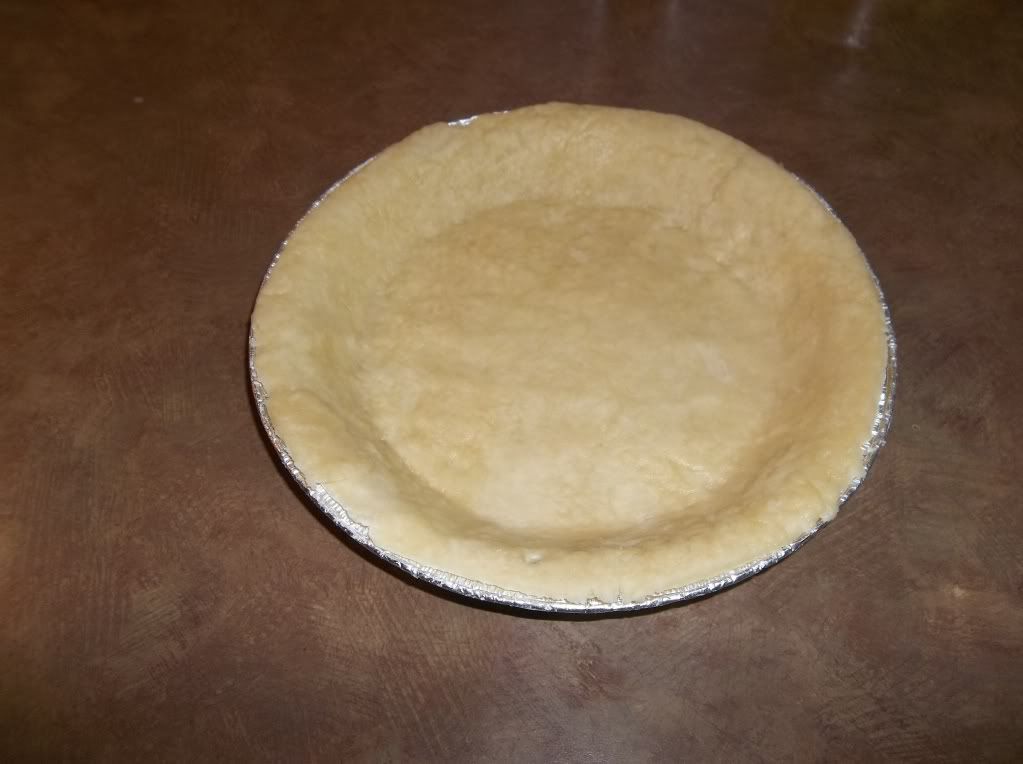
Showing posts with label Baking. Show all posts

Friday, July 22, 2016

Fig Season

It's fig season around here so I decided to find a really good fig muffin recipe for our breakfast the other morning. They were delicious! Recipe at the bottom!


FIG BUTTERMILK MUFFINS

Muffins:

2 1/2 cups all purpose flour
1/2 cup sugar, I used Sucanat
1 teaspoon baking powder
1 teaspoon baking soda
1 1/2 cups buttermilk
2 tablespoons coconut oil
1 teaspoon vanilla
1 egg
1 1/2 cups chopped dried figs, I used my fresh figs cooked down in an extra light syrup

TOPPING:

1/4 cup sugar (I used Sucanat)
1/4 cup quick oats
1 tablespoon butter

INSTRUCTIONS

Preheat oven to 400 degrees. Spray 12-cup muffin tin with baking spray and set aside. In a large bowl, combine flour, sugar, baking powder and baking soda. In a separate bowl, whisk buttermilk, oil, vanilla and egg until combined. Add buttermilk mixture to flour mixture, folding to combine. Fold in figs. Divide batter evenly among prepared muffin tins. Prepare topping, sprinkle over batter. Bake for 15-18 minutes or until a toothpick inserted in the center comes out clean. Remove from oven and cool on wire rack. 


Tuesday, January 20, 2015

soup and a muffin recipe....


Here are two recipes from my menu plan this week. The first one is The All- American Cheeseburger soup I made for Monday night. The second one is my Banana Bread recipe that I turned into muffins instead of a loaf. These two are very easy.


Little Ruthie Bug, as her daddy calls her with her bowl of All-American Cheeseburger Soup.
 
Not the best picture of the soup but you get the idea! I accidently deleted the other picture of it. Sorry! To lazy to go and find it!


All -American Cheeseburger Soup
 
1 pound of ground meat
1 medium onion, chopped
1 stalk of celery, chopped
2 cloves garlic, minced
2 Tablespoons flour
28 ounces of beef broth
2 potatoes, scrubbed and coarsely chopped
1 can petite diced tomatoes
2 cups shredded cheddar cheese
1 small can tomato sauce
1/2 cup ketchup
2 Tablespoons Dijon mustard
1 cup whole milk
Toasted buns or rolls, we used croutons
Cheeseburger Toppings:
pickles, onions, mayo, mustard, ketchup
 
In a 6 quart Dutch oven, cook beef, onions, garlic and celery until tender. Sprinkle the flour on the meat mixture and cook for 2 minutes.
 
Stir in the broth and potatoes. Bring to a boil and reduce the heat and cook about 10 minutes or until potatoes are tender.
 
Stir in tomatoes, cheese, tomato sauce, ketchup and Dijon mustard. Cook on low until cheese is melted. Stir in the milk. Heat through. Serve with toasted buns and cheeseburger toppings.


The next pictures are of the banana bread muffins I made this morning.


As you can see, the batter is very thick. That's ok.

 
Just scoop it into muffin tins.

 
This is the streusel topping I made for the muffins.

 
Just take little pieces of the topping and place on top of the batter.

 
Here is the finished muffin ready to eat!


Banana Bread Muffins
 
1 cup oil
1 cup sugar
1- 1/2 teaspoons baking powder
1/2 teaspoon baking soda
1/2 teaspoon salt
2 large eggs
2 teaspoons pure vanilla extract
1- 1/2 cups (about 2) mashed ripe bananas
2 cups all-purpose flour
1/2 cup chopped pecans
 
Streusel Topping:
 
2 Tablespoons softened butter
3 Tablespoons flour
1/4 cup brown sugar or sucanat
 
 
Heat oven to 350 degrees. Spray your muffin pans. Beat oil and sugar together. Add your vanilla, eggs and mashed bananas. Gradually  beat in the flour, baking powder, baking soda and salt. Stir in your chopped pecans.
 
Scoop your batter into the muffin tins and sprinkle your streusel topping on top of the batter. Bake about 12 minutes or until golden brown.
 
Cool on baking racks for 5 minutes.


I hope you have enjoyed reading about the meals I am cooking this week for my family. Stay tuned for the Chicken Skillet Lasagna I cooked tonight, it was a hit!!!
 
God Bless!


Monday, December 1, 2014

2014 December Fun Days and Holidays....


December is here! We can't hardly wait for this time of year. Twinkling lights, baking cookies, singing and listening to Christmas hymns, wrapping gifts, drinking hot cocoa.

We love so many things about December and have so many fun things planned this month. Maybe you could join in on some of the fun.

Stay tuned because we will have lots of pictures to share, great recipes, crafts and more! We are also doing Christmas reading in our bibles. I know I am a little late posting all of this but I will post our scripture we are reading soon.

Here are the holidays and fun days for the 1st 25 days of December.....


Day 1 -  Decorate the inside of our home for Christmas.

Day 2 -  More decorating, putting up the Christmas tree and making No-Bake Fudge. Will share the recipe.

Day 3 -  Make some yummy microwave caramels. Not to fond of cooking in the microwave but my stove is out of commission right now.

Day 4 -  National Cookie Day! We will be making No Bake Chocolate Oatmeal cookies. Will share the recipe.

Day 5 -  We will be making No Bake Pecan Coconut Cookies.

Day 6 -  Make balls out of chicken wire and Christmas lights for outdoor decorations and go see a Live Nativity.

Day 7 -  Cotton Candy Day!

Day 8 -  National Brownie Day! We are going to make Nutella ones.

Day 9 -  Christmas Card Day!

Day 10 - Make some No Bake Oreo Truffles and if we have enough time, maybe some chocolate covered oreos.

Day 11 - Celebrate National Hot Cocoa Day. Its really this coming Saturday.

Day 12 - Make a Christmas Tree Hand Canvas and some fingerpaint canvases.

Day 13 - Ice Cream Day!

Day 14 - Make homemade wrapping paper.

Day 15 - National Cupcake Day!

Day 16 - National Chocolate covered anything day!

Day 17 - Make photo ornaments for the grands!

Day 18 - Make cookie baskets for our Christmas cookies and our annual Van Express Ticket Day!

Day 19 - Christmas Party with friends!

Day 20 - Bake lots of Christmas cookies!

Day 21 - Winter Soltice!

Day 22 - Deliver gifts to the local hospital to the children that are sick.

Day 23 - National Chocolate Day tomorrow! Make something yummy!

Day 24 - Christmas Eve Boxes and bake Jesus a birthday cake!

Day 25 - Celebrate Jesus' birthday and drink some homemade eggnog. Yesterday was National Eggnog Day.


As you can see, we are planning on having some fun this month. Maybe you can check back and see some of the fun things we will be doing!

God Bless!

Wednesday, May 28, 2014

oatmeal-pineapple muffins


This morning my 7 year old bug got up and wanted to make muffins for breakfast. This mommy couldn't pass up the opportunity of cooking breakfast with my sweet girl! Here is a photo and the recipe to these delicious muffins. Adapted from a baking cookbook we found at the dollar store.


OATMEAL-PINEAPPLE MUFFINS


1 stick (1/2 cup) butter, softened
1 cup sugar or in my case, sucanat
1 egg
1 1/4 cups flour
1/2 cup of oats, finely chopped
8 ounces crushed pineapple, with juice
1/2 teaspoon baking soda
1/2 teaspoon salt
1 teaspoon vanilla extract

Preheat oven to 350 degrees.

Cream butter and sugar together. Add the egg, vanilla and pineapple with juice. Mix well. Add flour, baking soda, salt and chopped oats. Mix thoroughly and spoon batter into muffin tins lined with paper liners. Top with a little of crushed pineapple if you have any left from using a large can like we did. Bake for 20-25 minutes until golden brown and toothpick inserted into muffin comes out clean.


Hope you enjoy these as much as we did this morning!

God Bless!


Sunday, May 5, 2013

Blueberry Scones

These blueberry scones are delicious! Not all of my bugs eat and enjoy blueberries so I don't make these too often but when I do, they are so good! My husband's grandparents have beautiful blueberry bushes, so every year, we get alot of blueberries and freeze them. As of right now, we are enjoying blueberry jelly. I am thinking of baking some of these in the morning. Here is the recipe:


BLUEBERRY SCONES


2 cups all-purpose flour
1/2 teaspoon salt
1/4 cup granulated sugar
1 tablespoon granulated sugar
6 tablespoons cold butter, cut into pieces
1 cup fresh blueberries, (I always use frozen)
2 large eggs, beaten
1/4 cup vanilla yogurt (I've used plain Greek)
1 teaspoon vanilla extract
1 tablespoon grated lemon zest or lemon oil
1/2 teaspoon almond extract
2 tablespoons coarse sugar, for sprinkling on top


1. Preheat the oven to 375 degrees and lightly grease a baking sheet or line with parchment paper. Whisk the dry ingredients in a bowl. Add the butter and work it into the dry ingredients until the mixture is unevenly crumbly. Gently mix the blueberries with the dry ingredients.

2. Stir together the eggs, yogurt, vanilla extract, lemon zest and almond extract. Add to the dry ingredients and stir very gently, just until combined. Dough will be moist like cookie dough.

3. Use a muffin scoop, jumbo cookie scoop or 1/4 cup measure to scoop the dough onto the prepared sheet, leaving about 2 inches between each. Brush each ball of dough with a bit of milk or cream and sprinkle with coarse sugar.

4. Bake the scones for 20-24 minutes or until lightly browned and a cake tester or toothpick inserted comes out clean. Remove from the oven and serve warm.

Try these, you won't be disappointed!

Wednesday, January 9, 2013

EASY ARTISAN BREAD

I have been wanting to try to make Artisan bread for quite some time now. We make all kinds of bread around here on the homestead but not Artisan.

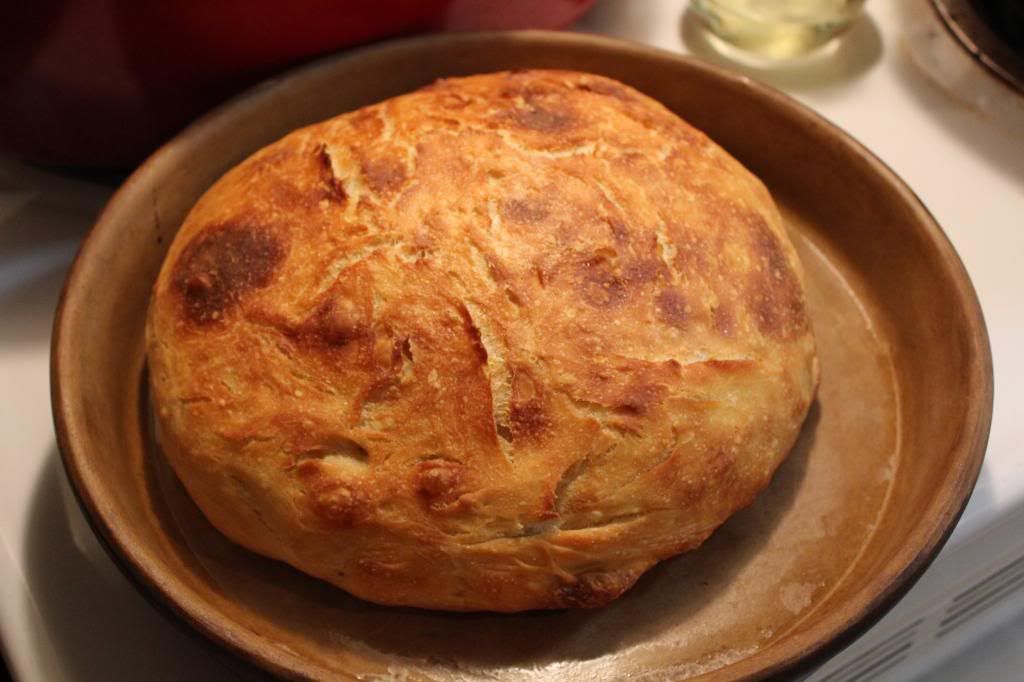
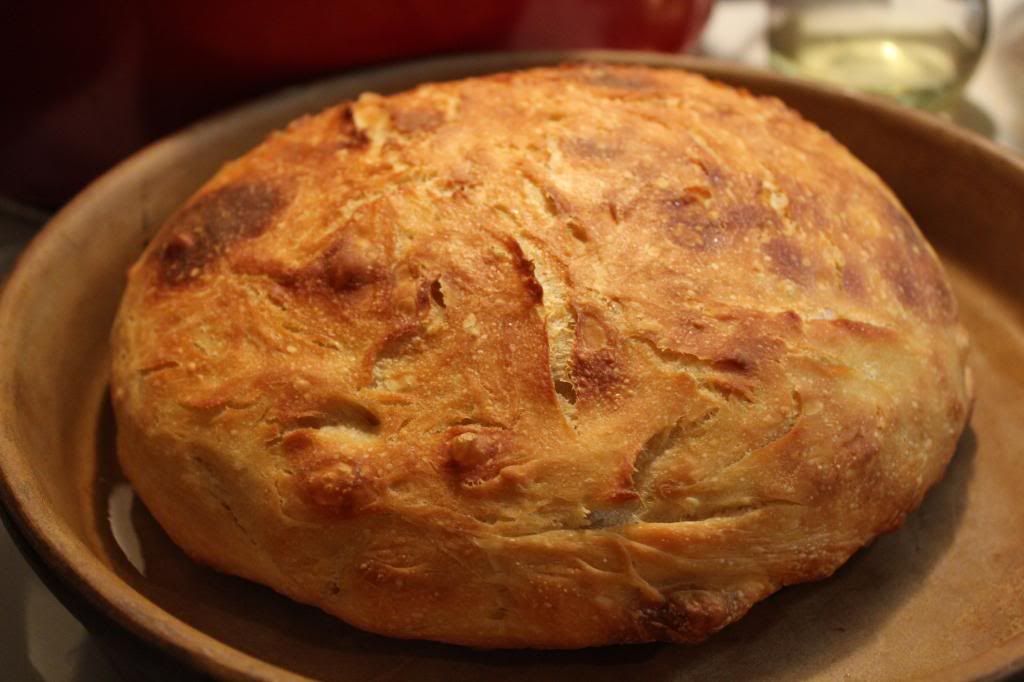
I found a super easy recipe from here and thought I would give it a try. Well guess what? It turned out great!

Here are a couple of  pictures I took of it before I give the ok to devour it! That is just what happened. I don't think it lasted more than 5 minutes.


Here is the very easy and yummy recipe.

EASY ARTISAN BREAD

3 cups flour (calls for all-purpose, we use freshly ground hard white wheat)
1/2 teaspoon yeast
1 1/2 teaspoon salt
1 1/2 cups lukewarm water
Add-ins: Cranberry/white chocolate/pecan
Cranberry cinnamon
Rosemary
Cinnamon Raisin

1. Put first 3 ingredients in bowl and stir until incorporated.
2. If you are going to use add-ins, put them in now.
3. Add the lukewarm water.
4. Cover the bowl with saran wrap. Set aside and let rest for 8-20 hours.
5. After dough has rested, flour a surface or a bowl. Wet hands and pat into a ball-try to get as round as you can. Let it rise for an hour.
6. Meanwhile, preheat you oven to 450 degrees F.
7. Place your pot into the oven at 450 degrees for 30 minutes.
8. After the bread has risen for an hour, take your pot out of the oven and place bread in the hot pot.
9. Bake for 30 minutes. Take lid off and bake another 10-15 minutes.
10. Let cool before slicing.

This is an awesome artisan bread recipe. Try it, you will not be disappointed.

God Bless!


Sunday, December 9, 2012

Day 6 and 7......

Well, as you know by now, we will be behind every day on this! I wish I wasn't a slacker, but, I am, when it comes to my blogging.

Day 6.......


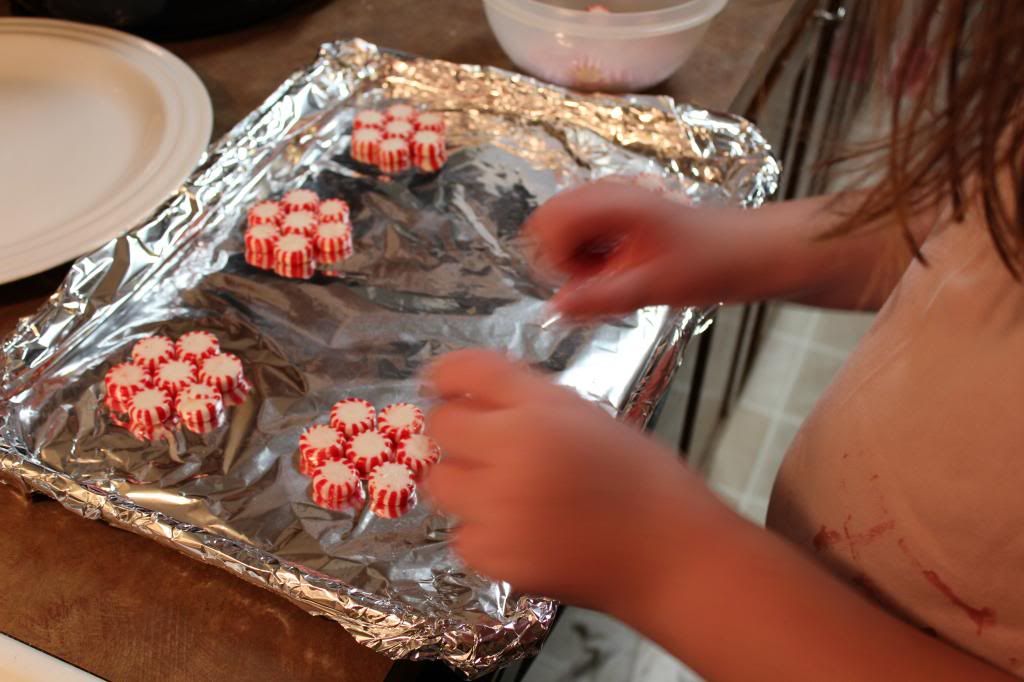
PEPPERMINT ORNAMENTS
 
 
I got this cute idea from here. We had alot of fun making these.
 
 
First we decided what kind of shapes we wanted for the ornaments, then we put them on a foil lined cookie sheet.


This one is our first batch of ornaments and we forgot to leave a space some where, so we could run a ribbon through it and hang it. Our second batch looks like the one hanging on the tree.

After you have them on the cookie sheet, bake them at 250 degrees for about 10 minutes. Let them cool before attaching the ribbon. We decided to take our first batch and hot glue the ribbon to the back of the ornament and it worked fine.

Day 7.......

This day we baked Christmas cookies. The recipe we used was found on the back of a Hershey's Kisses bag. They are Hershey's Kisses Peanut Butter Blossoms.


Here is the recipe off the back of the pack. This recipe makes approx. 4 dozen cookies.

Hershey's Kisses Peanut Butter Blossoms
 
48 Hershey's Kisses
1/2 cup shortening(I uses coconut oil)
3/4 cup creamy peanut butter
1/3 cup granulated sugar
1/3 cup brown sugar
1 egg
2 Tablespoons milk
1 teaspoon  vanilla extract
 1 1/2 cups  all-purpose flour
1 teaspoon baking soda
1/2 teaspoon salt
Granulated Sugar
 
Directions: Heat oven to 375 degrees. Remove wrappers from chocolates. Beat shortening and peanut butter in a large bowl until well blended. Add 1/3 granulated sugar and brown sugar; beat until fluffy. Add egg, milk and vanilla; beat well. Stir together flour, baking soda and salt; gradually beat into peanut butter mixture. Shape dough into 1-inch balls. Roll in granulated sugar; place on ungreased cookie sheet. Bake 8 to 10 minutes or until lightly browned. Immediately press a chocolate into center of each cookie; cookie will crack around edges. Remove from cookie sheet to wire rack and cool completely.
 
 
Day 7 and 8, coming soon!

Thursday, September 27, 2012

a few happenings around the homestead....

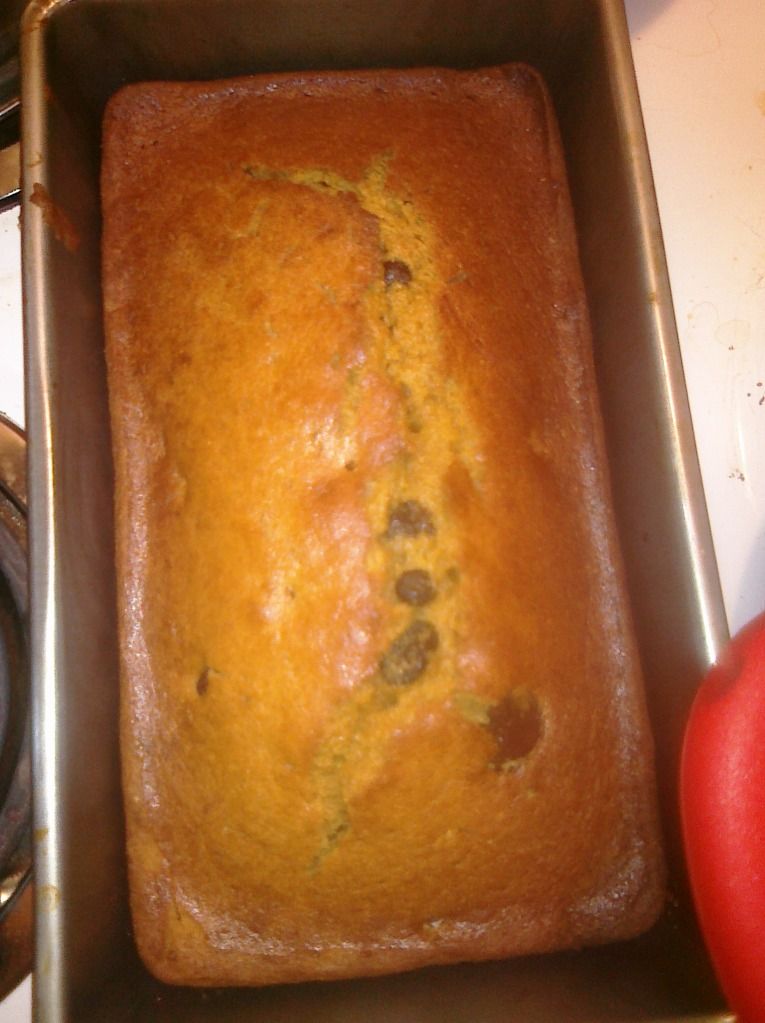
We have been pretty busy around here lately. Tae Kwon Do testing, canning pears and baking up some delicious Chocolate Chip Pumpkin Bread.

Big boy just earned his advanced blue belt in Tae Kwon Do. We are so very proud of him. He works really hard in his classes and at home. Congratulations BIG BOY!!!


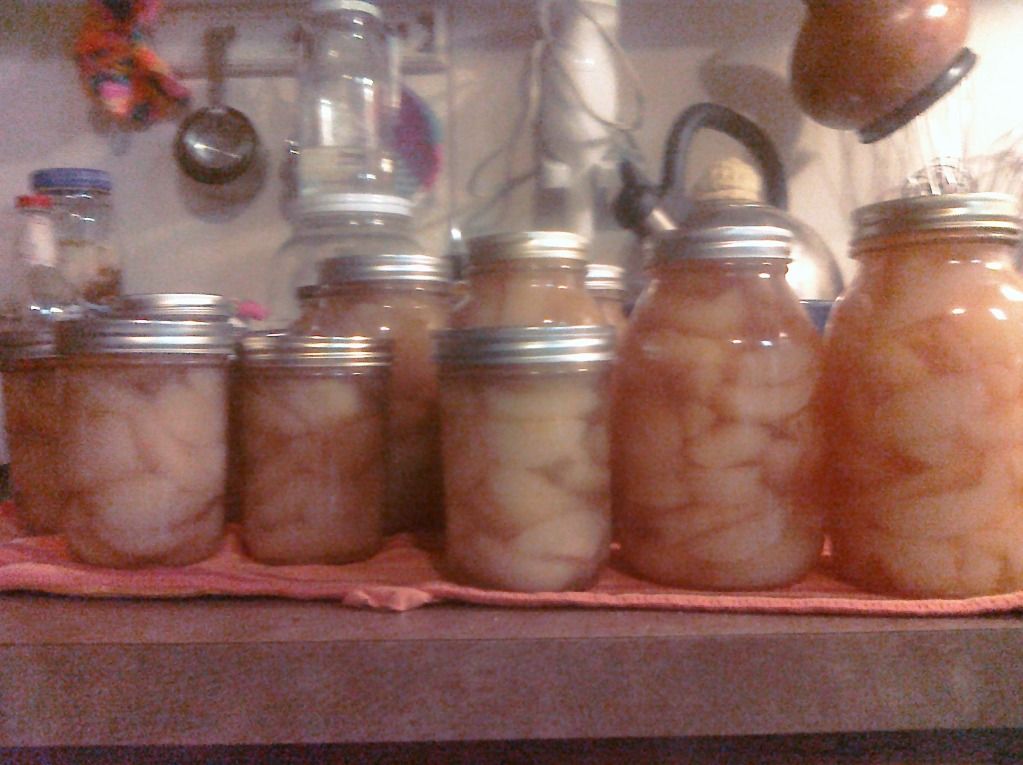
A few weeks ago, one of my dear friends called me and wanted to know if I was interested in some pears. Well, you know me, of course I was! The bugs and I loaded up and went to her home to pick them up. They had already picked them from the trees so all I had to do was go get them. She told me that they picked quite a few and to bring a good many containers with me when I come. I was shocked at the pears. I ended up bringing home five 5 gallon buckets full and 2 more large garbage bags full to share with friends. Now that's alot of pears.

I decided to put mine up in a light syrup, in quart and pint size mason jars. Take a look how pretty.


Another something we like around here is Chocolate Chip Pumpkin Bread. It is our favorite sweet bread around this time of the year. We love Autumn! We still have a little pumpkin left from last year in the freezer so I figured it was time to get it out and bake a little of this bread. I have one really picky eater and he even loves it. For him to know what it is and still like it, it really has to be tasty!

Here is a loaf, still in the pan. It didn't last long after I removed it.


Click HERE for this yummy recipe!

Right now my kitchen smells like apples. We are in the middle of canning apples that we got from an Amish farm in Illinois. I will keep you up to date on that and as soon as I finish with them, I will post some pictures and how to's on  canning apples. Until next time!

God Bless!

Saturday, May 12, 2012

by far the best oatmeal icebox cookies

Today I have been doing a lot of food preparation for our vacation. With a large family, lots of food is needed! We usually take everything with us on our vacations. I do as much food prep, here at home before we leave. Today, I have been making lots of cookie dough. I triple our favorite cookie recipes and store it in ice cream containers in the refrigerator. It's a lot easier to make the cookie dough and take it with us than to take all of the ingredients with us an try to BAKE on vacation. We have two favorite recipes, Oatmeal Icebox Cookies and Chocolate Chip Cookies. My friend shared the icebox cookie recipe with me a while back and it is by far one of the best ever!!! Thanks, Jennifer! Here is  the  recipe for one of  our favorite cookies. This is not the original recipe. I had to make it my own adding and changing a few things.

Oatmeal Icebox Cookies

1/2 cup butter, softened
1/2 cup extra virgin coconut oil
1 cup brown sugar
1 cup organic sugar, or you can use 2 cups sucanat
1 teaspoon vanilla
2 eggs
1 teaspoon salt 
1 teaspoon baking soda
1 1/2 cups fresh ground hard white wheat
3 cups rolled oats

Cream your butter, coconut oil, sugar and eggs together; add the remaining ingredients. Mix well. Pour into a container and refrigerate. You don't have to refrigerate, you can drop by tablespoonfuls onto a cookie sheet and bake at 350 degrees until golden brown.


God Bless!


Thursday, April 19, 2012

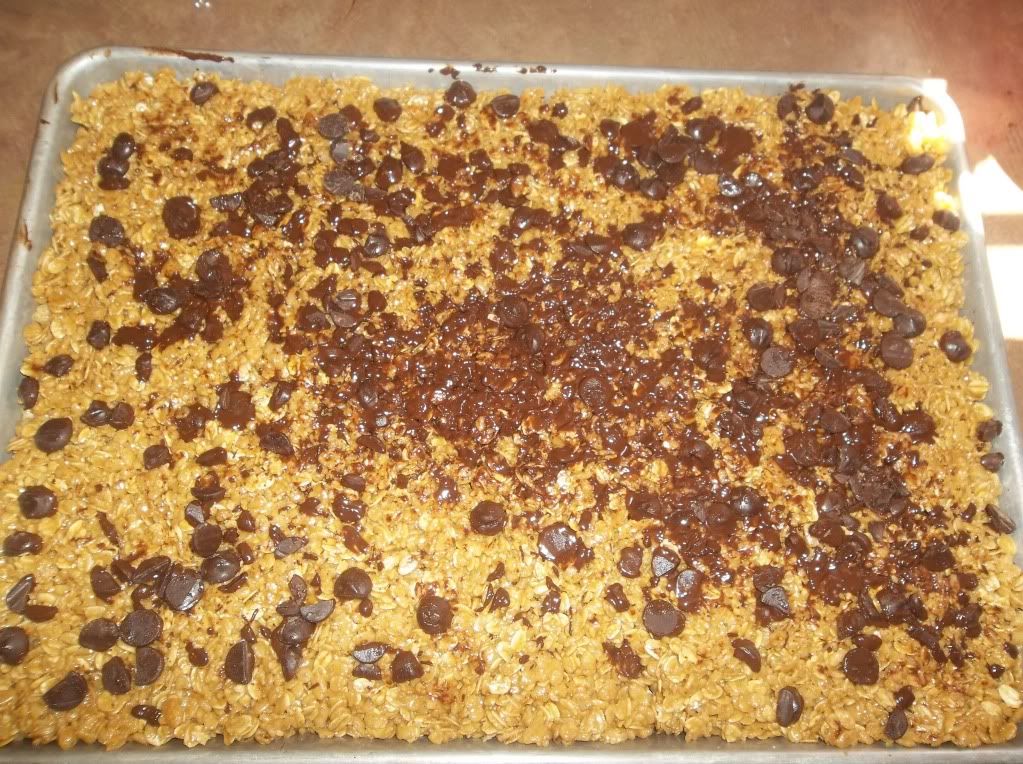
no bake granola bars

Today we are heading out to the Louisiana Homeschool Convention for a used curriculum sale. We will be leaving around lunch and won't be back home until after 5pm. I knew we needed some things yummy to eat to take with us. These no bake granola bars are one of our families favorites. Easy to make and a healthier option compared to other granola bars. Try them, you won't be disappointed!


No Bake Granola Bars

2 1/2 cups Crisp Rice Cereal
2 cups rolled oats
1/2 cup sucanat
1 teaspoon vanilla
1/2 cup honey
1/2 cup all-natural peanut butter
1/2 cup chocolate chips

You can omit the chocolate chips and add dried fruit for a healthier bar.

Combine your cereal, oats and dried fruit if using other than chocolate chips. In a saucepan, heat the honey and brown sugar until boiling and then remove from heat and add your peanut butter and vanilla. Stir this mixture into the cereal and oat mixture and mix well. Oil a baking sheet and press this mixture into it. Be careful, it will be hot. If using chocolate chips instead of dried fruit, press your chips into the granola mixture. They will melt a little but it doesn't affect the final outcome. Let cool and them cut into bars.

Enjoy!


God Bless!

Saturday, December 31, 2011

fresh ground wheat

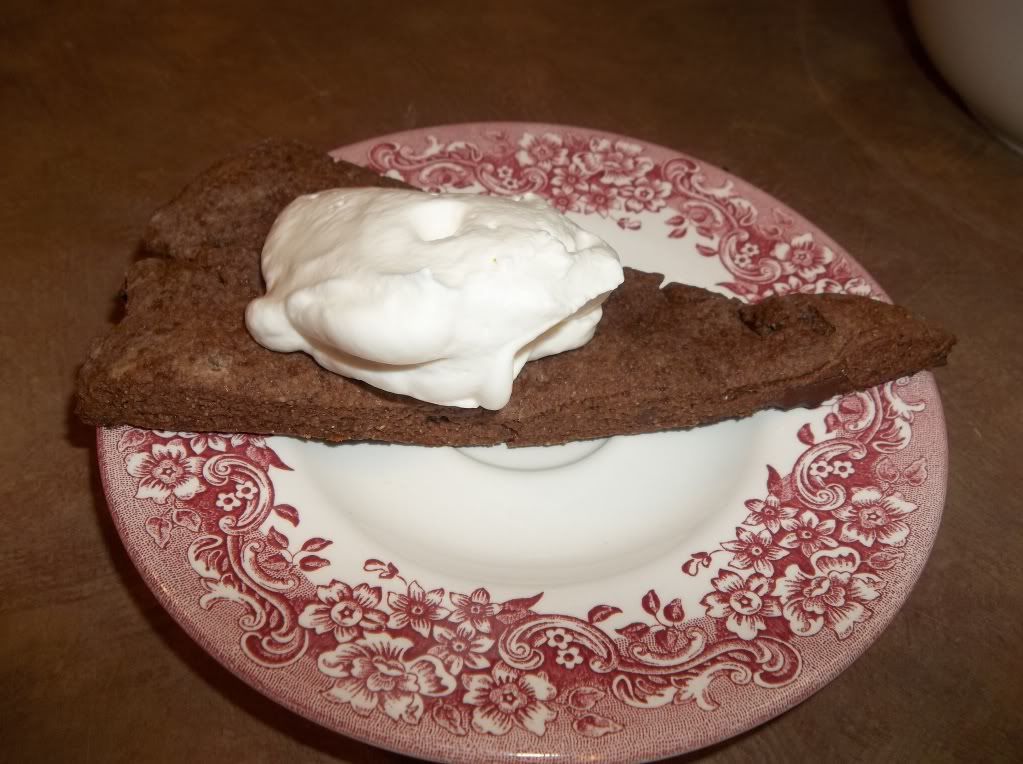
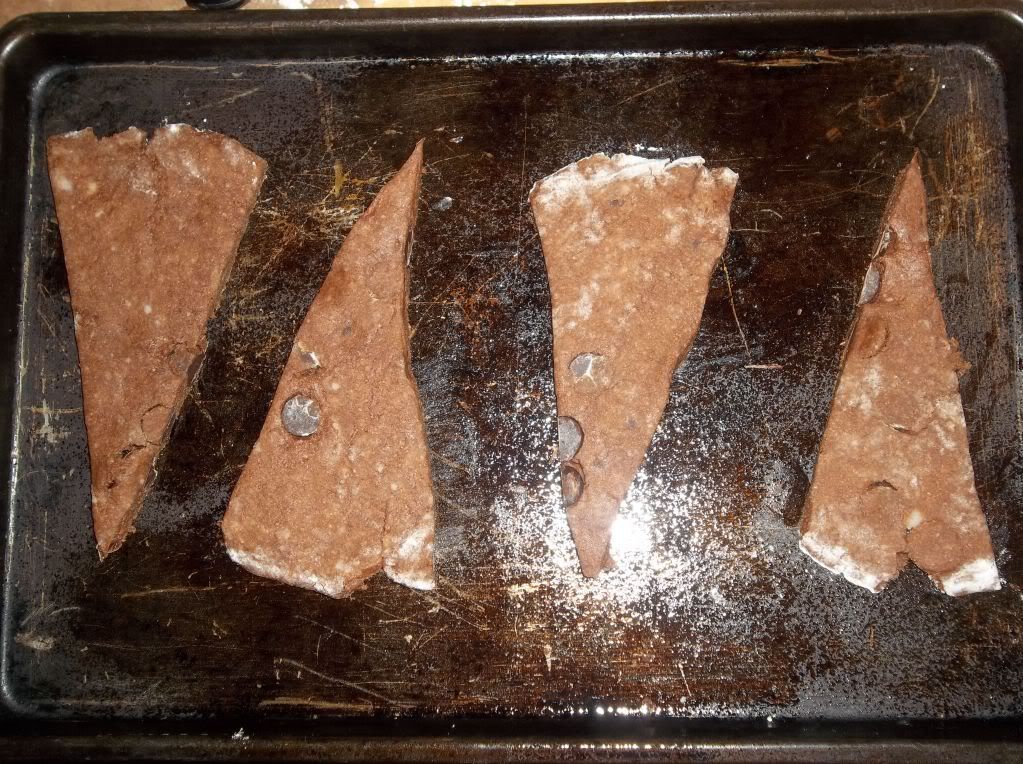
Well, as everyone knows, I finally got my grain mill. Here is our first goody we made with the freshly ground wheat. Delicious!

Chocolate Chocolate Chip Scones
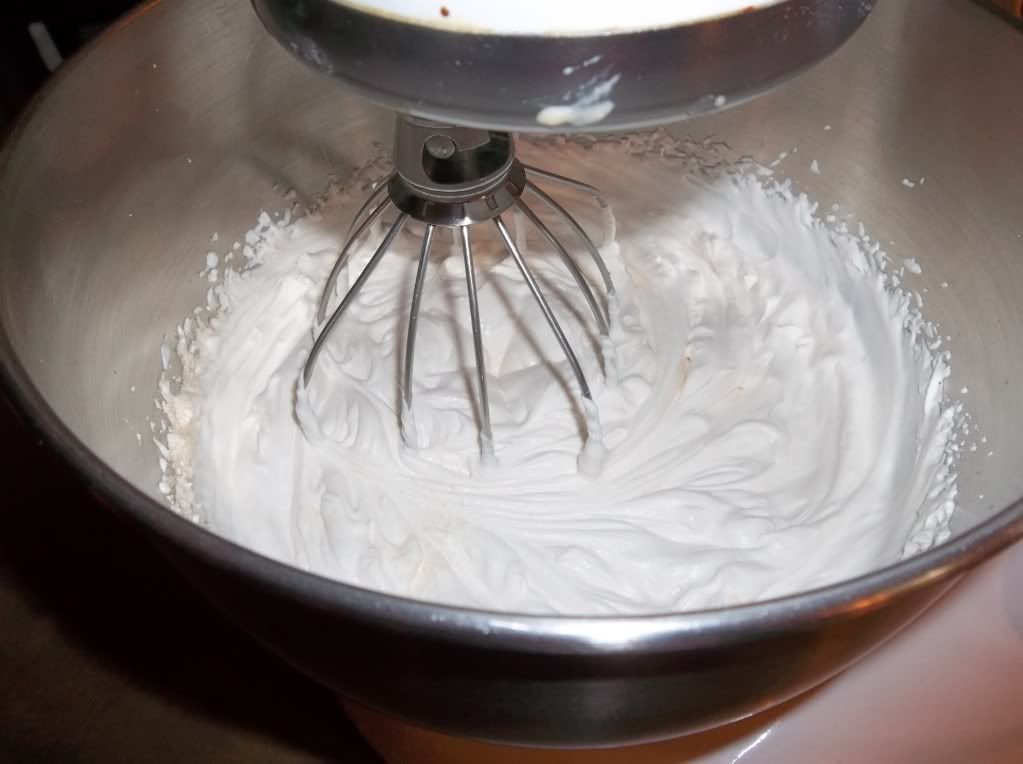
with fresh whipped cream!


1 1/2 cups whole wheat flour
1/4 cup sucanat
2 teaspoons baking powder
1/4 teaspoon salt
1/2 cup butter or coconut oil, cold
1/2 cup milk
1/4 cup cocoa powder
1 cup chocolate chips

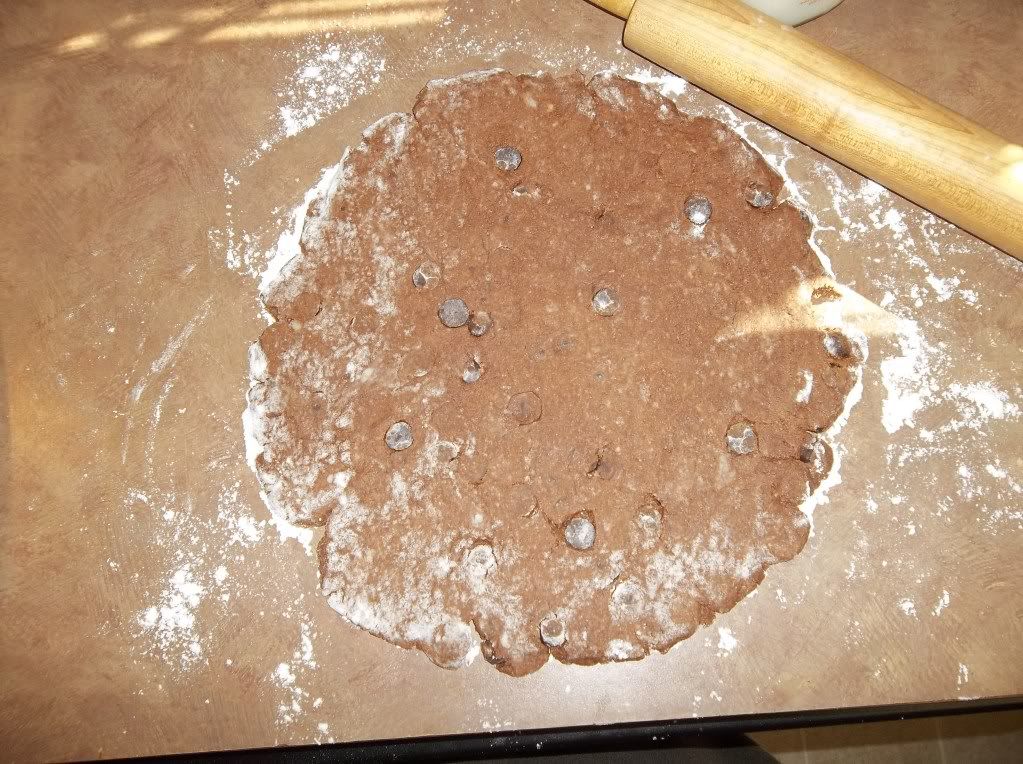
Preheat oven to 400 degrees. In a mixing bowl, combine flour, sucanat, baking powder, cocoa powder and salt. Cut in the butter or coconut oil until the mixture looks like coarse cornmeal. Add the milk and chocolate chips and mix. Turn out onto a floured surface and knead a few times and roll into a thick circle that is about 9-inches around and 1/2-inch thick.

 Cut the dough like you would a pie, into about 12 pieces. Lay pieces onto a lightly greased cookie sheet.


Bake about 15 to 18 minutes. Serve with fresh whipped cream!


Enjoy and Happy New Year!

Thursday, December 29, 2011

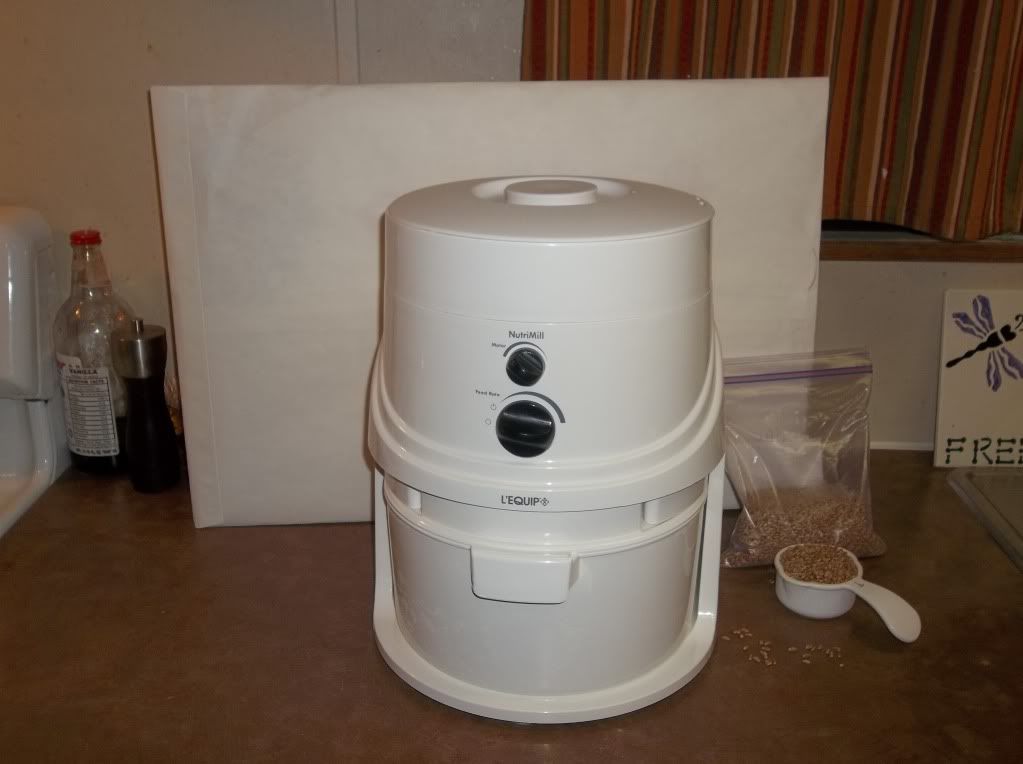
NUTRIMILL!!!!!!!!

Well, we finally got a grain mill. It was a gift from my father and mother-in-law for Christmas. Thank you!!!!


 I have been talking about getting one for a while now. I did quite a bit of research and decided the Nutrimill would be the one for me. We went to a homeschool convention in Memphis, TN this year and I got to see one up close. I am so excited about being able to grind fresh flour each time we make bread, cookies, anything that takes flour. I purchased some grains through one of our food co-ops a while back. My friend was nice enough to bring her mill over and grind some for me. I still had some grains left in the freezer so tonight, the girls and I got them out for a test run.


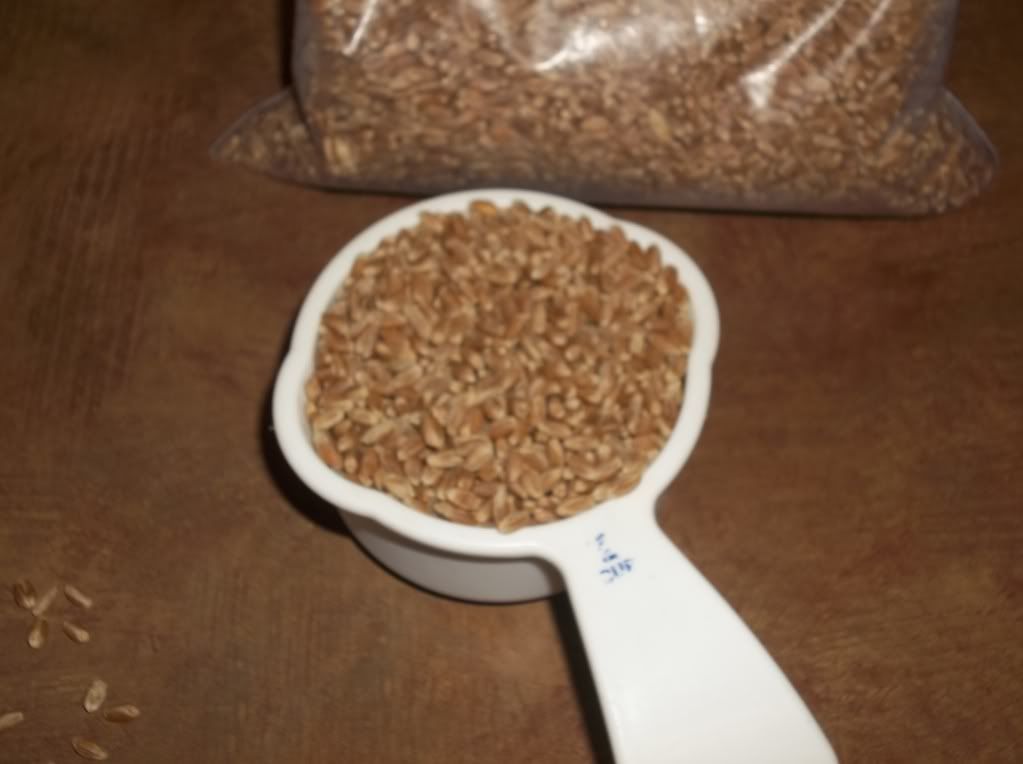
We decided to grind some hard red wheat.


It is amazing how these little grains can be ground so fine by this awesome machine.


We are looking forward to tomorrow so we can bake some delicious, fresh, whole grain bread. We will be using the bread recipe from the West ladies on our Homestead Blessings DVD, "The Art of Bread Making". Here is the recipe. It is delicious!

Bread Dough

2 1/2 cups warm water
2 cups whole wheat flour
2 teaspoons salt
1/2 cup oil
1/2 cup honey
1 Tablespoon yeast

Mix the warm water and yeast in a bowl and let proof for about 5 minutes. Then mix in the salt, oil, honey and 2 cups of flour. Mix well and then add more flour until you have a nice dough, about 4 to 5 cups. Knead and let rise for 30 to 40 minutes in a warm place. Punch down and form into loaves. Place in greased loaf pans and use a fork to poke several holes into the top of the dough. Let rise for about an hour. Bake at 350 degrees for about 30 minutes or until lightly golden brown.

We have even added 2 eggs to give it a little different texture. More like a sandwich bread.


With the flour we milled tonight, I plan on making some yummy Raisin Oatmeal Scones for breakfast in the morning.

God Bless!

Monday, December 12, 2011

Semi-Healthy Homemade Pie Crust

At one of our Keepers meetings last year, a mom in our group taught the girls how to make homemade pie crusts. Ever since then, we have been enjoying the pie crust recipe. It is by far, the best crust I have come across in a long time. We try to cook and eat healthy in our family so I decided to make it a little healthier than the original recipe. Here is the original recipe.

3 cups plain flour
1 cup Butter flavored Crisco shortening
1/2 teaspoon salt
1 Tablespoon white sugar
10 Tablespoons cold ice water

HERE IS MY RECIPE.......

3 Cups organic pastry flour or whole wheat flour (I want to try spelt, just haven't gotten around to it)
1 cup coconut oil
1/2 teaspoon Celtic grey salt
1 Tablespoon Organic sugar
10 Tablespoons cold ice water

Mix all of your dry ingredients. With a pastry cutter, cut in the coconut oil. If your coconut oil is liquid, stick it in the refrigerator for a few minutes until solid, and then cut it in. Add the cold ice water and knead it into a ball. This recipe makes three crusts.

It is best to use the pie crusts fresh. I made three of these crusts and used one of them and put the remaining two into the refrigerator for a day or two. When I was ready to use them, I realized that the coconut oil makes them rock hard. I let them sit out on the kitchen counter for a while. When they become room temperature, they are ready to use. You will need quite a bit of flour to roll them out on. They want to stick. All in all, I think they turned out pretty good.