Showing posts with label In The Kitchen. Show all posts

Thursday, July 9, 2015

Recipe - Day 8

RECIPES!!!!! I love recipes! I don't even know how many cookbooks, homemade and printed I have. I think I snapshot at least two to three a day with my phone.
 
The first one is a new recipe I tried yesterday. I haven't tried these yet but I am pretty sure they will be a hit.


PICKLED SWEET GREEN TOMATOES
 
16 cups sliced green tomatoes
2 cups sliced onions
1/4 cup pickling salt
3 cup brown sugar
1 cup white sugar
4 cups white vinegar
1 cup water
1 Tablespoon mustard seeds
1 Tablespoon whole allspice
1 Tablespoon celery seeds
1 Tablespoon whole cloves
 
Wash and slice tomatoes and onions. Sprinkle with pickling salt and let stand 3 hours. Drain and rinse. Heat the sugar and vinegar and put the spices in a cheese cloth and add them to the vinegar mixture. Heat until sugar is dissolved. Add the sliced tomatoes and onions and cook 30 minutes, until the tomatoes are translucent. Put in hot jars and process in a boiling-water canner, pints 15 minutes and quarts 20 minutes.


I also have a wonderful recipe using blueberries of course! Hope you enjoy!


BLUEBERRY POUND CAKE


1 cup of butter, softened
2cups sugar
4 eggs
1 teaspoon pure vanilla extract
1/2 cup vanilla or plain yogurt, (not in original recipe)
3 cups of flour, divided
1/2 teaspoon salt
1 teaspoon baking powder
1 pint fresh blueberries or 2 cups canned blueberries,
drained and rinsed
 
Cream butter and sugar. Add eggs one at a time and beat until light and fluffy. Add yogurt and vanilla. Sift two cups of flour, salt and baking powder together and add it to the creamed mixture. Dredge blueberries in remaining flour and gently fold into batter. Pour batter into a buttered bundt pan coated with sugar and bake for about 1 hour and 15 minutes. Enjoy!
 
 
God Bless!


Friday, May 15, 2015

When chickens give you eggs....,


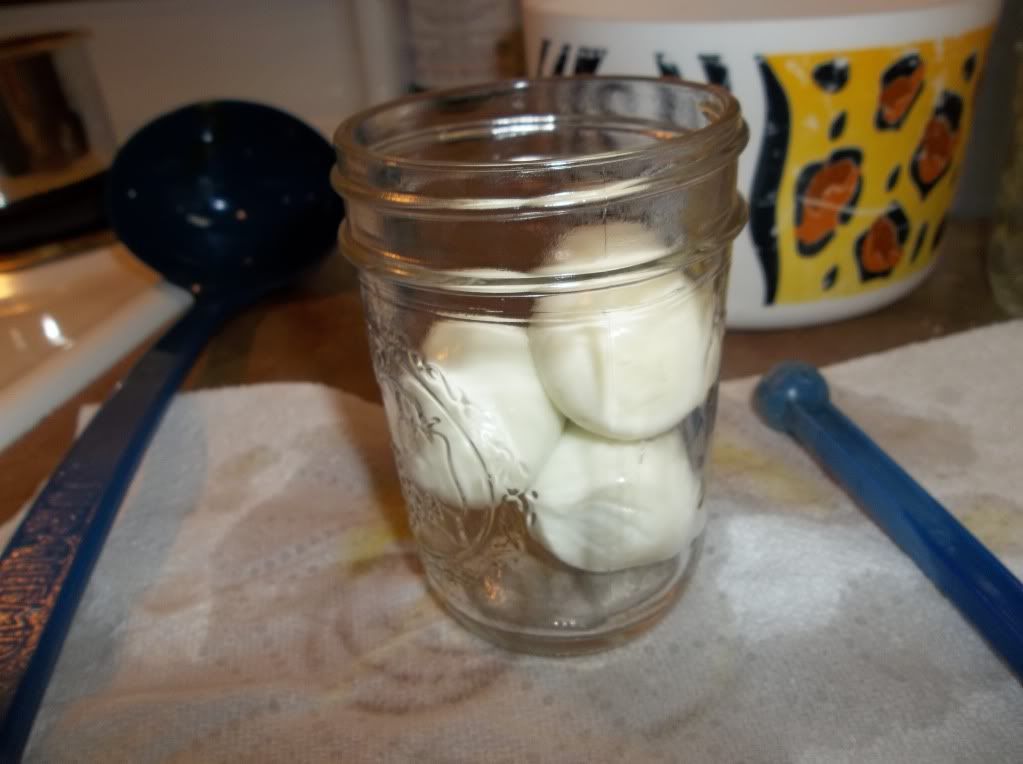
Our chickens have been blessing us for weeks with lots of eggs. So I decided to pickle some. I have pickled eggs before but used a different recipe. I came across this recipe and decided to try something different.


First boil a dozen eggs, I am using smaller eggs that our sweet little Silkies are laying.


While your eggs are boiling, mix together your vinegar, salt, sugar and pickling spice.

 
When this pickling liquid comes to a boil, add 1 large onion, sliced. Let your liquid and onions sit for 5 minutes.
 
Once your eggs are boiled, peel and stuff them into your jars. Ladle your hot pickling liquid and onions into your jars. I used pints.
 
Boil your jarred eggs in a boiling water canner for 5 minutes.


Pickled Eggs
 
12 boiled and peeled eggs
4 cups vinegar
1 teaspoon salt
1 large onion, sliced
1/3 cup sugar
1 tablespoon pickling spice
 
Boil your eggs and while they are boiling combine your vinegar, salt, sugar and pickling spice and bring it to boil. Turn you liquid off and add your sliced onion. Once you have peeled your eggs, pack them into your jars. Ladle the hot liquid and onions over your eggs. Boil in your boiling water canner for 5 minutes.

Sunday, May 5, 2013

Blueberry Scones

These blueberry scones are delicious! Not all of my bugs eat and enjoy blueberries so I don't make these too often but when I do, they are so good! My husband's grandparents have beautiful blueberry bushes, so every year, we get alot of blueberries and freeze them. As of right now, we are enjoying blueberry jelly. I am thinking of baking some of these in the morning. Here is the recipe:


BLUEBERRY SCONES


2 cups all-purpose flour
1/2 teaspoon salt
1/4 cup granulated sugar
1 tablespoon granulated sugar
6 tablespoons cold butter, cut into pieces
1 cup fresh blueberries, (I always use frozen)
2 large eggs, beaten
1/4 cup vanilla yogurt (I've used plain Greek)
1 teaspoon vanilla extract
1 tablespoon grated lemon zest or lemon oil
1/2 teaspoon almond extract
2 tablespoons coarse sugar, for sprinkling on top


1. Preheat the oven to 375 degrees and lightly grease a baking sheet or line with parchment paper. Whisk the dry ingredients in a bowl. Add the butter and work it into the dry ingredients until the mixture is unevenly crumbly. Gently mix the blueberries with the dry ingredients.

2. Stir together the eggs, yogurt, vanilla extract, lemon zest and almond extract. Add to the dry ingredients and stir very gently, just until combined. Dough will be moist like cookie dough.

3. Use a muffin scoop, jumbo cookie scoop or 1/4 cup measure to scoop the dough onto the prepared sheet, leaving about 2 inches between each. Brush each ball of dough with a bit of milk or cream and sprinkle with coarse sugar.

4. Bake the scones for 20-24 minutes or until lightly browned and a cake tester or toothpick inserted comes out clean. Remove from the oven and serve warm.

Try these, you won't be disappointed!

Friday, May 3, 2013

FEELING GOOD!!!

I will be 22 weeks pregnant Monday and I am feeling good! Finally!

I have been catching up on things around the house and garden that I have neglected since I was feeling so bad in my 1st trimester. Now that I am in my 2nd, and feeling great, I decided to play catch up!

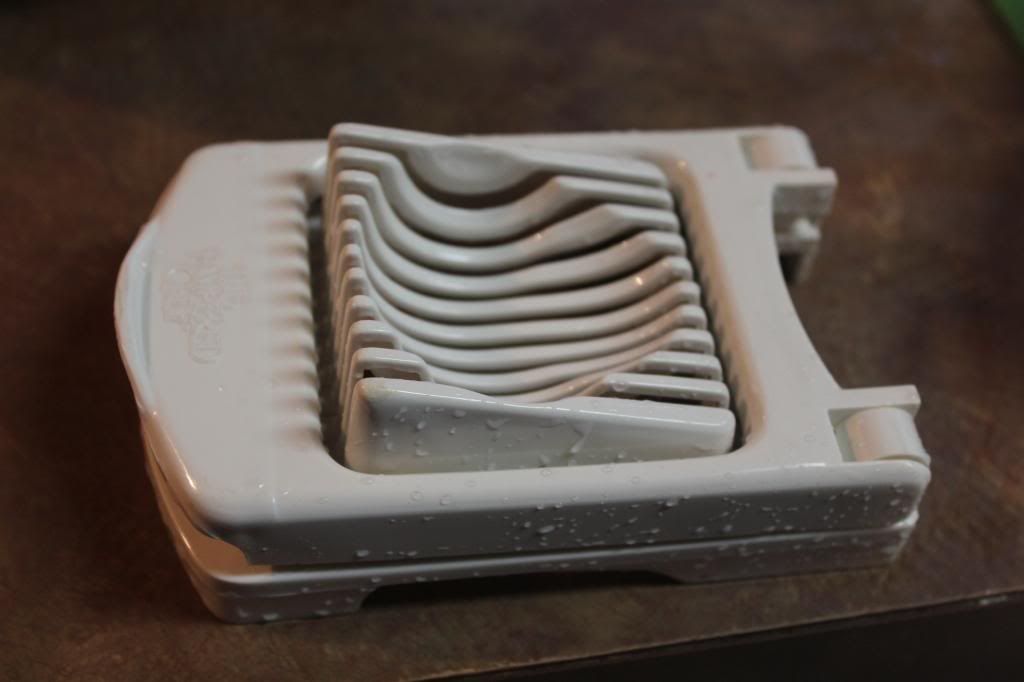
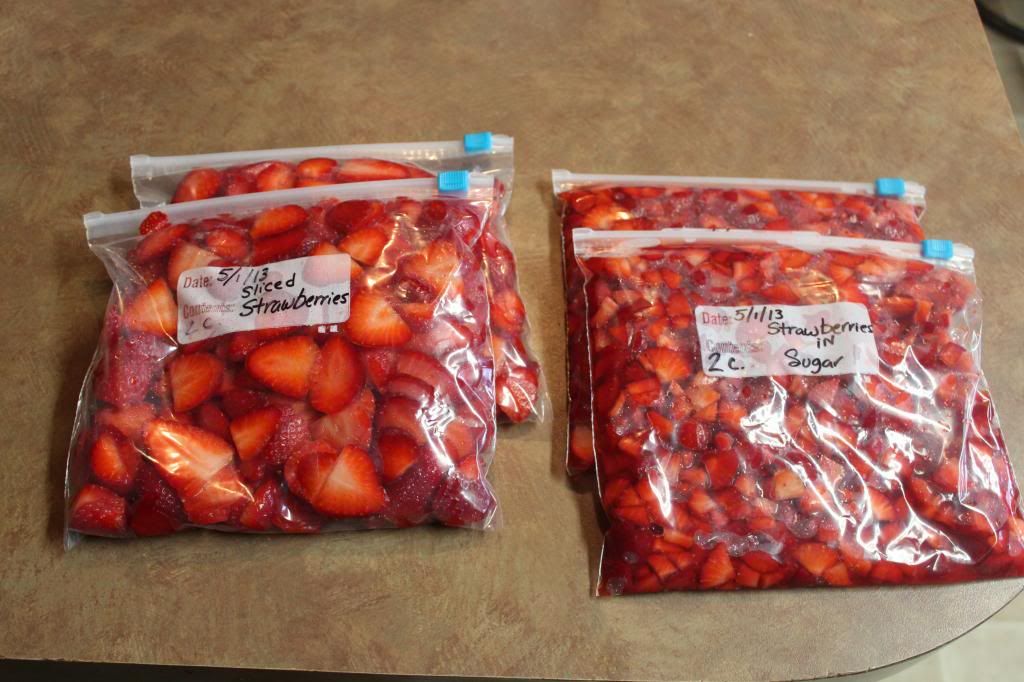
This past Wednesday, one of my best friends called me to let me know that she found strawberries for $7 a flat at a local salvage store near by. I decided this would be a perfect opportunity put some strawberries in the freezer. I ended up with four flats and decided to put some in the freezer, can some of them and make some strawberry jelly! She also let me know how easy and fast it is to use an egg slicer for slicing strawberries. It worked like a charm!

Here is what mine looks like:


I have, so far, put sliced strawberries in the freezer, strawberries with a little sugar (for strawberry shortcake) in the freezer, sliced strawberries up in jars and next week, after our little bugs birthday Monday, make strawberry jelly with the remaining 6 lbs. that is still in the frig.


I figure while I am feeling so good, I might as well do all I can until I start feeling rotten again!

God Bless!
Thursday, April 11, 2013

amish pickled beets and eggs......


Our little Bantam chickens have been laying pretty regularly. They lay small eggs and they are perfect for pickling. I recently found this recipe and thought I would give it a try. They look great, just curious of how they taste! Guess we will see in about a week. I tripled the recipe because I had more than eight eggs!


Pennsylvania Dutch Pickled Beets and Eggs


8 eggs (already hard-boiled)
2 (15 ounce) cans sliced pickled beets, juice reserved
1 onion, sliced
1 cup white vinegar
3/4 cups cider vinegar
1/2 teaspoon salt
1 pinch black pepper
2 bay leaves
12 whole cloves

1. Place beets, onion and peeled eggs in a mason jar (if canning) or a non-reactive glass or plastic container. Set aside.

2. In a medium-size, non-reactive saucepan, combine sugar, 1 cup reserved beet juice, vinegar, salt, pepper, bay leaves and cloves. Bring to a boil, lower heat and simmer for 5 minutes.

3. Pour hot liquid over beets, onions and eggs. Cover and refrigerate 48 hours before using, if you are not canning.

4. If canning, place jars in canner and process for 10 minutes.

Monday, April 8, 2013

a yummy recipe.....

Just wanted to share a yummy recipe that my whole family enjoyed!


Pepperoni Pizza Chili


2 lbs. ground beef
1 lb. bulk ground sausage
1 large onion, chopped
1 large green bell pepper, chopped
4 garlic cloves, minced
1 jar salsa
1 can chili beans(16 oz.), undrained
1 can kidney beans(16 oz.), rinsed and drained
1 can pizza sauce, (12 oz.)
1 pkg. (8oz.) sliced pepperoni, halved
1 cup water
2 tsp. chili powder
1/2 tsp. salt
1/2 tsp. pepper
3 cups shredded mozzarella cheese

Cook beef, sausage, onion, green pepper and garlic in a Dutch oven over medium heat until meat is no longer pink; drain.

Stir in salsa, beans, pizza sauce, pepperoni, water, chili powder, salt and pepper. Bring to a boil. Reduce heat; cover and simmer for 20 minutes. Sprinkle servings with cheese.

Enjoy!

Tuesday, February 19, 2013

what a blessing.......

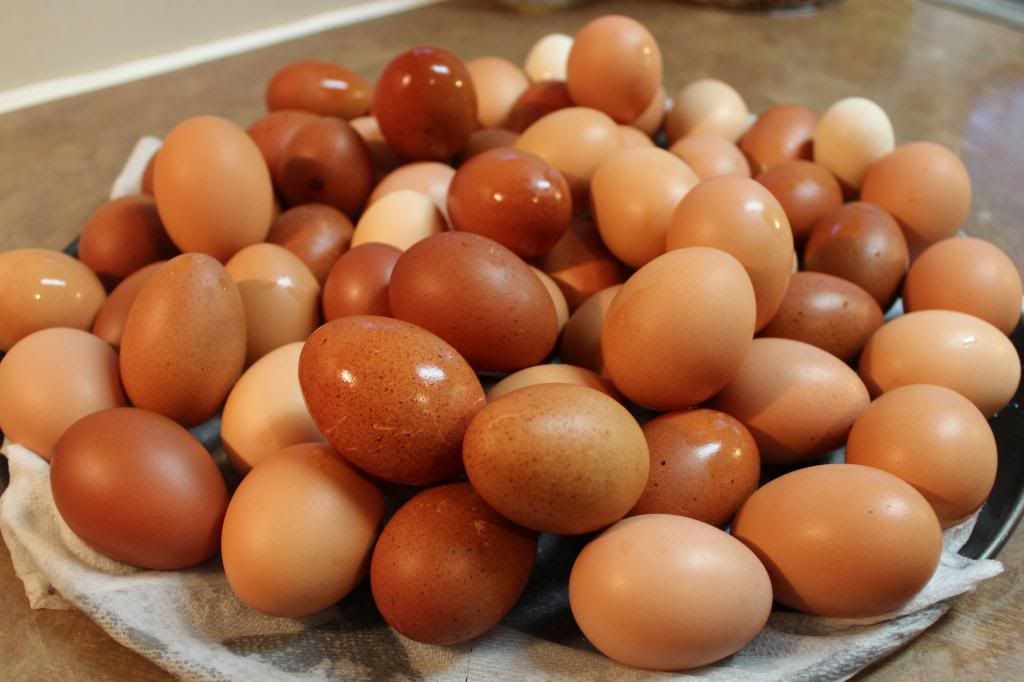
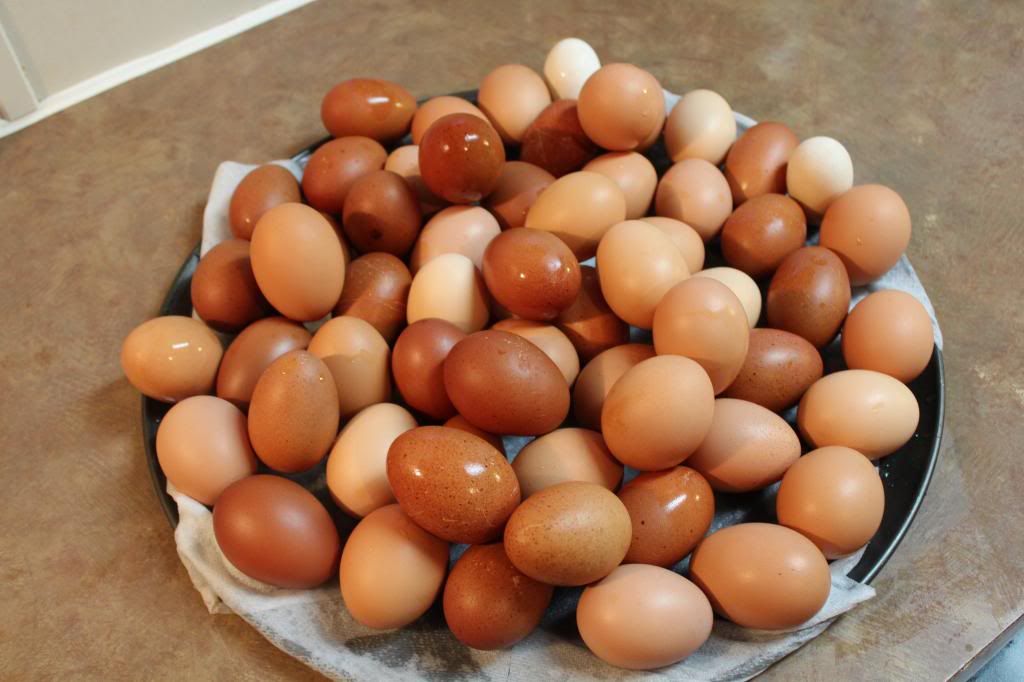
Look at this......


What a blessing! Farm fresh eggs daily. Living on our homestead is one of the most fun and rewarding things I can think of!

We walk out of our back door everyday and we are in AWE! of God's creation.

I wanted to share a recipe that we really enjoy. We love using our fresh eggs in all of our recipes but this has to be one of my favorites!

I attended a cooking school last year that is sponsored by Taste of Home and came home with this wonderful recipe. I have modified it a little to our liking.

Huevos Rancheros

1 tablespoon coconut oil
1 small clove garlic, minced
1/4 cup onion, chopped
1/4 cup green pepper, chopped
1/2 teaspoon jalapeno pepper, chopped, optional
1/4 teaspoon salt
1/8 teaspoon black pepper
1/2 teaspoon oregano
1 cup tomatoes, diced
4 to 6 eggs

1. Heat oil in a medium skillet and saute garlic, onion and green pepper for 5 minutes. Add jalapeno pepper, if desired and cook 1 minute longer. Add the remaining ingredients except for the eggs and simmer, uncovered, for 8-10 minutes or until tomatoes softens.
2. Break eggs into pan in four to six places, depending on how many you use. Continue to cook until bottom of egg is set, and white is almost cooked, or approximately 8 minutes. Cover and cook briefly until white is firm and yolk is lightly cooked. 

We like our eggs very soft for this recipe.


If you try this recipe, I hope you enjoy it as much as we do.

God Bless!
Saturday, January 19, 2013

Homesteading....So Much Fun!

We have been homesteading for a couple of years now. We love it. Little by little, each year, we continue to add to our homesteading. I have had a book for a while entitled "The Backyard Homestead".

The Backyard Homestead: Produce all the food you need on just a quarter acre!


I have read the whole book, two times now, and everytime I read it, I learn something new. We have always had a garden. About three years ago, we added chickens. Here recently we added two dairy goats. They are dry as of right now, but hopefully in March, one of them will kid and we can start milking. We are so excited.

Our plans are to add beef cattle to our little homestead this spring. I would like to raise and grow 100% of our food. It takes time so we will start with baby steps!

The book above has a section in it entitled Raising Pigs. Well, I don't want to raise pigs but around here, there are alot of wild hogs. A couple of weeks ago, we were able to kill and process a wild hog.

So, I got my little book down and went to the section on raising pigs, because I remembered a page about butchering. It tells you step by step on how to butcher your own hog. I figured I would give it a try.

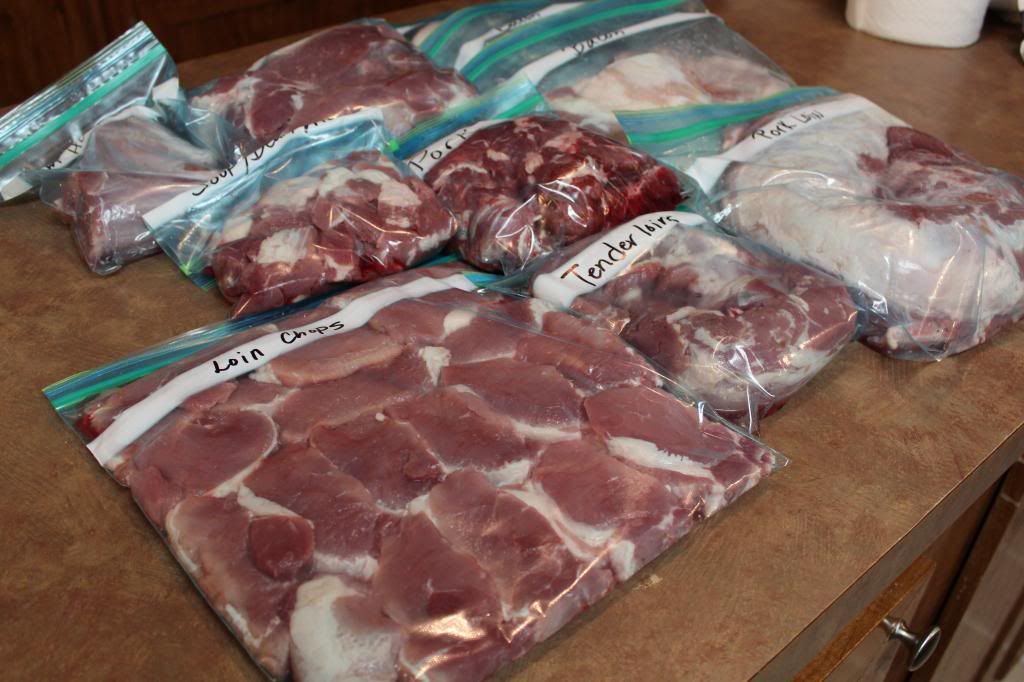
Well, here was the outcome!

I am not sure how many pounds we ended up with but it was alot!

I learned that primal cuts are the large cuts that are often transported to butcher shops for processing and sale. There are seven primal cuts in the halved hog carcass:

Excerpt from the book:

1. The leg, which is comparable to the round in beef and produces boneless leg, ham, and ham steaks.

2. The loin, which can produce blade chops, loin chops, butterfly chops, country-style ribs, back ribs, Canadian-style bacon, loin roasts and tenderloins.

3. The side pork, which yields the bacon.

4. The spareribs, which yield both the ribs and salt pork.

5. The Boston shoulder, from which can come pork cubes, Boston roasts and shoulder rolls.

6.The picnic shoulder, which yields roasts and steaks, ground pork and sausage.

7. The jowl, which can be cured for seasoning meat or sliced like bacon.

It says that no single carcass can produce all the above cuts. We decided what we wanted to try and went for it. It was fairly easy. We were able to cut and process, one whole pork loin, boneless loin chops, two racks of ribs, 4 slabs of bacon(uncured), two Boston roasts, two small boneless leg roasts (good for BBQ), two tenderloins, about 10 lbs. of homemade sausage (not link) and roughly 18-20 lbs. of ground pork. I also had four ham hocks.

We were really happy with the outcome. I am looking forward to processing another one in the near future. I just received a sausage stuffer I ordered and will try to process some link sausage next time.

Until then.....God Bless!
Tuesday, November 6, 2012

A Great Blog and Giveaway!

It's no secret, I love to cook. A few months ago, my sister sent me a link to a blog to check out. I am glad I did. It is now one of my favorite cooking blogs. The bread recipes on this blog are some of the best I have tried.  

Go to What is on your menu this week? and check it out.

She also has a cookbook giveaway going on. It is entitled Savoring the Seasons with Our Best Bites Cookbook. Hop on over to the blog and check it out and enter to win this cookbook! I did!


God Bless!
Thursday, September 27, 2012

a few happenings around the homestead....

We have been pretty busy around here lately. Tae Kwon Do testing, canning pears and baking up some delicious Chocolate Chip Pumpkin Bread.

Big boy just earned his advanced blue belt in Tae Kwon Do. We are so very proud of him. He works really hard in his classes and at home. Congratulations BIG BOY!!!


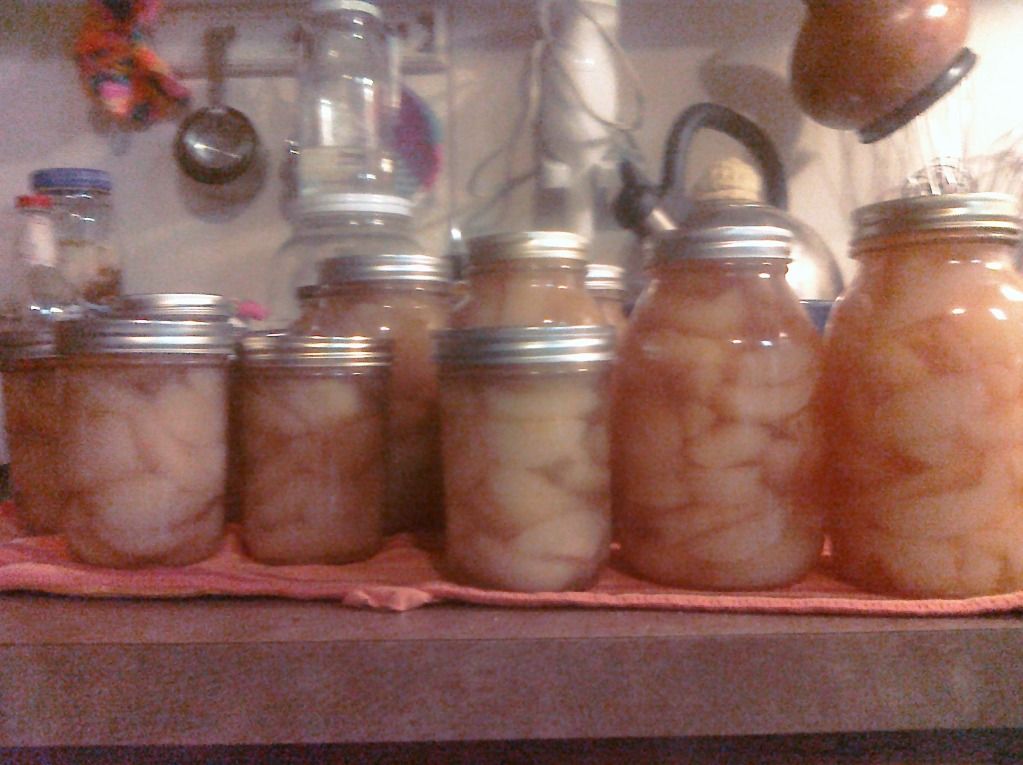
A few weeks ago, one of my dear friends called me and wanted to know if I was interested in some pears. Well, you know me, of course I was! The bugs and I loaded up and went to her home to pick them up. They had already picked them from the trees so all I had to do was go get them. She told me that they picked quite a few and to bring a good many containers with me when I come. I was shocked at the pears. I ended up bringing home five 5 gallon buckets full and 2 more large garbage bags full to share with friends. Now that's alot of pears.

I decided to put mine up in a light syrup, in quart and pint size mason jars. Take a look how pretty.


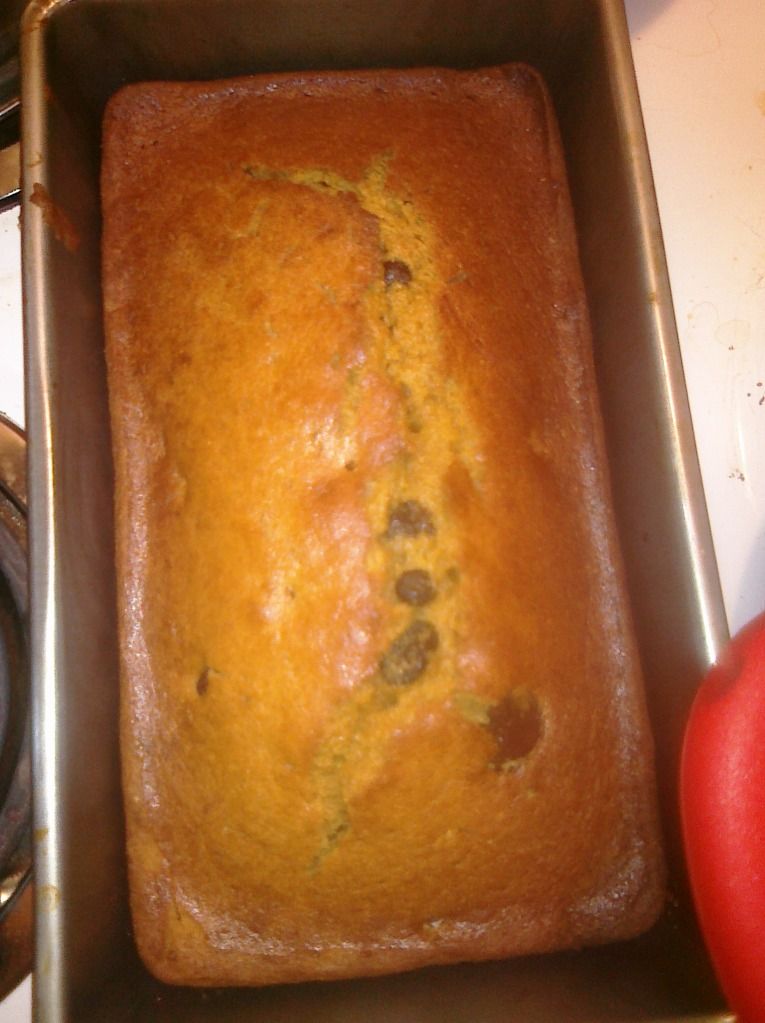
Another something we like around here is Chocolate Chip Pumpkin Bread. It is our favorite sweet bread around this time of the year. We love Autumn! We still have a little pumpkin left from last year in the freezer so I figured it was time to get it out and bake a little of this bread. I have one really picky eater and he even loves it. For him to know what it is and still like it, it really has to be tasty!

Here is a loaf, still in the pan. It didn't last long after I removed it.


Click HERE for this yummy recipe!

Right now my kitchen smells like apples. We are in the middle of canning apples that we got from an Amish farm in Illinois. I will keep you up to date on that and as soon as I finish with them, I will post some pictures and how to's on  canning apples. Until next time!

God Bless!

Saturday, August 25, 2012

cheap cherry pitter....

My family loves fresh cherries. In the past, I use to just cut the cherry in half and dig the pit out. It would be easy if you have a pitter but I don't , so........ I was on a blog the other day and found a very easy and cheap way to get the pit out of a cherry. Can you guess what I an using?


A STRAW! Yep, that's what I said, a STRAW. Can you believe it!

Here is how to do it:

Remove the stem of a cherry.


Take your straw and put it where you removed the stem.


Twist your straw and push it through to the bottom and BAM! Pit is out! It's that easy!


I tried just regular, store bought straws and they worked but are a little flimsy. I purchased some heavy duty plastic cups with straws and they work great. The more sturdy the straw, the easier it is too push the pit through the cherry.

Just a little something I learned from someone else that I thought I would share.

God Bless!
Frugal Family 2013

Linked up to: http://www.benandme.com/2013/01/frugal-family-pot-roast-three-meals.html

Saturday, May 12, 2012

by far the best oatmeal icebox cookies

Today I have been doing a lot of food preparation for our vacation. With a large family, lots of food is needed! We usually take everything with us on our vacations. I do as much food prep, here at home before we leave. Today, I have been making lots of cookie dough. I triple our favorite cookie recipes and store it in ice cream containers in the refrigerator. It's a lot easier to make the cookie dough and take it with us than to take all of the ingredients with us an try to BAKE on vacation. We have two favorite recipes, Oatmeal Icebox Cookies and Chocolate Chip Cookies. My friend shared the icebox cookie recipe with me a while back and it is by far one of the best ever!!! Thanks, Jennifer! Here is  the  recipe for one of  our favorite cookies. This is not the original recipe. I had to make it my own adding and changing a few things.

Oatmeal Icebox Cookies

1/2 cup butter, softened
1/2 cup extra virgin coconut oil
1 cup brown sugar
1 cup organic sugar, or you can use 2 cups sucanat
1 teaspoon vanilla
2 eggs
1 teaspoon salt 
1 teaspoon baking soda
1 1/2 cups fresh ground hard white wheat
3 cups rolled oats

Cream your butter, coconut oil, sugar and eggs together; add the remaining ingredients. Mix well. Pour into a container and refrigerate. You don't have to refrigerate, you can drop by tablespoonfuls onto a cookie sheet and bake at 350 degrees until golden brown.


God Bless!


Wednesday, April 4, 2012

our first dewberries!!!

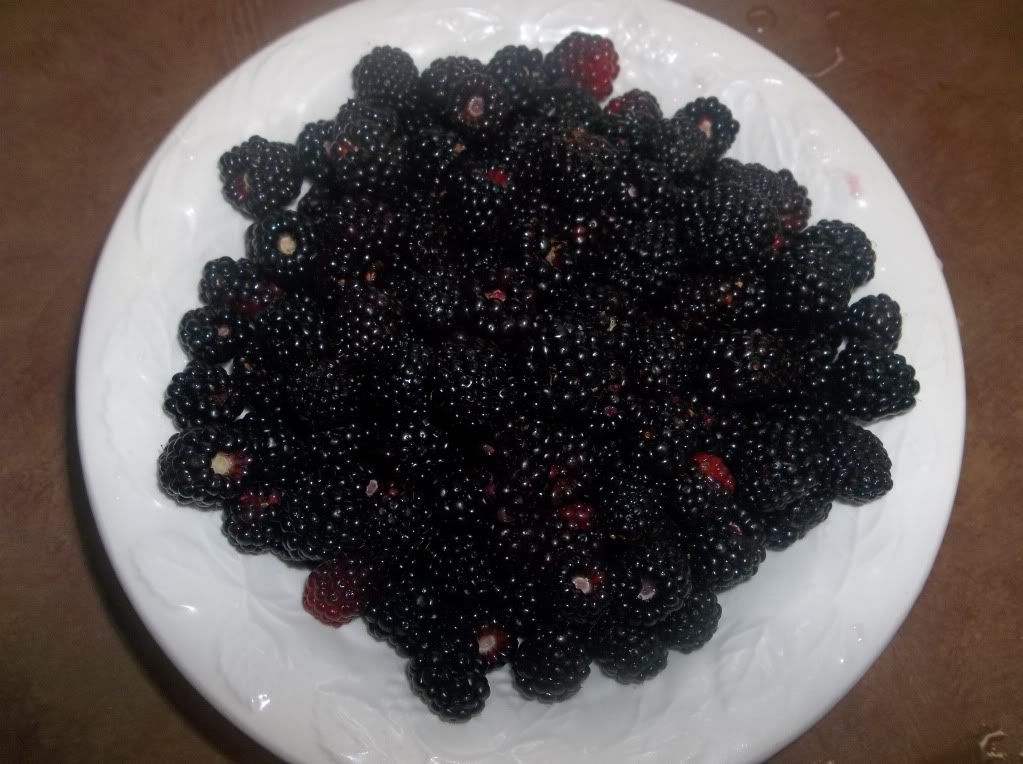
The bugs and I decided to go for a little walk down our driveway today and pick some flowers that are growing along the road. Take a look at what we found along the way.

DEWBERRIES!!!

How fun it is to go for a walk and find something like this growing and ready to be harvested to eat and enjoy. So, of course, we had to come home and make us a smoothie with these beautiful berries. It also gave us the perfect opportunity to try some of our kefir we have been making with our kefir grains. Here is the recipe we use to make smoothies. It comes out of the Nourishing Traditions cookbook.


Cultured Milk Smoothie

1 1/4 cups whole-milk buttermilk, kefir or yogurt
1 ripe banana or 1 cup berries(frozen or fresh)
2 tablespoons coconut oil
2 egg yolks
3-4 tablespoons maple syrup
1 teaspoon vanilla

Smoothies made with good quality cultured milk make a wonderful snack, quick breakfast or strengthening meals for invalids. Unfortunately, most commercial smoothies contain soy protein powder and problematic sweeteners. Fortunately, smoothies are easy and quick to make at home.

Place banana or berries in a food processor or blender and process until smooth. Add remaining ingredients and process until well blended.

****We also add about 1/2 cup of our raw cream to this. It makes it real creamy.****


Looks like we will have as many dewberries we had last year if not more!!!


God Bless!

Friday, March 2, 2012

trying to eat healthier around here!!!!!!!

A while back I purchased a book entitled "Nourishing Traditions".

 I have been a little lazy in trying to keep us eating healthy. I have tried some of the recipes and they were good although I have to admit, I have not used it like I originally planned. I am planning a menu plan to post tomorrow. On my 7 day menu plan, I will be using the Nourishing Traditions book for everything we eat starting Sunday. We are also going to start a little exercise regimen along with our new way of eating. I am hoping to learn alot from this book and how I can improve my families health. Everything from making and using bone broth to eating and enjoying fermented foods. Wish me luck!

Friday, January 27, 2012

the most delicious soup EVER!!!

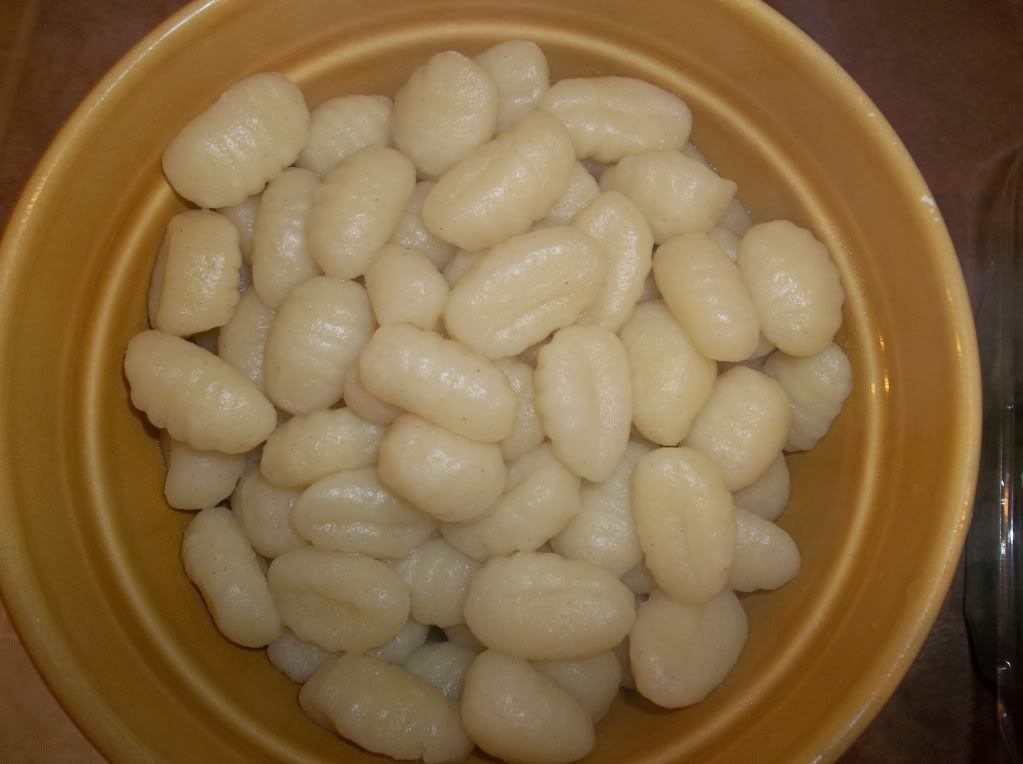
This has to be the most delicious soup ever. The other night I wanted to make soup for supper. Not just any soup. Something new. I came across this recipe for Chicken Gnocchi Soup on a blog that I follow. It sounded so yummy. I decided to make it a few nights ago and was very happy with the results. Here is how I did it. I had to double the recipe.

Chicken Gnocchi Soup

1 lb. mini Gnocchi (I used regular)
2 tablespoons butter
1 tablespoon olive oil
1 large onion, finely diced
4 ribs celery, finely diced
4 carrots, finely diced or shredded
3 garlic cloves, minced
3 tablespoons flour
1 cup heavy cream
1 cup greek yogurt (I used plain)
2 cups milk
2 chicken breasts, cooked and diced
14 ounces chicken broth
2 cups fresh spinach, coarsely chopped
1 tablespoon parsley
Parmesan cheese (optional)

Drop gnocchi into a pot of boiling water and cook until it floats, about 2 minutes. Drain and set aside.


In a large saucepan, melt the butter and oil and add onion, celery, carrots and garlic. Saute until the veggies are soft. Add flour, stir and cook about 1 minute. Add the cream, yogurt and milk. Bring to a simmer, then add the chicken.

Once the mixture has thickened, add the broth and return to a simmer. It will thicken again. Then stir in the cooked gnocchi, spinach and parsley and simmer until soup and herbs are heated throughout. Top with freshly grated Parmesan cheese
This was really a good soup. I had my doubts about it at first. I have never eaten gnocchi but to my surprise, I really liked it. So did my whole family.

This soup, like most any soup freezes well. Make a huge batch and freeze for later!


God Bless!
Monday, January 16, 2012

yummy treat

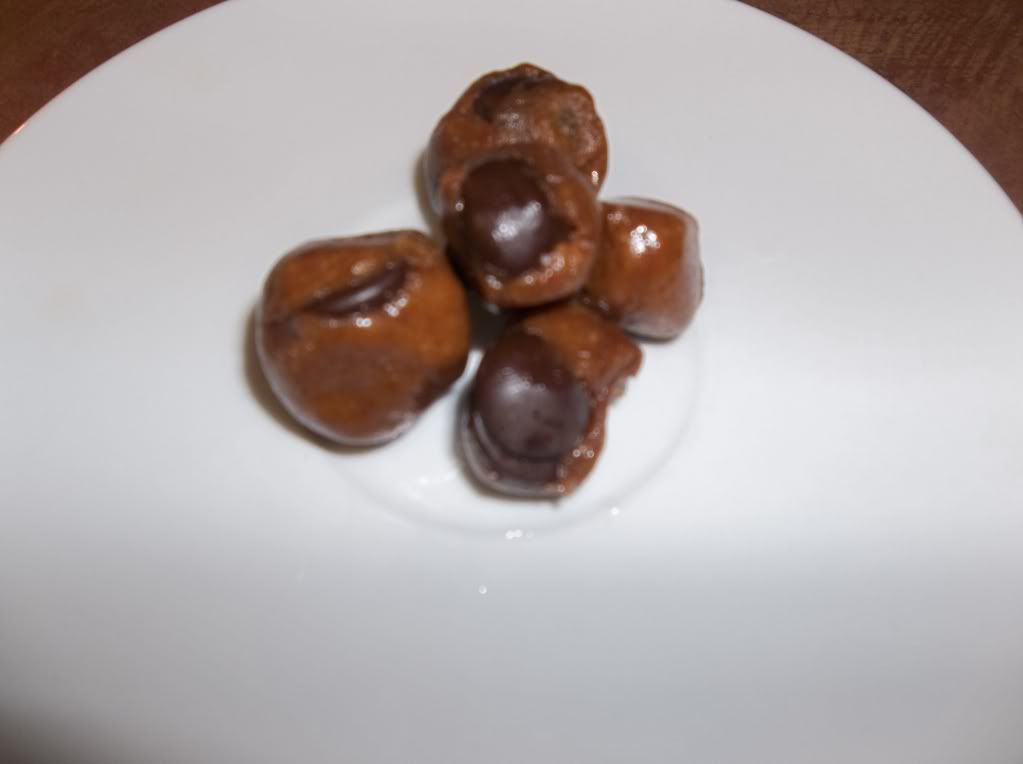
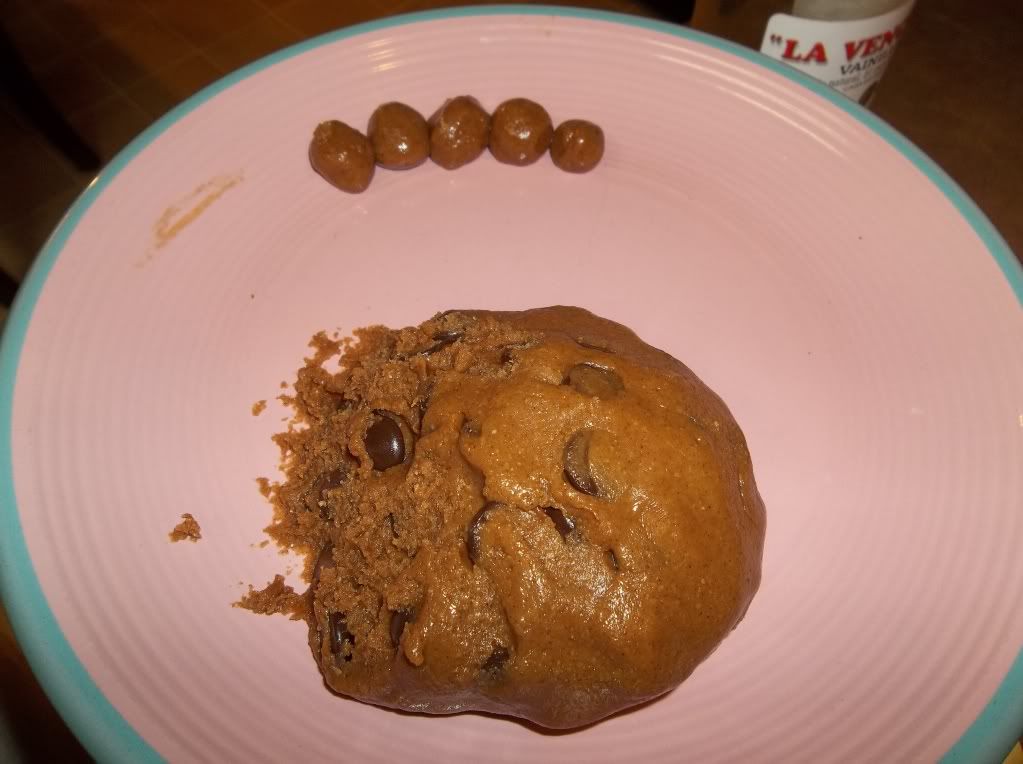
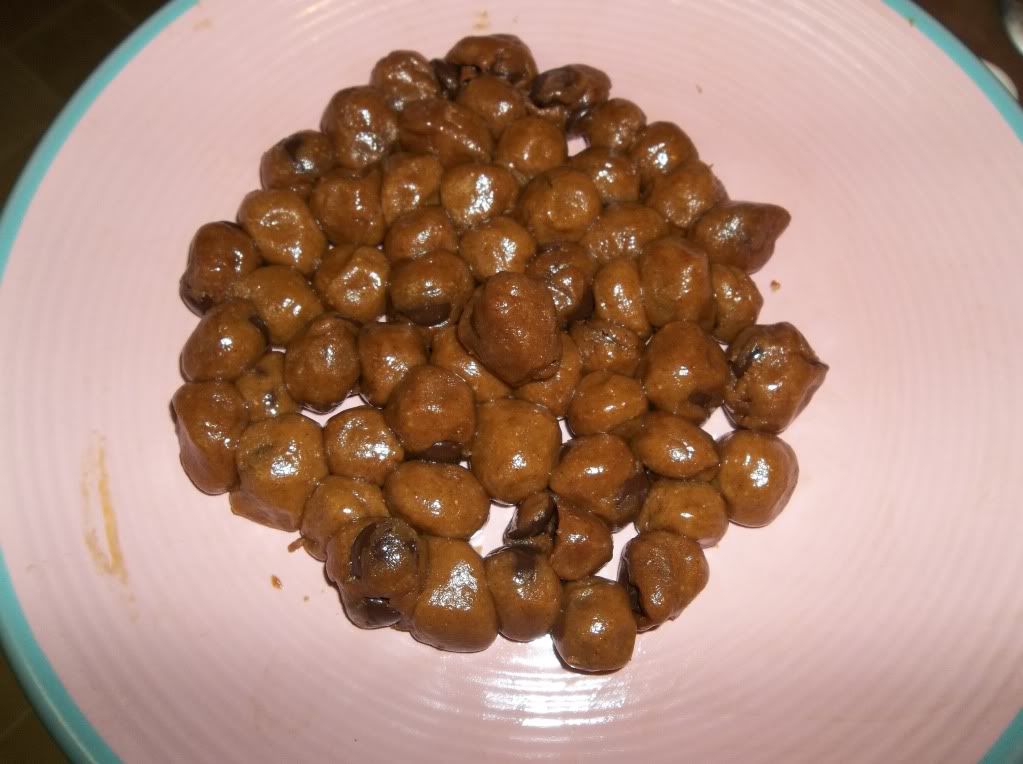
Here lately, we have been making lots of homemade ice cream with our raw cow's milk and raw cream. We usually make either vanilla or chocolate ice cream. The other day I ran across a recipe for Raw Cookie Dough Bites on The Nourishing Home site I follow.

 I thought it might be a treat to make some of these to enjoy with our homemade ice cream. Boy,am I glad we did. They are delicious with the vanilla ice cream. Thought I would share this yummy treat!

Raw Chocolate Chip Cookie Dough Bites

1/2 cup creamy raw almond butter
1/4 cup, plus 1 Tablespoon raw honey
1/2 teaspoon vanilla extract
1/4 cup, plus 1 Tablespoon coconut flour
1/4 teaspoon sea salt
1/2 cup dark chocolate chips
The original recipe called for ground flax seeds, I didn't have any, so, we just left that out.

In a large bowl, mix together raw almond butter, honey and vanilla until creamy and well blended. In a separate bowl, combine the coconut flour and salt. Add the dry ingredients to the wet ingredients and mix well to combine. Use your hands to knead the dough. Fold in the chocolate chips. If the mixture is too wet, add more flour. Scoop out tablespoon size portions and roll into one-inch balls.
Refrigerate for 30 minutes.


You can also use all natural peanut butter to make Peanut Butter Chocolate Chip Dough Bites!
God Bless!!!
Thursday, January 12, 2012

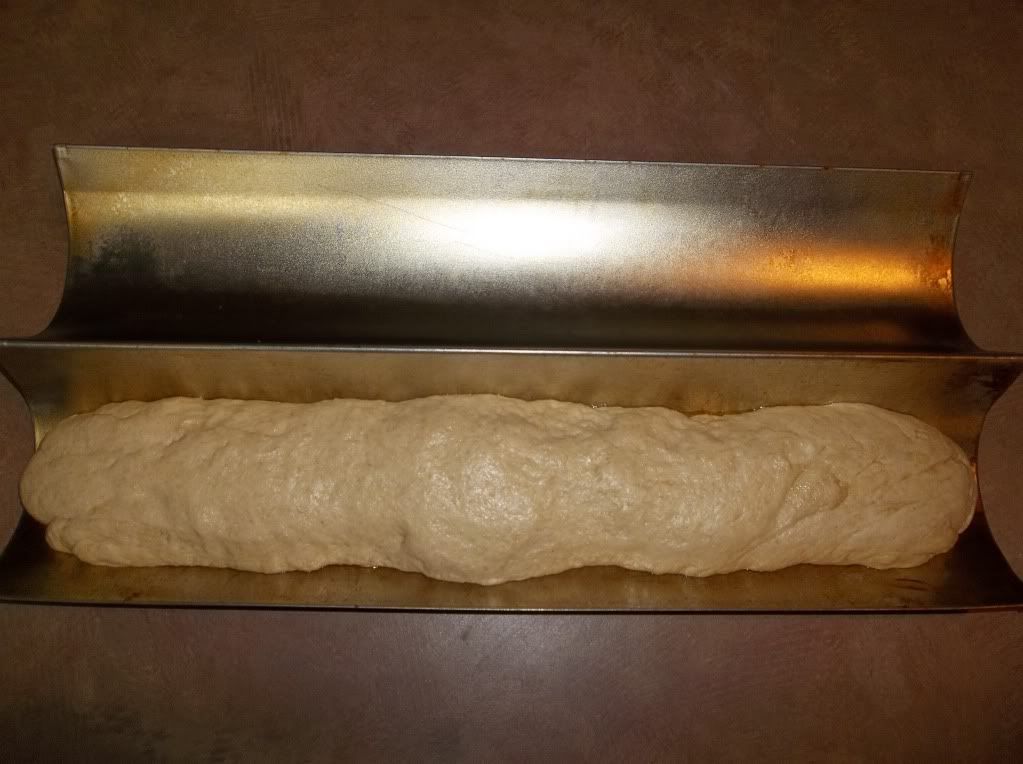
Homemade French Bread

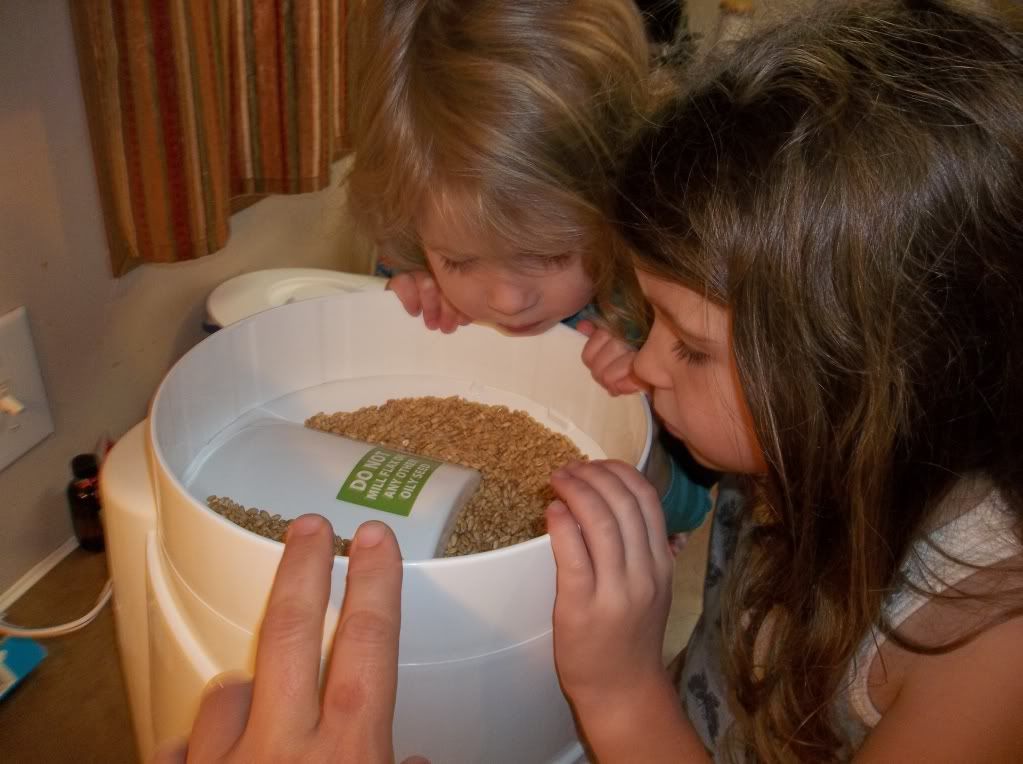
Today the little ones helped me grind grain and make a loaf of homemade french bread.
They are so curious about things. Earlier they were sorting different colored beans for some of their  school today and I explained that the beans they were sorting could be put in our Nutrimill and ground into powder. I guess they were curious how something as hard as beans could be turned into flour. They have seen me grind grains before but not up close like today. The had fun. After we had ground our grains into flour, we decided to make some french bread for supper tonight. I used a different recipe than I usually do. I turned out pretty good. I am still getting use to how different things taste when you use freshly ground flour. I have had this recipe for a long time. I cut it out of a magazine I used to get in the mail. Here it is....

French Bread

2 cups bread flour
1 cup all-purpose flour
(I used fresh ground soft white wheat)
1 Tablespoon yeast
2 teaspoons organic sugar, I have also used Sucanat
1 teaspoon salt
1 cup warm water
2 Tablespoons olive oil

Combine the flour, yeast, sugar and salt in a large bowl. Stir in the warm water and oil. Mix until it is incorporated. It will be sticky. Pour out onto a floured surface and knead , adding flour to prevent sticking. Knead about 10 minutes and then transfer to greased bowl, turning to coat. Cover and let rise. When it has doubled in size, punch down, divide dough in half and shape into loaves. We made one large loaf but I think two smaller loaves would be best.

 Transfer to french loaf pan or baking sheet. Place bread in cold oven and turn on to 400 degrees and bake for about 30 to 35 minutes or until loaves are puffed, golden and sound hollow when tapped on bottom.

(Personally, how do you tap an extremely hot loaf of bread on bottom!!!!!) Transfer to wire rack to cool slightly.


Monday, January 9, 2012

unplanned events.....

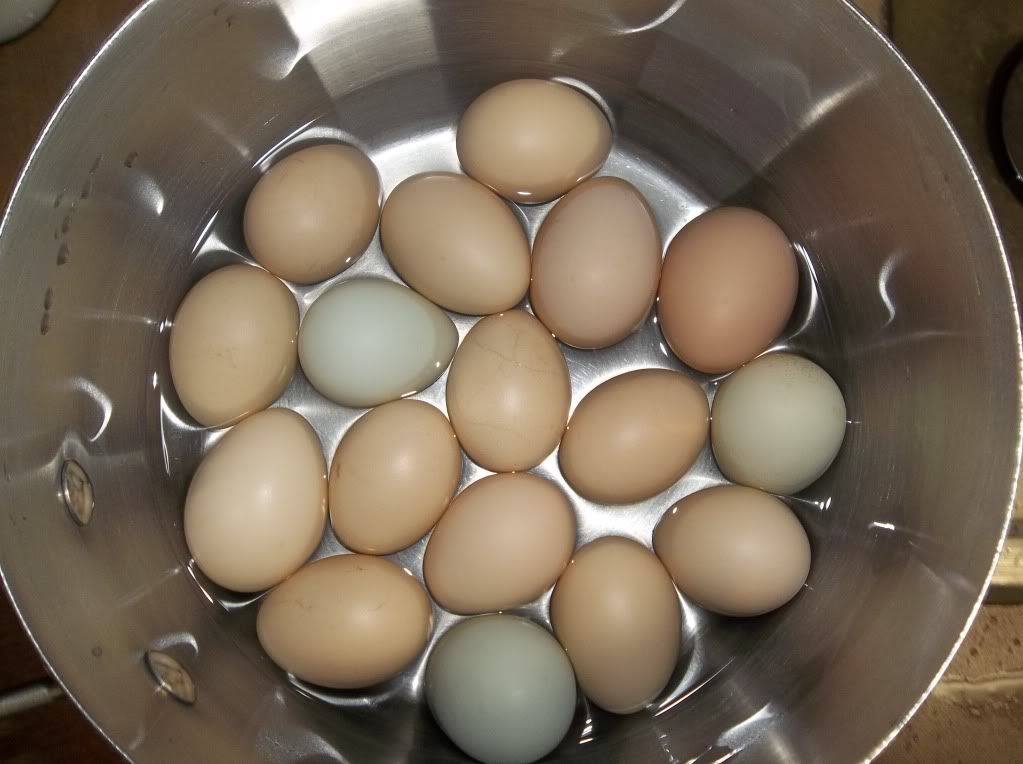
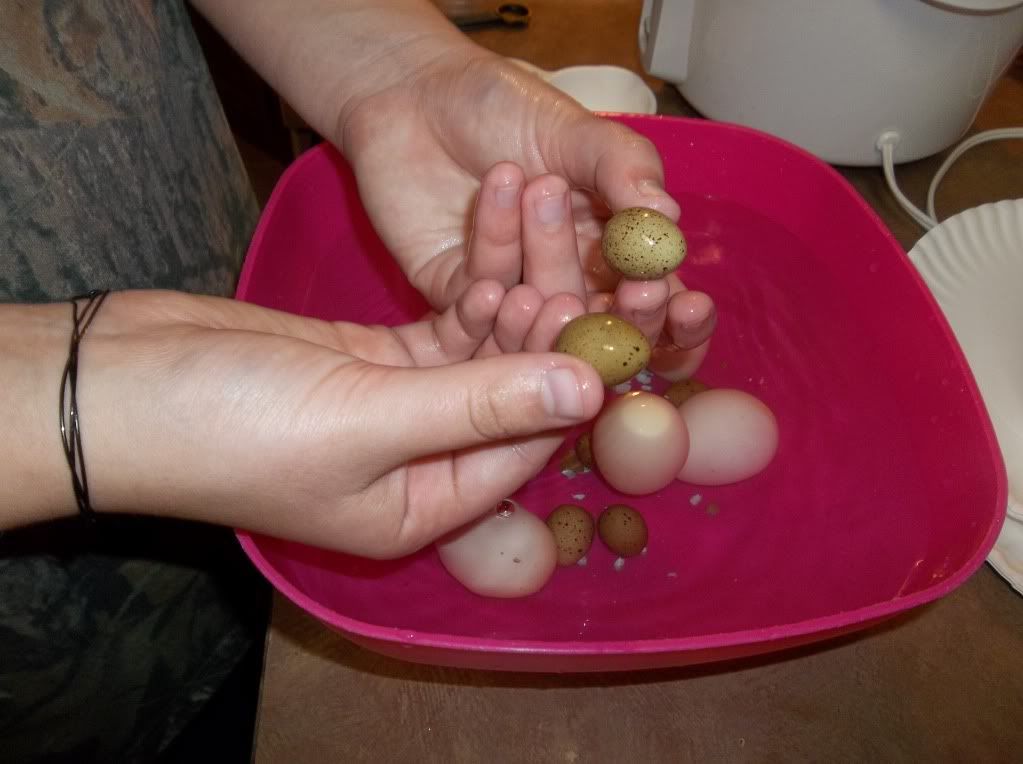
Today was a planned day that quickly turned into an unplanned day. Mommy was too sick to do the fun "Pizza Party" unit study we had planned, so the oldest bug, decided to be very domestic today. She pickled eggs, made a couple different kinds of homemade butter and cooked a few meals! Her first attempt to pickle eggs was a success!!!! Here is how she did it.
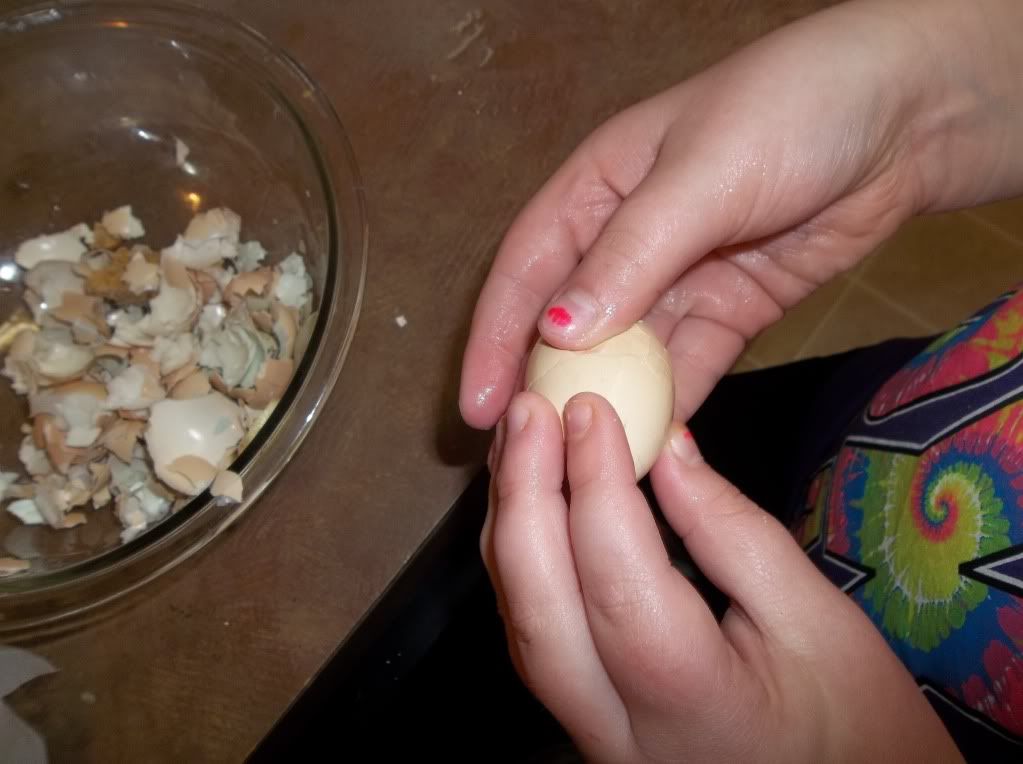
She took some of our beautiful chicken eggs that we gather everyday and boiled them. Once they are hard boiled, put them into an ice bath and let sit a couple of minutes. This helps with the peeling process.

(The second bug helping in the peeling process.)

(The oldest bug showing off her button quail eggs!)

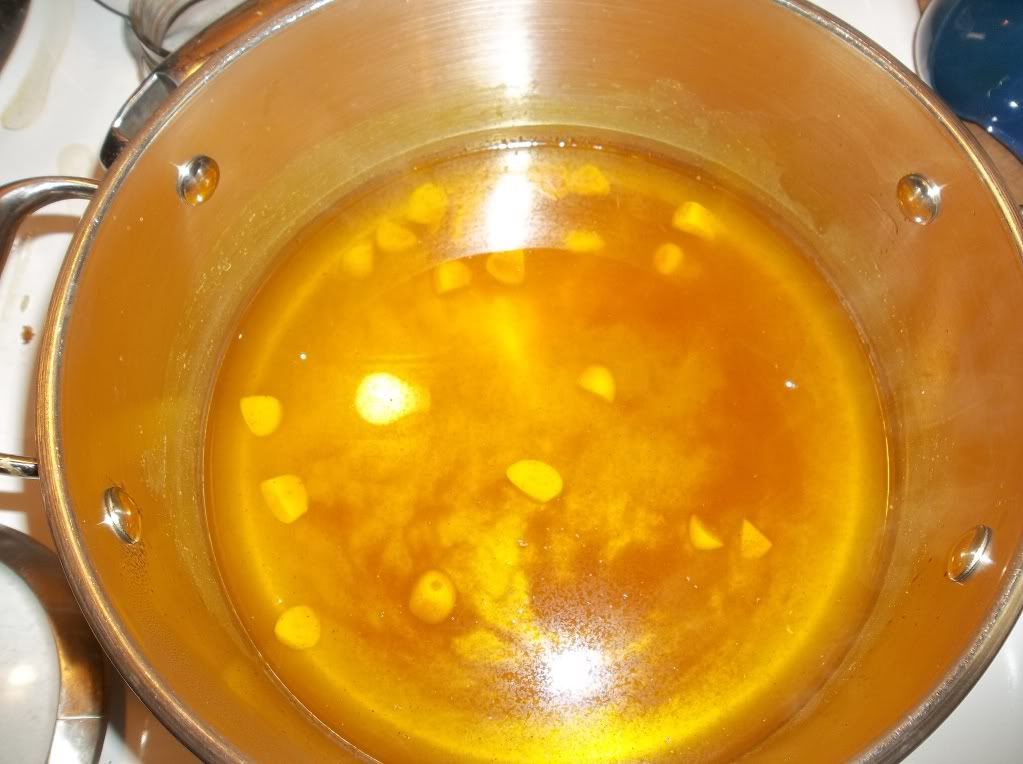
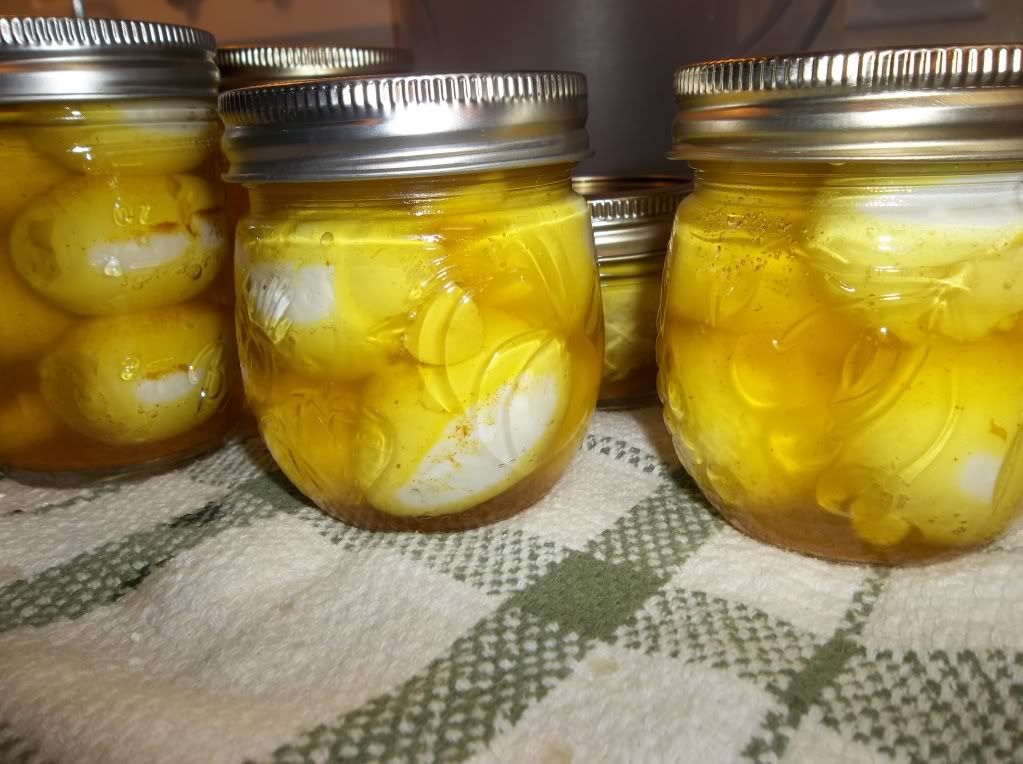
While the eggs were boiling, she made a pickling brine that consists of 1 quart of vinegar, 1/2 cup salt, 1 cup water, 1/2 teaspoon turmeric powder and a dash of cayenne powder and about 6 cloves of garlic, quartered. Bring this up to a simmer and then remove from the heat. Now she put her boiled eggs in jars and added the brine.

Be sure to leave a 1" headspace when filling your jars with the brine. Once the jars are filled, be sure to wipe the jar opening with a damp cloth before placing your flats and rings on. You want your jars to seal properly. Now place your jars in a boiling water canner and process for 15 minutes. Remove your jars from the canner and let cool for 15 to 20 hours to make sure they are sealed. Here is the finished product!


Such a blessing!


Saturday, December 31, 2011

fresh ground wheat

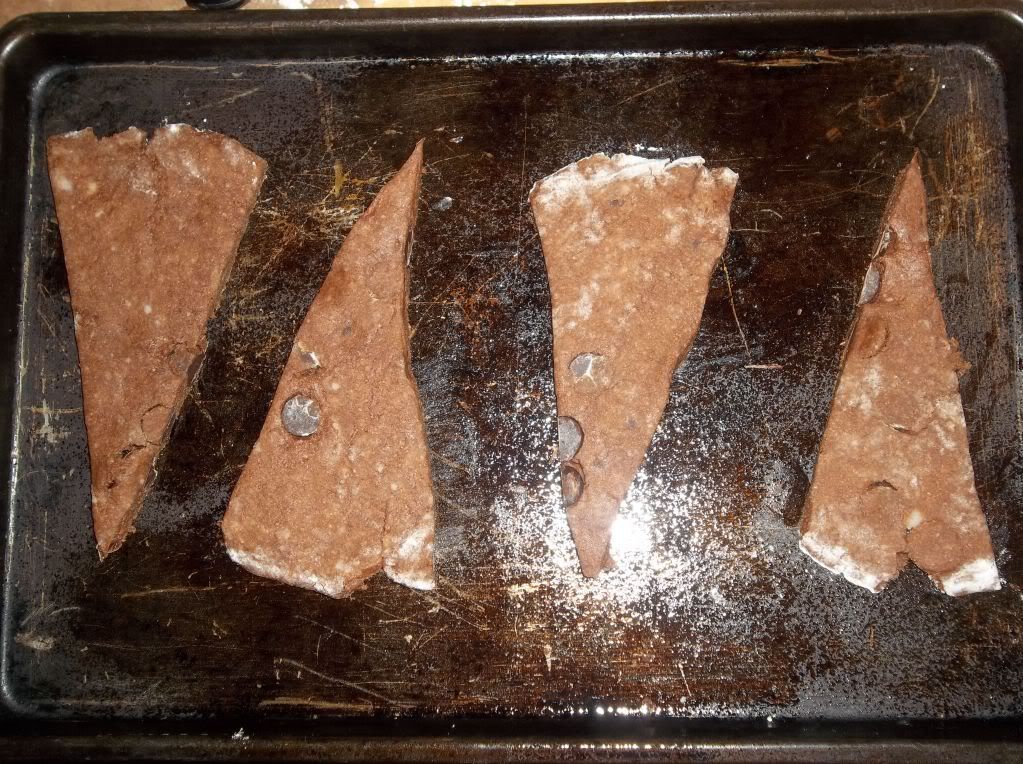
Well, as everyone knows, I finally got my grain mill. Here is our first goody we made with the freshly ground wheat. Delicious!

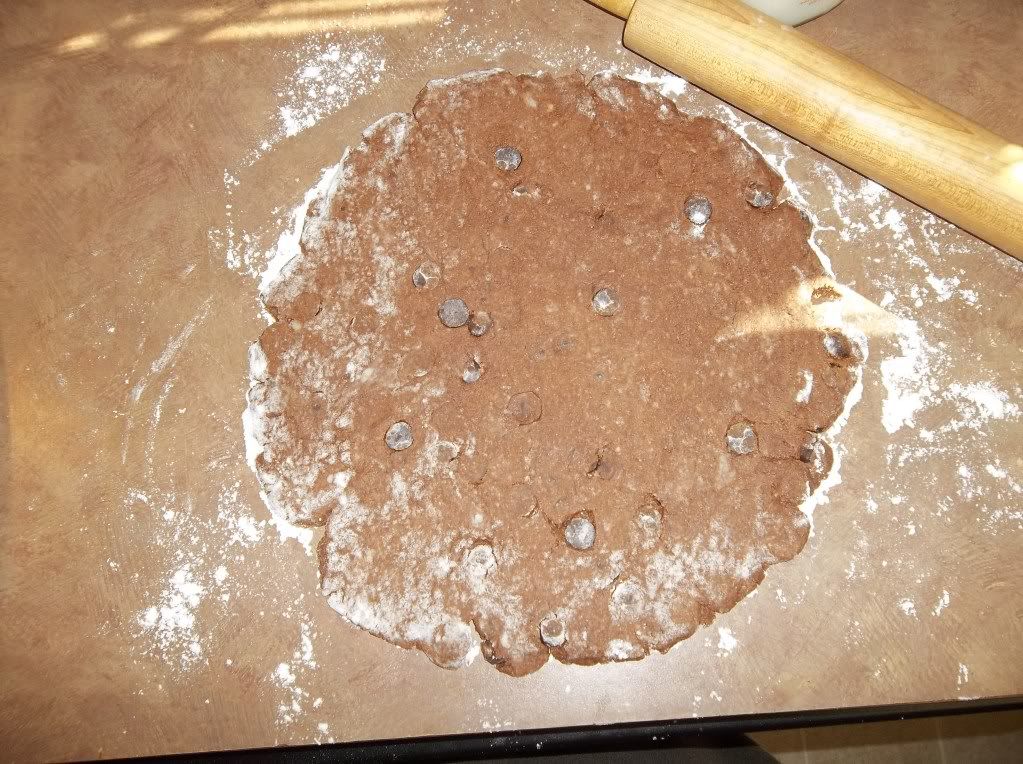
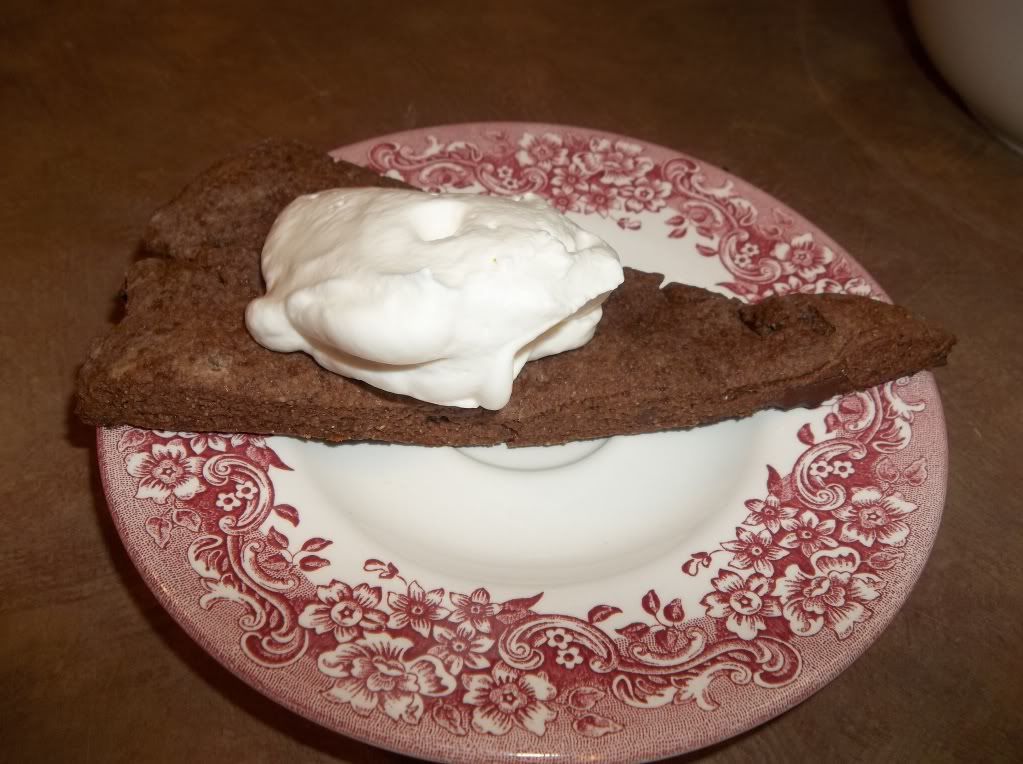
Chocolate Chocolate Chip Scones
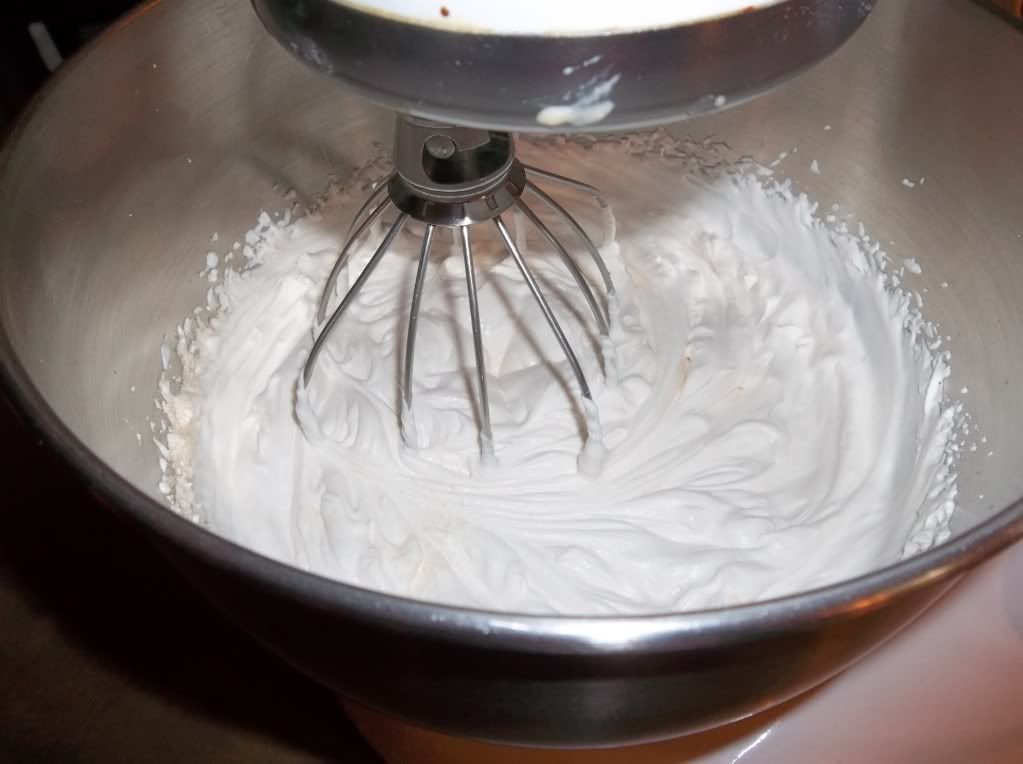
with fresh whipped cream!


1 1/2 cups whole wheat flour
1/4 cup sucanat
2 teaspoons baking powder
1/4 teaspoon salt
1/2 cup butter or coconut oil, cold
1/2 cup milk
1/4 cup cocoa powder
1 cup chocolate chips

Preheat oven to 400 degrees. In a mixing bowl, combine flour, sucanat, baking powder, cocoa powder and salt. Cut in the butter or coconut oil until the mixture looks like coarse cornmeal. Add the milk and chocolate chips and mix. Turn out onto a floured surface and knead a few times and roll into a thick circle that is about 9-inches around and 1/2-inch thick.

 Cut the dough like you would a pie, into about 12 pieces. Lay pieces onto a lightly greased cookie sheet.


Bake about 15 to 18 minutes. Serve with fresh whipped cream!


Enjoy and Happy New Year!

Thursday, December 29, 2011

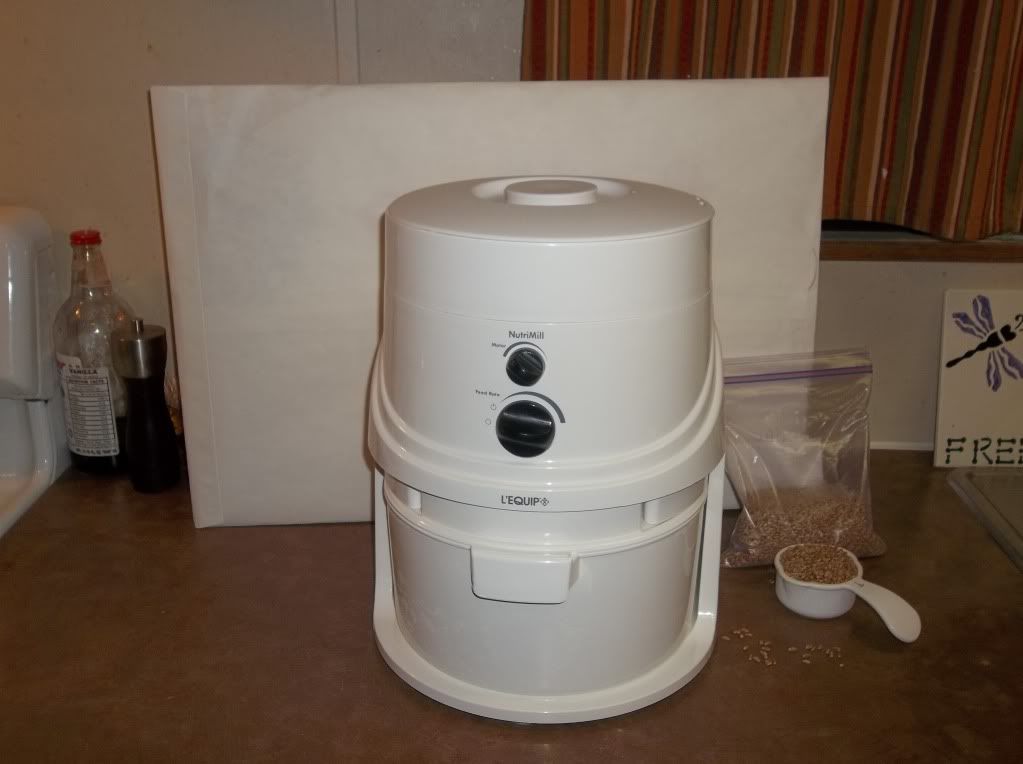
NUTRIMILL!!!!!!!!

Well, we finally got a grain mill. It was a gift from my father and mother-in-law for Christmas. Thank you!!!!


 I have been talking about getting one for a while now. I did quite a bit of research and decided the Nutrimill would be the one for me. We went to a homeschool convention in Memphis, TN this year and I got to see one up close. I am so excited about being able to grind fresh flour each time we make bread, cookies, anything that takes flour. I purchased some grains through one of our food co-ops a while back. My friend was nice enough to bring her mill over and grind some for me. I still had some grains left in the freezer so tonight, the girls and I got them out for a test run.


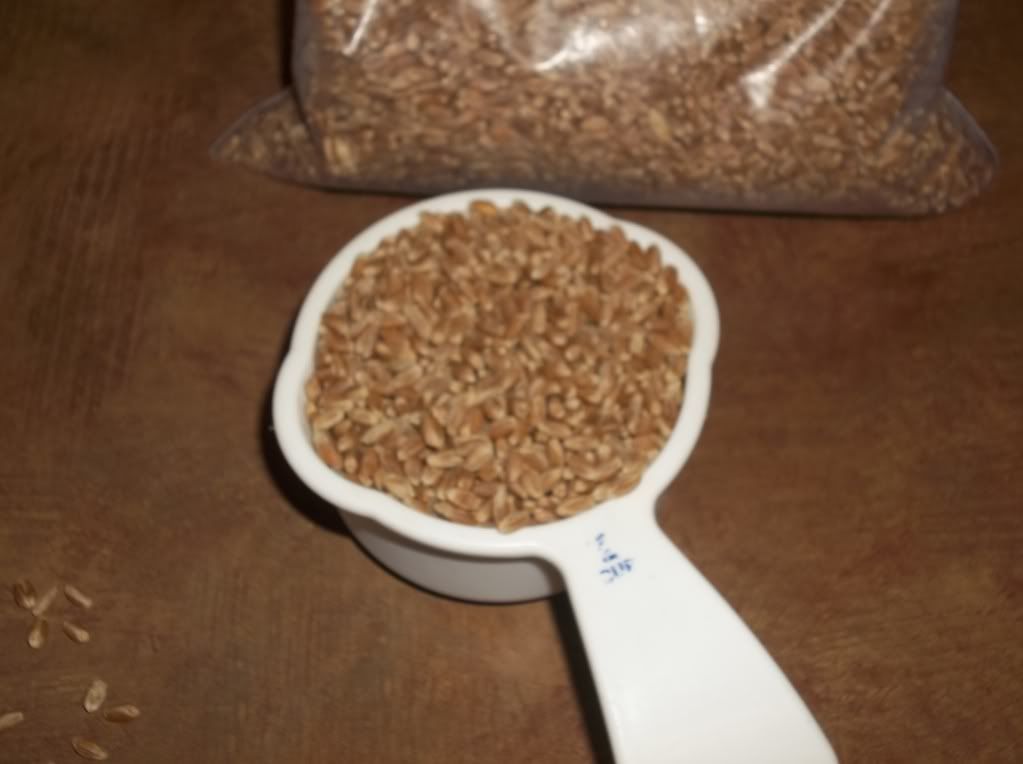
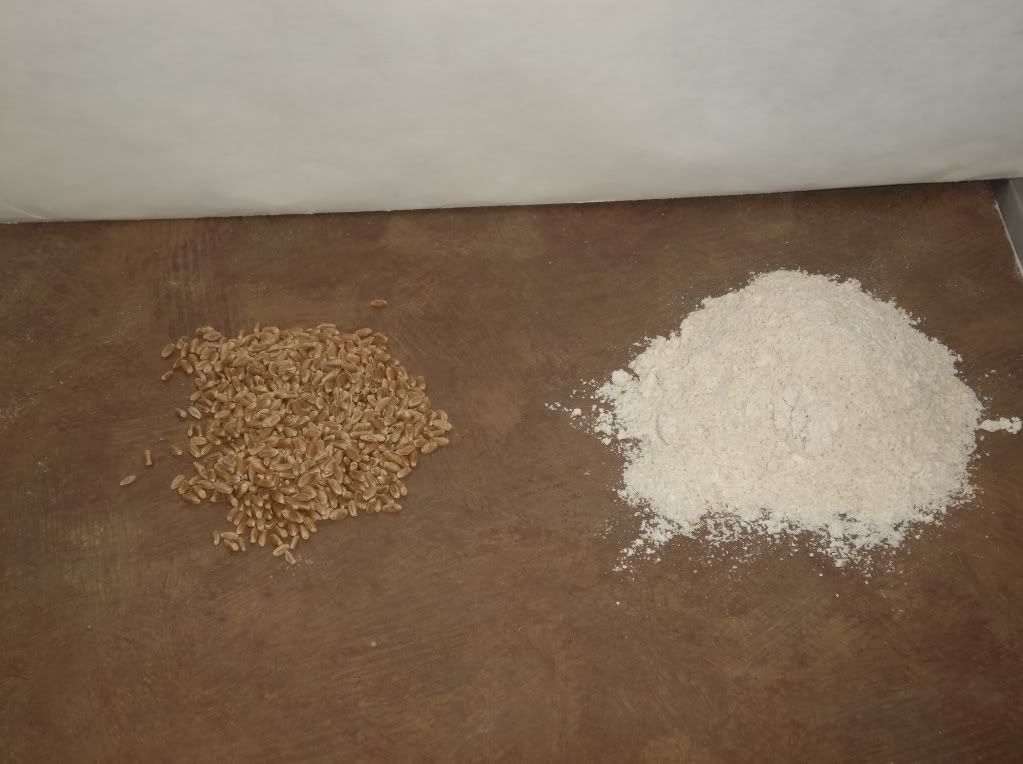
We decided to grind some hard red wheat.


It is amazing how these little grains can be ground so fine by this awesome machine.


We are looking forward to tomorrow so we can bake some delicious, fresh, whole grain bread. We will be using the bread recipe from the West ladies on our Homestead Blessings DVD, "The Art of Bread Making". Here is the recipe. It is delicious!

Bread Dough

2 1/2 cups warm water
2 cups whole wheat flour
2 teaspoons salt
1/2 cup oil
1/2 cup honey
1 Tablespoon yeast

Mix the warm water and yeast in a bowl and let proof for about 5 minutes. Then mix in the salt, oil, honey and 2 cups of flour. Mix well and then add more flour until you have a nice dough, about 4 to 5 cups. Knead and let rise for 30 to 40 minutes in a warm place. Punch down and form into loaves. Place in greased loaf pans and use a fork to poke several holes into the top of the dough. Let rise for about an hour. Bake at 350 degrees for about 30 minutes or until lightly golden brown.

We have even added 2 eggs to give it a little different texture. More like a sandwich bread.


With the flour we milled tonight, I plan on making some yummy Raisin Oatmeal Scones for breakfast in the morning.

God Bless!