Showing posts with label Crafts. Show all posts
Showing posts with label Crafts. Show all posts
Monday, December 1, 2014
2014 December Fun Days and Holidays....
December is here! We can't hardly wait for this time of year. Twinkling lights, baking cookies, singing and listening to Christmas hymns, wrapping gifts, drinking hot cocoa.
We love so many things about December and have so many fun things planned this month. Maybe you could join in on some of the fun.
Stay tuned because we will have lots of pictures to share, great recipes, crafts and more! We are also doing Christmas reading in our bibles. I know I am a little late posting all of this but I will post our scripture we are reading soon.
Here are the holidays and fun days for the 1st 25 days of December.....
Day 1 - Decorate the inside of our home for Christmas.
Day 2 - More decorating, putting up the Christmas tree and making No-Bake Fudge. Will share the recipe.
Day 3 - Make some yummy microwave caramels. Not to fond of cooking in the microwave but my stove is out of commission right now.
Day 4 - National Cookie Day! We will be making No Bake Chocolate Oatmeal cookies. Will share the recipe.
Day 5 - We will be making No Bake Pecan Coconut Cookies.
Day 6 - Make balls out of chicken wire and Christmas lights for outdoor decorations and go see a Live Nativity.
Day 7 - Cotton Candy Day!
Day 8 - National Brownie Day! We are going to make Nutella ones.
Day 9 - Christmas Card Day!
Day 10 - Make some No Bake Oreo Truffles and if we have enough time, maybe some chocolate covered oreos.
Day 11 - Celebrate National Hot Cocoa Day. Its really this coming Saturday.
Day 12 - Make a Christmas Tree Hand Canvas and some fingerpaint canvases.
Day 13 - Ice Cream Day!
Day 14 - Make homemade wrapping paper.
Day 15 - National Cupcake Day!
Day 16 - National Chocolate covered anything day!
Day 17 - Make photo ornaments for the grands!
Day 18 - Make cookie baskets for our Christmas cookies and our annual Van Express Ticket Day!
Day 19 - Christmas Party with friends!
Day 20 - Bake lots of Christmas cookies!
Day 21 - Winter Soltice!
Day 22 - Deliver gifts to the local hospital to the children that are sick.
Day 23 - National Chocolate Day tomorrow! Make something yummy!
Day 24 - Christmas Eve Boxes and bake Jesus a birthday cake!
Day 25 - Celebrate Jesus' birthday and drink some homemade eggnog. Yesterday was National Eggnog Day.
As you can see, we are planning on having some fun this month. Maybe you can check back and see some of the fun things we will be doing!
God Bless!
Sunday, December 9, 2012
Day 6 and 7......
Well, as you know by now, we will be behind every day on this! I wish I wasn't a slacker, but, I am, when it comes to my blogging.
Day 6.......
This one is our first batch of ornaments and we forgot to leave a space some where, so we could run a ribbon through it and hang it. Our second batch looks like the one hanging on the tree.
After you have them on the cookie sheet, bake them at 250 degrees for about 10 minutes. Let them cool before attaching the ribbon. We decided to take our first batch and hot glue the ribbon to the back of the ornament and it worked fine.
Day 7.......
This day we baked Christmas cookies. The recipe we used was found on the back of a Hershey's Kisses bag. They are Hershey's Kisses Peanut Butter Blossoms.
Here is the recipe off the back of the pack. This recipe makes approx. 4 dozen cookies.
Day 6.......
PEPPERMINT ORNAMENTS
I got this cute idea from here. We had alot of fun making these.
First we decided what kind of shapes we wanted for the ornaments, then we put them on a foil lined cookie sheet.
This one is our first batch of ornaments and we forgot to leave a space some where, so we could run a ribbon through it and hang it. Our second batch looks like the one hanging on the tree.
After you have them on the cookie sheet, bake them at 250 degrees for about 10 minutes. Let them cool before attaching the ribbon. We decided to take our first batch and hot glue the ribbon to the back of the ornament and it worked fine.
Day 7.......
This day we baked Christmas cookies. The recipe we used was found on the back of a Hershey's Kisses bag. They are Hershey's Kisses Peanut Butter Blossoms.
Here is the recipe off the back of the pack. This recipe makes approx. 4 dozen cookies.
Hershey's Kisses Peanut Butter Blossoms
48 Hershey's Kisses
1/2 cup shortening(I uses coconut oil)
3/4 cup creamy peanut butter
1/3 cup granulated sugar
1/3 cup brown sugar
1 egg
2 Tablespoons milk
1 teaspoon vanilla extract
1 1/2 cups all-purpose flour
1 teaspoon baking soda
1/2 teaspoon salt
Granulated Sugar
Directions: Heat oven to 375 degrees. Remove wrappers from chocolates. Beat shortening and peanut butter in a large bowl until well blended. Add 1/3 granulated sugar and brown sugar; beat until fluffy. Add egg, milk and vanilla; beat well. Stir together flour, baking soda and salt; gradually beat into peanut butter mixture. Shape dough into 1-inch balls. Roll in granulated sugar; place on ungreased cookie sheet. Bake 8 to 10 minutes or until lightly browned. Immediately press a chocolate into center of each cookie; cookie will crack around edges. Remove from cookie sheet to wire rack and cool completely.
Day 7 and 8, coming soon!
Thursday, November 29, 2012
It's been a while!!!!
Yes it has! I have been so busy around here that my blog took a back seat. Well, Erica over at Confessions of a Homeschooler has inspired me to blog every day until December 25th.
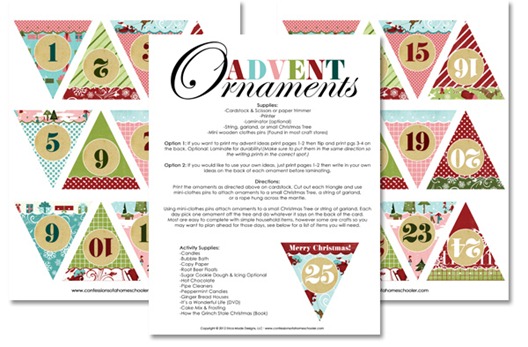
We, as a family, try to do some type of Advent calendar every year. Well this year we will be doing Advent ornaments. You can go here and see this fun project that my family will start on Saturday, December 1, 2012. We are pretty much going to follow her recommendations on each day. Some I changed that would better suit my family. This is going to be the most fun Advent we have done to this day! I am so excited.
Check back every day starting Saturday to see what we will be doing on that day and every day after that!
See you then.......
Sunday, December 11, 2011
GINGERBREAD HOUSES!!!
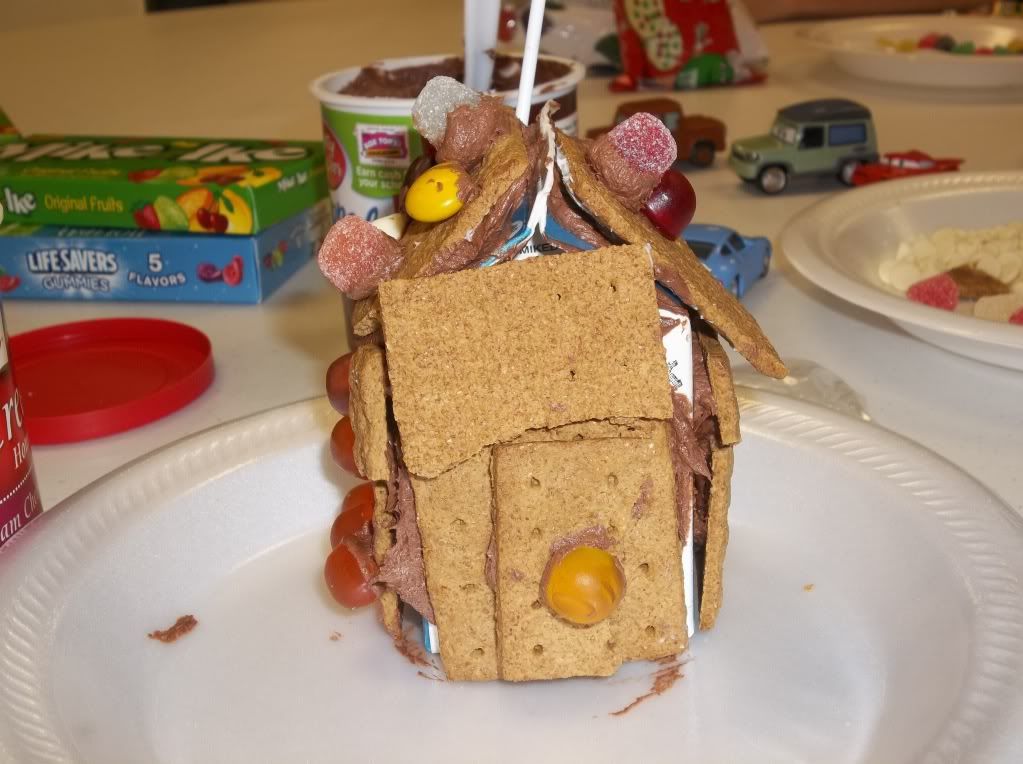
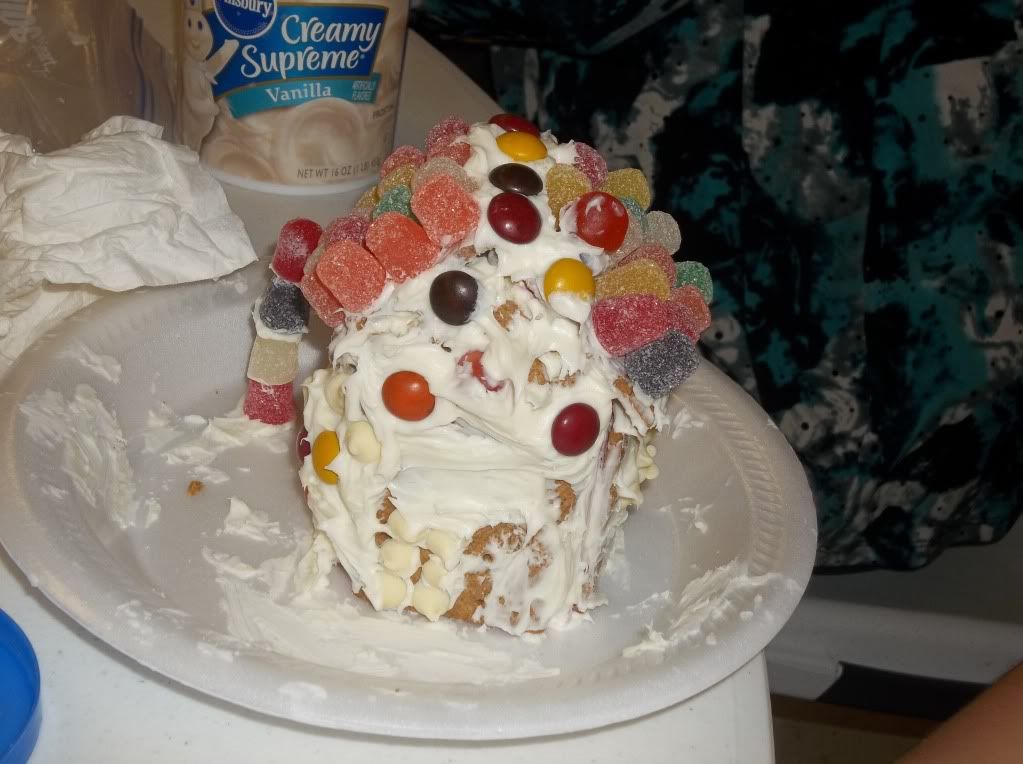
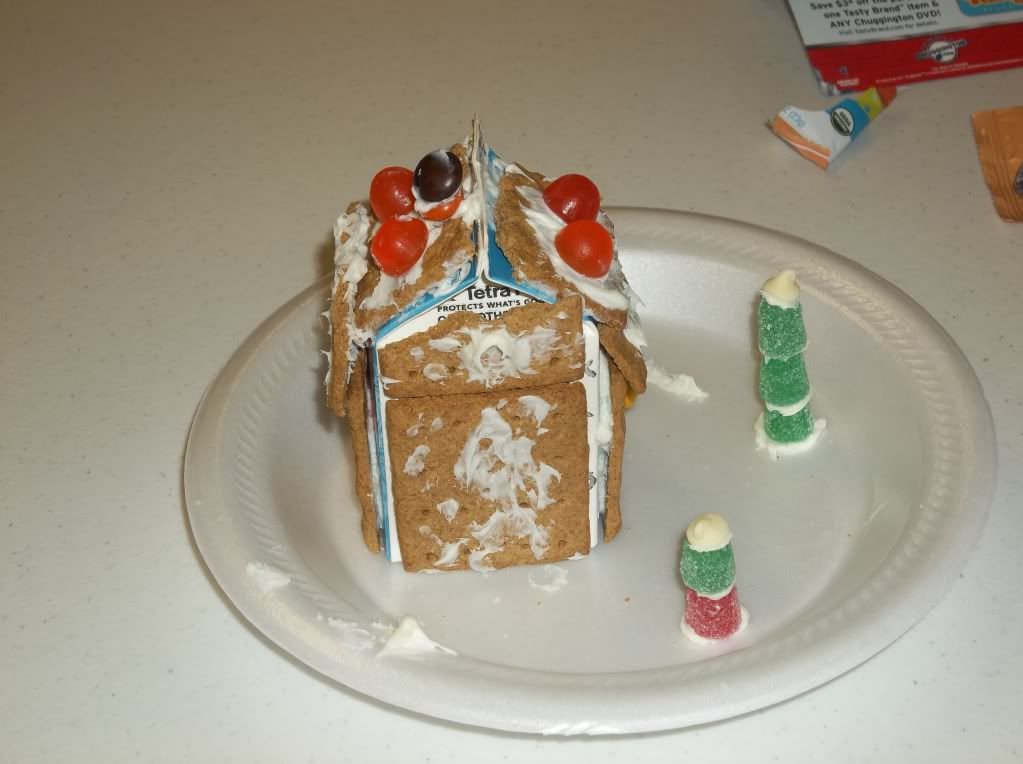
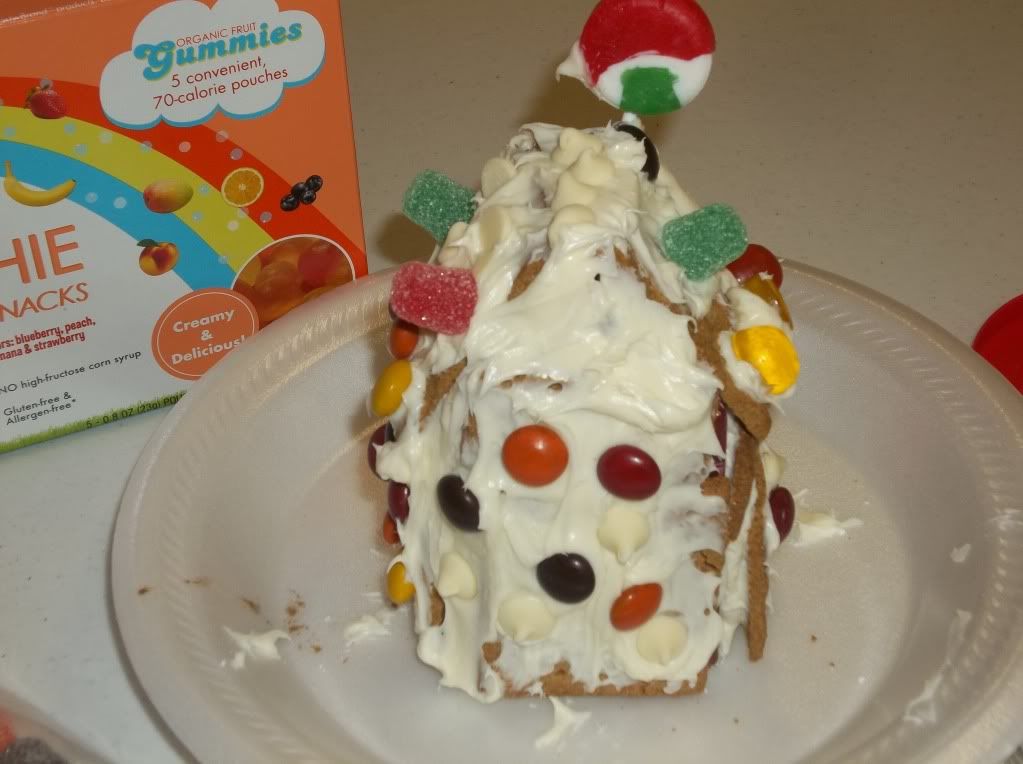
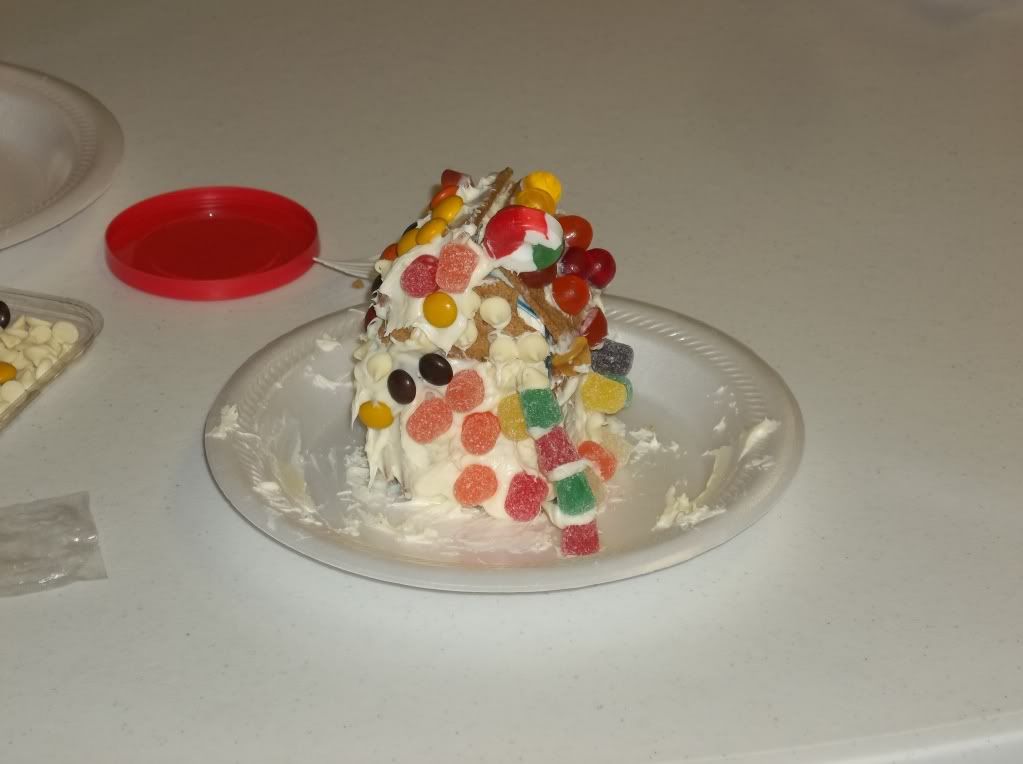
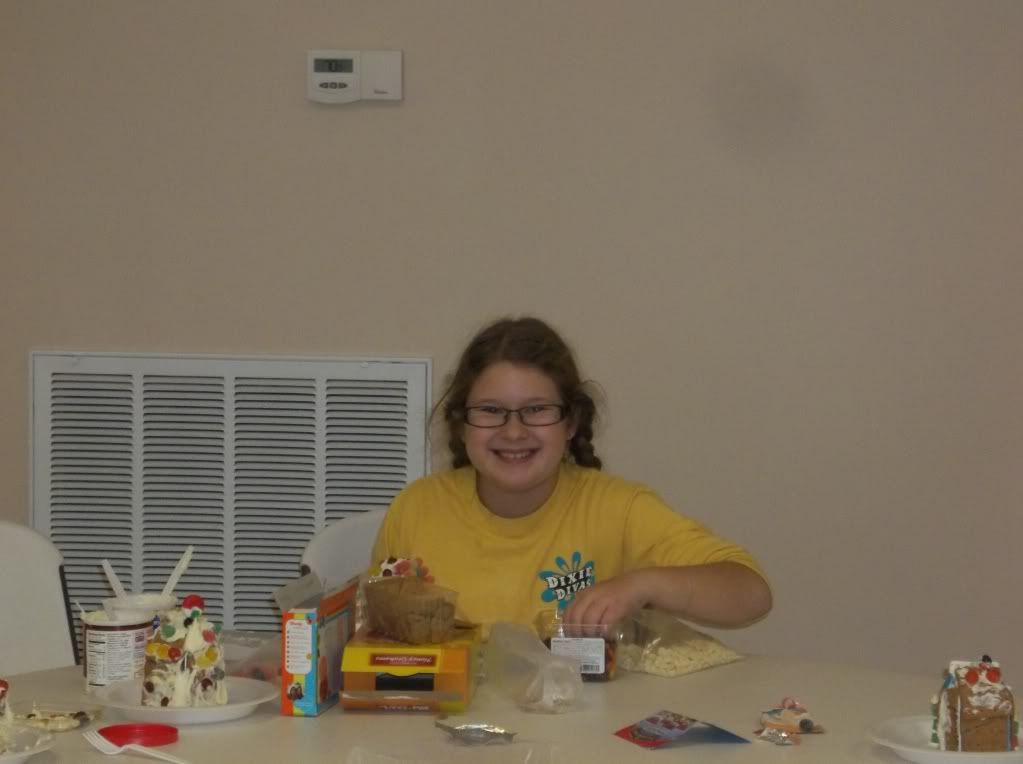
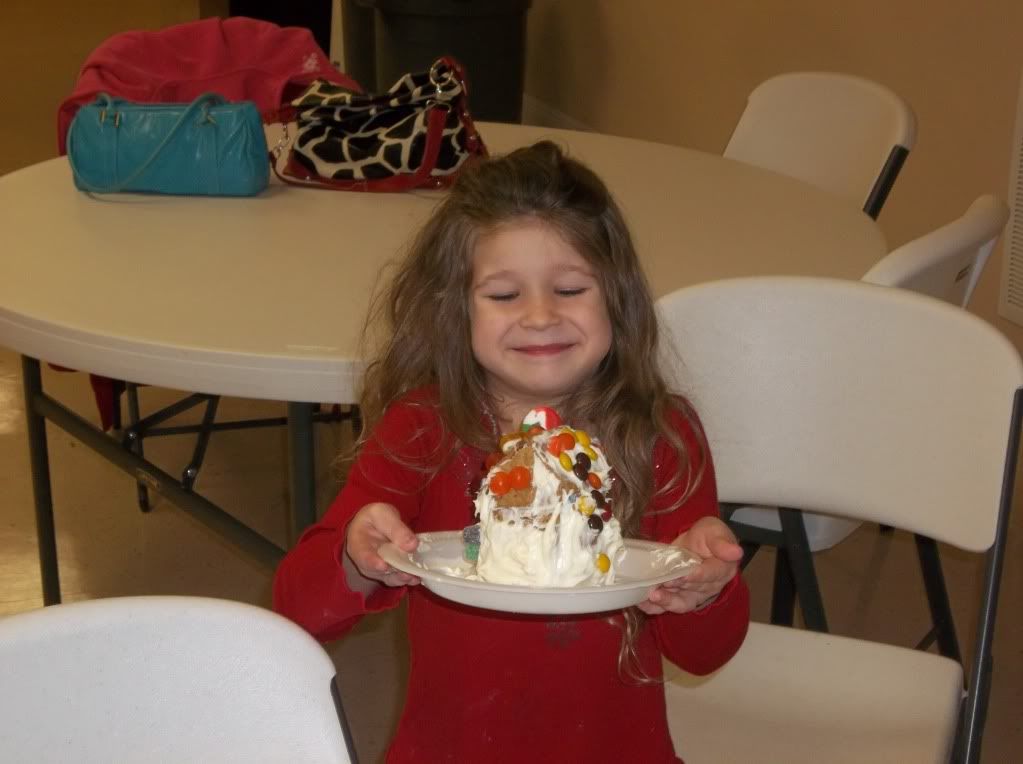
This past Friday, one of our homeschool groups got together for a little fun making gingerbread houses. We try to do this fun activity every year. This time, the gingerbread houses were mini sized. A little harder to make but still fun. Here are a few pictures.......
This one is Big Boys, as you can see in the picture, he was in a hurry to go play with the other boys with those CARS!
Red Bug having some fun!
That face says it all!
Priceless!!!!!!!!!!!!!!!!!!
This one is Big Boys, as you can see in the picture, he was in a hurry to go play with the other boys with those CARS!
Red Bug having some fun!
That face says it all!
Priceless!!!!!!!!!!!!!!!!!!
Tuesday, November 29, 2011
Homemade Christmas Ornaments
The day before Thanksgiving we all decided to make these cute Christmas ornaments.
Every month in our homeschool group, the girls and moms get together for the Keepers at Home meeting. Its alot like girl scouts but more Christ-centered. For mothers, I believe its the most important time in our lives, THE most important time God has given us to teach our girls about our Lord Jesus Christ, about one day being a Christian woman and being prepared to be a wife, a mother, and how to manage a home. Being a "keeper at home" is a very enjoyable, sometimes hard and very worthwhile job.
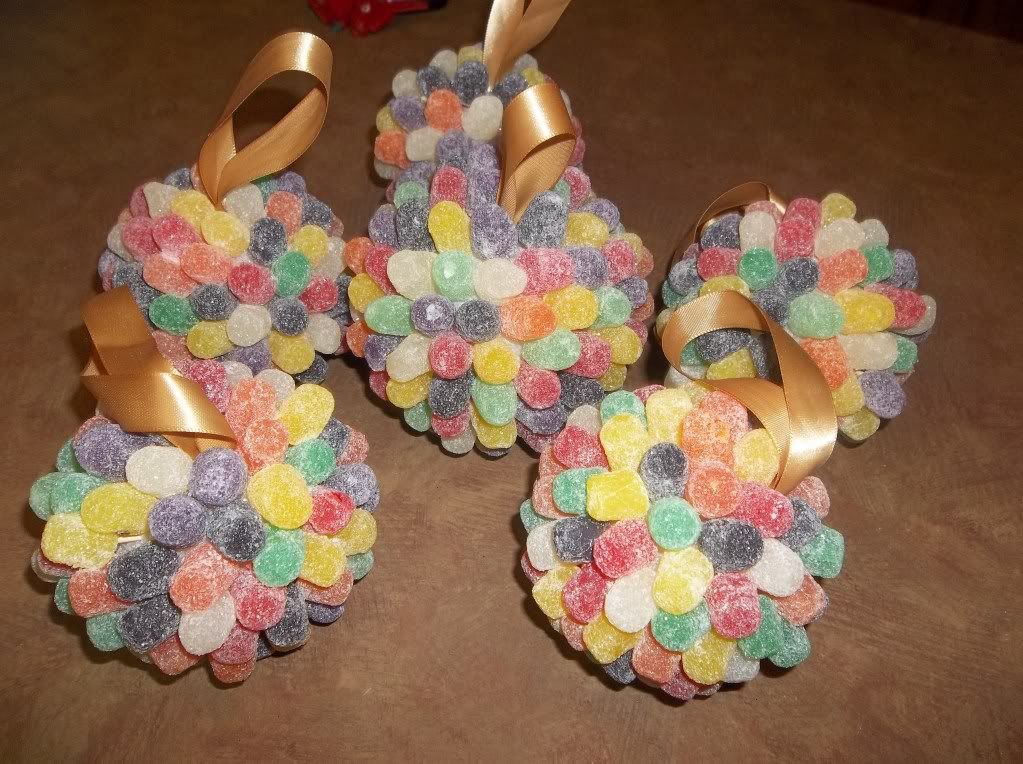
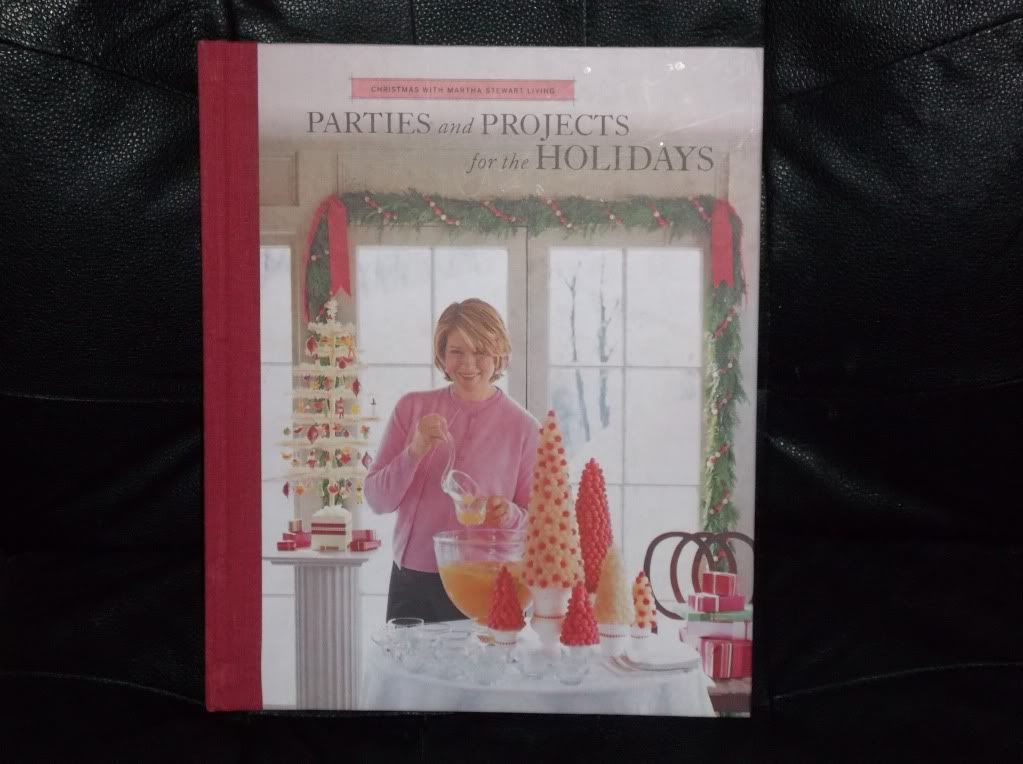
A few weeks ago, I was suppose to teach the girls something new at our meeting and our whole family came down with a stomach bug and we had to cancel. So, the other day, we decided to make these little ornaments for our family to enjoy for Christmas this year. We gave each grandmother, aunt and great-grandmother one. They are really easy to make. We came across the idea in this Martha Stewart Christmas Book entitled "Parties and Projects for the Holidays".
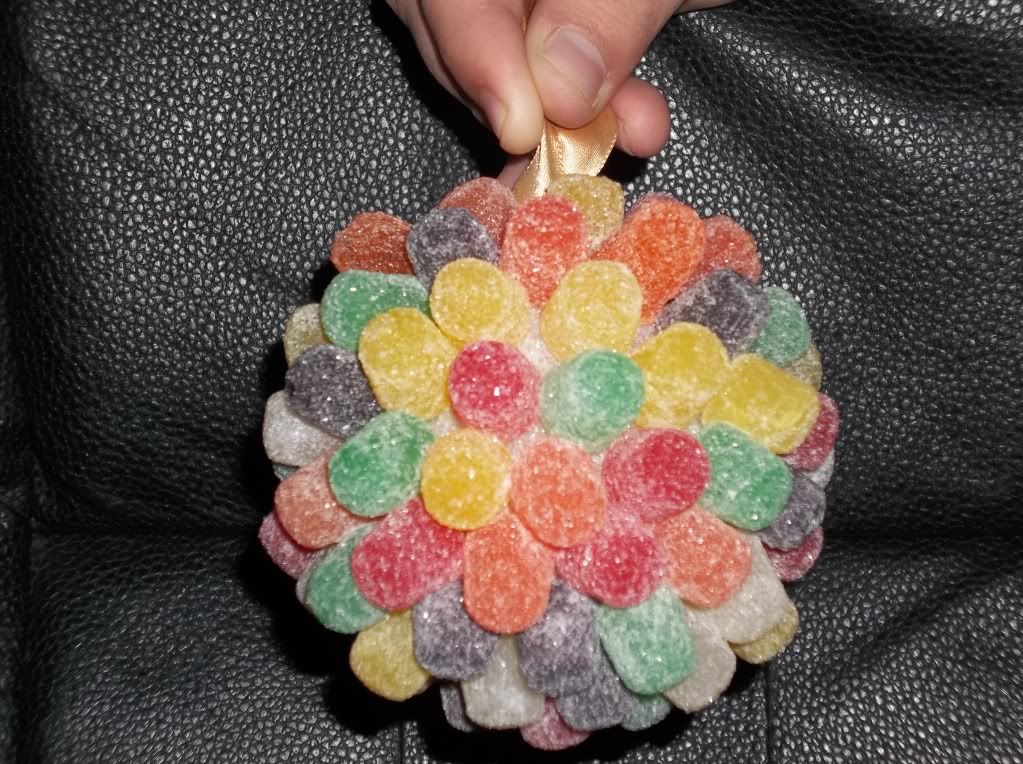
In the book, they didn't make these gumdrop ornaments, they made a gumdrop ball into a gumdrop topiary. We decided to make the gumdrop balls and turn them into gumdrop Christmas ornaments. Here is how we did it.
You will need a 2" styrofoam ball, or whatever size styrofoam ball you want your ornaments to be, small gumdrop candies, toothpicks, ribbon and a hot glue gun.
First, cut your ribbon the length you want your ornaments to hang. If using them on your Christmas tree, I would cut them no less them six inches in length. If you want to use them as decorations, I would cut the ribbon alot longer.
Take your styrofoam ball and punch a small hole in it big enough to glue your ribbon. We put the hot glue into the hole first (do this fast because the glue will start melting the styrofoam) and then we folded our ribbon in half and stuck it down in the hole with a toothpick so it would stick to the glue. Once your glue has dried, start breaking your toothpicks in half and poke the pointed ends into the foam; push small gumdrops onto exposed ends. Your ornament is complete once you cover the whole styrofoam ball.
Let me know if you try these cute ornaments and how it went. If you blog and have pictures, post your link so we can see how yours turned out.
Dana
Friday, November 18, 2011
Our Day of FUNschooling!
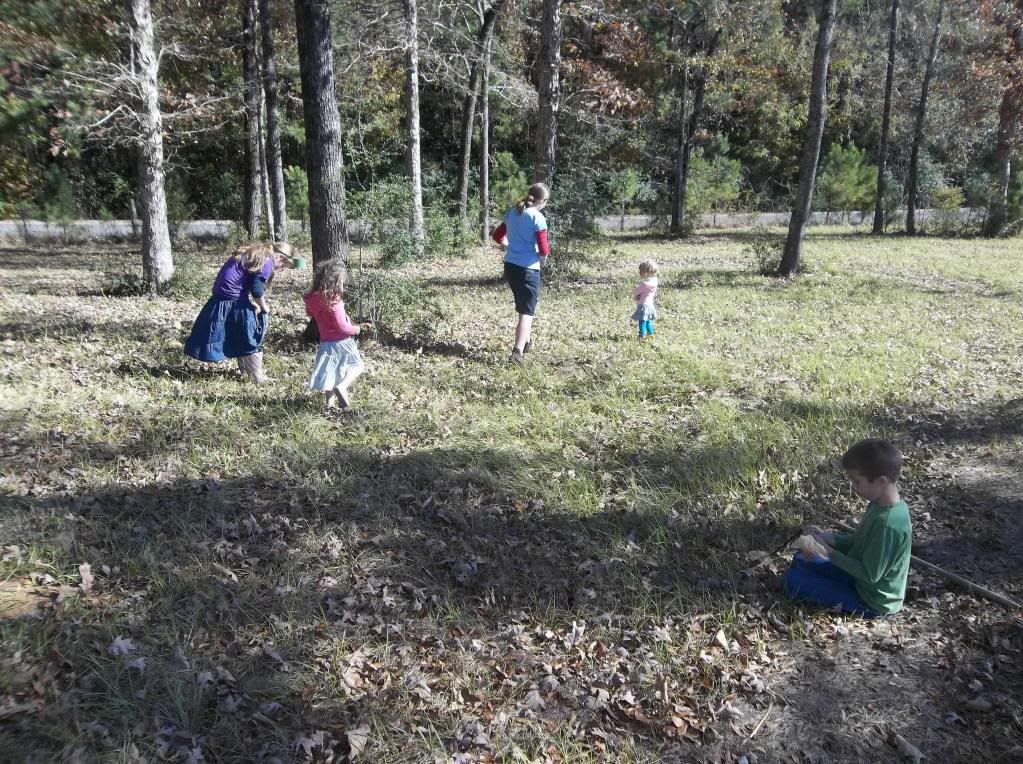
We have been planning on taking one day before Thanksgiving to do a few crafts. Today was that day. We had so much fun just learning, playing and having fun. I am so thankful that we are able to teach our children at home and do things like this. We started out gathering leaves for one of our projects.
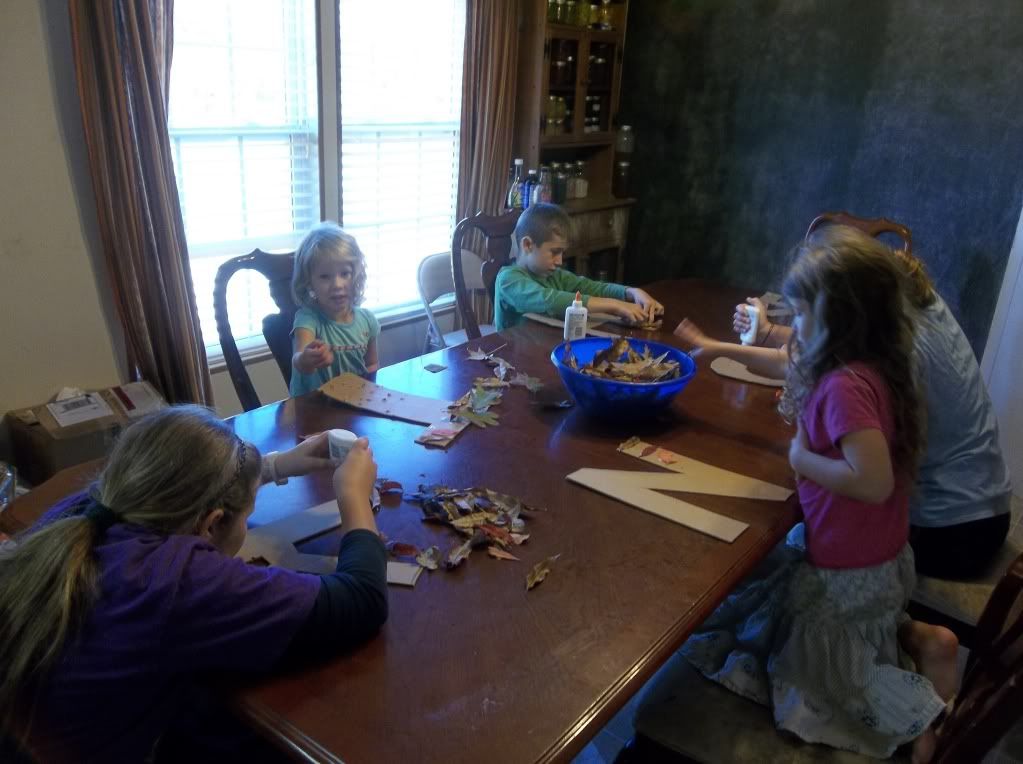
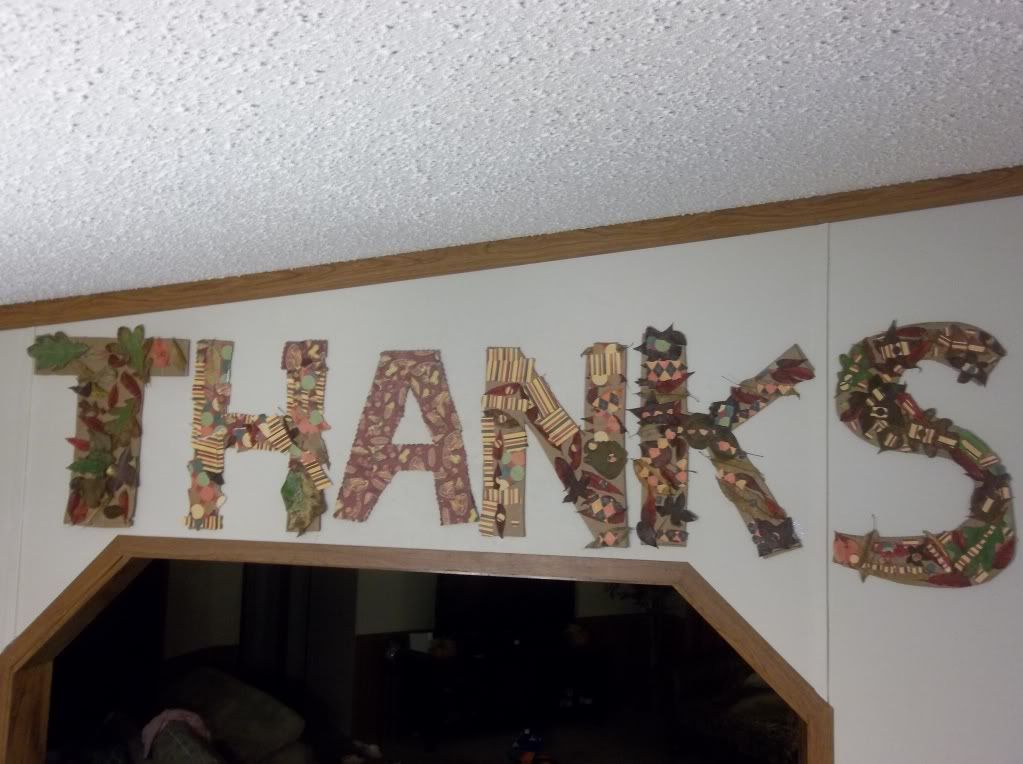
I was on Pinterest a few days ago and saw the cutest project using leaves from the yard, cardboard letters and glue. We cut the word THANKS out of cardboard, in individual letters and glued the leaves we collected out of the pasture onto the letters. We also used some scrapbooking paper on ours to make it a little more our own. We had such a good time.
And whatever you do, whether in word or deed, do it all in the name of the Lord Jesus, giving thanks to God the Father through him.
Colossians 3:17
I was on Pinterest a few days ago and saw the cutest project using leaves from the yard, cardboard letters and glue. We cut the word THANKS out of cardboard, in individual letters and glued the leaves we collected out of the pasture onto the letters. We also used some scrapbooking paper on ours to make it a little more our own. We had such a good time.
Here are our letters we hung above the dining room entrance.
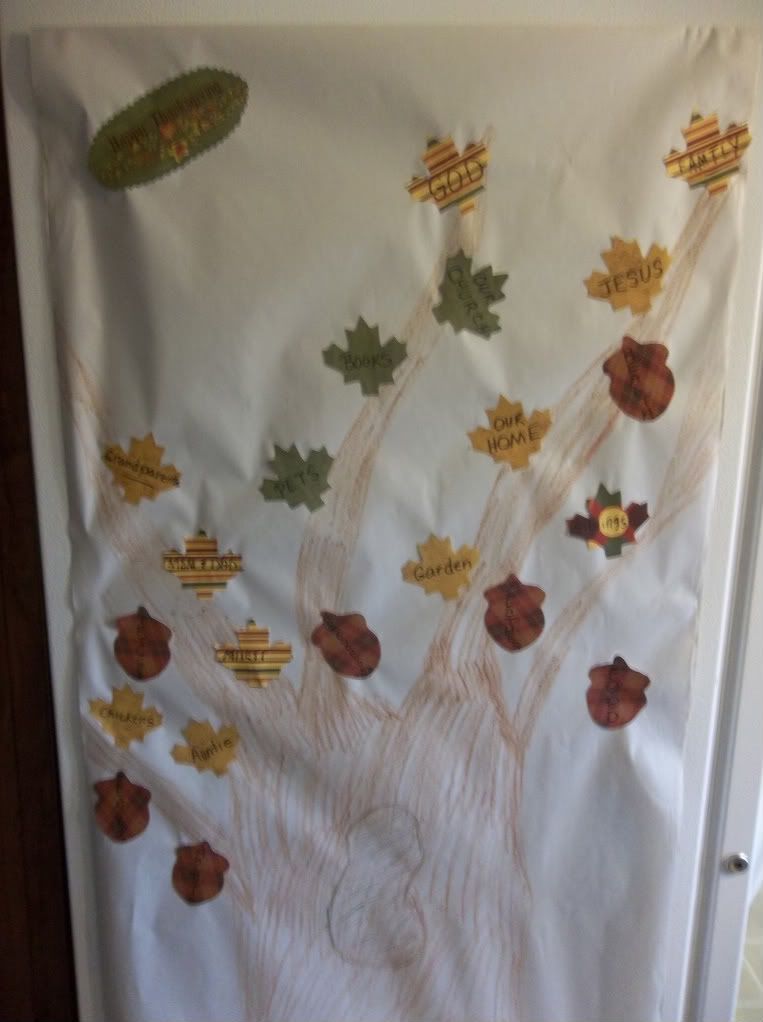
We also made us a Thankful Tree. And whatever you do, whether in word or deed, do it all in the name of the Lord Jesus, giving thanks to God the Father through him.
Colossians 3:17
Thursday, November 10, 2011
Painting Pumpkins, Art Class?
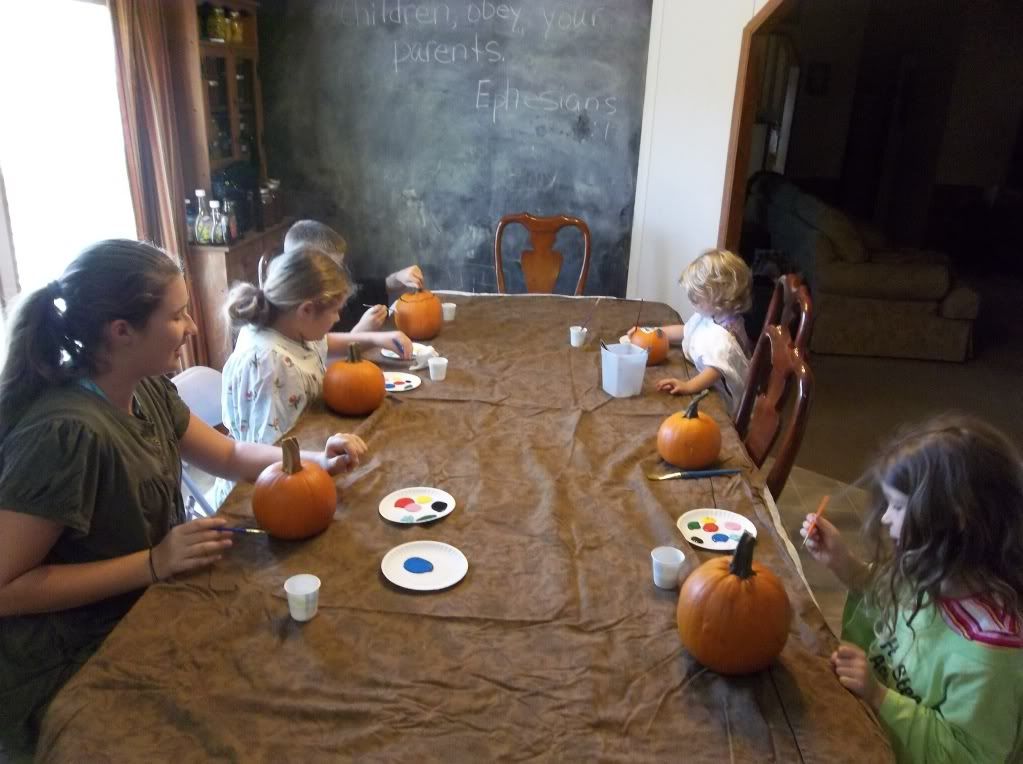
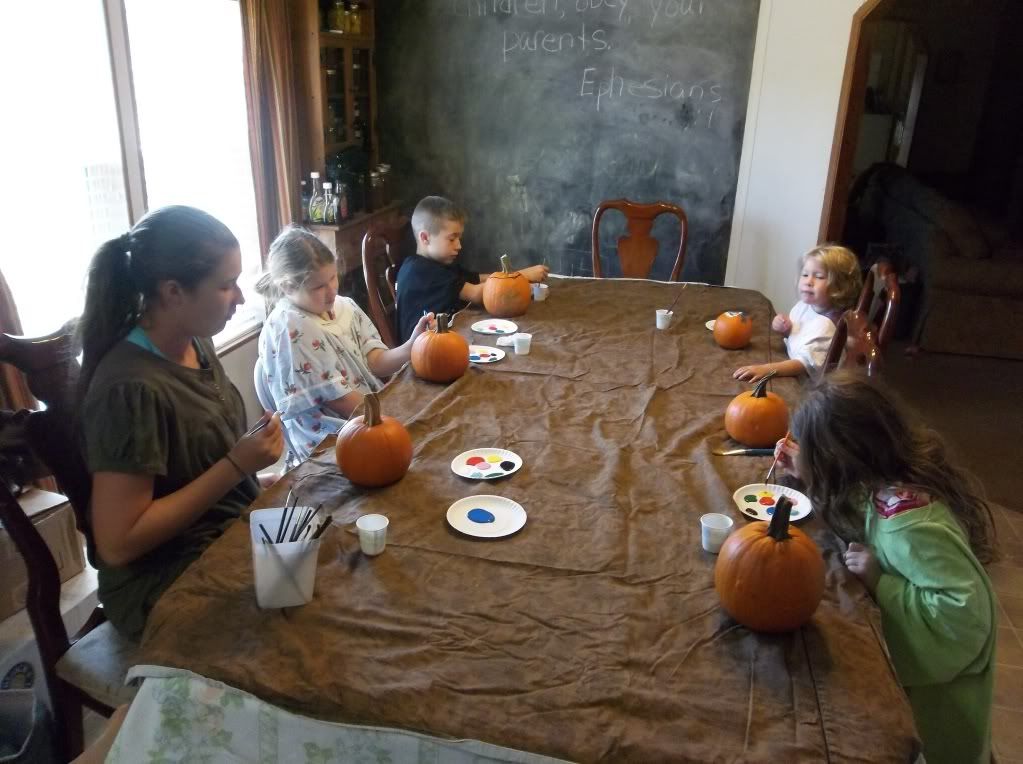
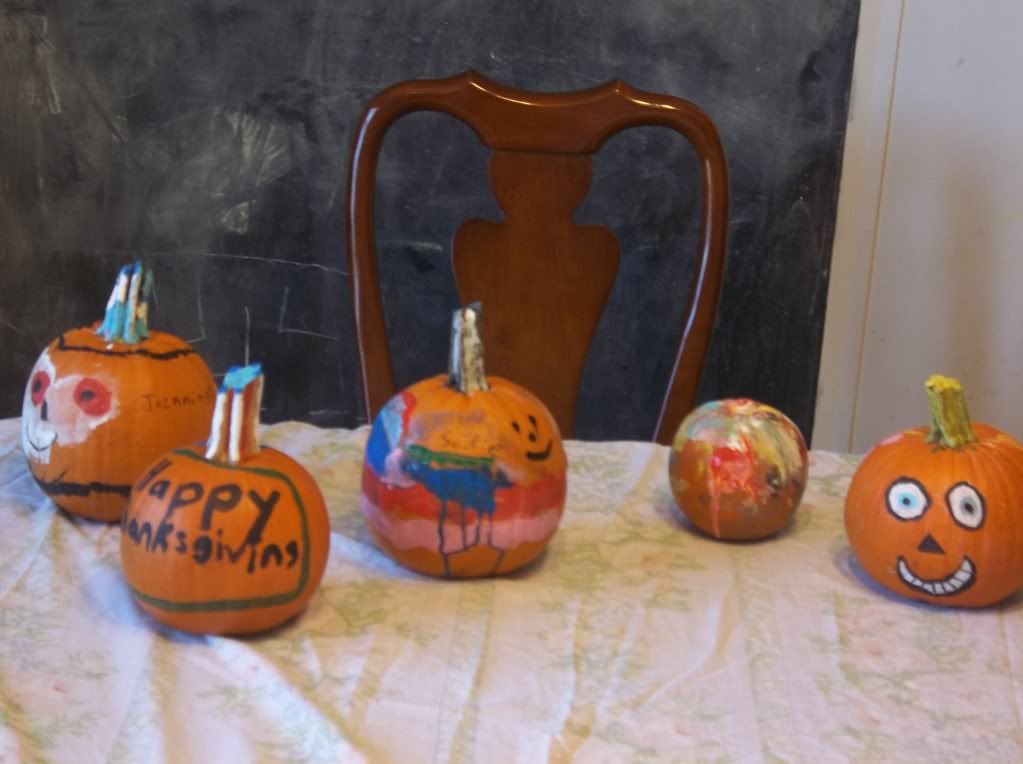
We went to a pumpkin patch at the end of October of this year. Each one of the bugs were able to pick a pumpkin and bring it home. We decided to paint them instead of carving. One reason we paint instead of carve is they last alot longer. Another reason is that we can wash all of the paint off with hot,soapy water and bake them. Once we bake them, we are then able to use them in many yummy recipes and leftover pumpkin freezes very well. Here they are in "Art Class" painting a masterpiece on pumpkins!
HERE ARE THE FINISHED PAINTED PUMPKINS!!! PERSONALLY, I THINK THEY ARE JUST AMAZING! OOPS, MAYBE I SHOULDN'T HAVE SAID THAT, AFTER ALL, THEY ARE MY BUGS!
Subscribe to:
Posts (Atom)


